Pockets, linings, and removable panels should remain invisible, yet common access methods often create bulges, puckering, or visible stitching. How can openings be designed to balance ease of use, strength, and discretion without compromising a garment's lines?
This post outlines how to plan access according to intent and placement, construct concealed openings using linings and generous seam allowances, and draft and test patterns for durable, concealed features. Work through the examples and pattern adjustments to learn practical techniques that keep access functional, resilient, and visually undetectable in everyday wear.

Align access with purpose and placement
Begin by defining the access intent: who will use the opening, and how often it will be used. Map those needs to placement — position everyday items close to the waistband or side seam, and reserve linings or removable panels for items used infrequently or requiring concealment. Choose access types that read as part of the construction rather than as additions, for example concealed zips set into seam allowances, turned plackets, bound slits, or inset panels aligned with grain and pattern lines. Pin a mock opening into a toile and observe the garment in motion; if the seam puckers or the outline reads as a separate shape, reposition the opening or reduce bulk to preserve clean lines and an understated silhouette.
After defining intent, prioritise ergonomics by observing natural hand paths while the wearer stands, sits, and bends. Make a calico prototype on a real wearer, calico being the plain cotton toile used for prototyping, to confirm reach and to ensure closures do not ride up, gape, or catch on underlayers. Reinforce access points, such as pocket mouths and placket edges, with interfacing, narrow stay tape, and bartacks; route weight to nearby structural seams, or add a gusset where volume sits. In lightweight fabrics, favour low-profile fastenings to avoid unwanted bulk. Plan for maintenance by using removable linings or panels attached with concealed fastenings so the garment can be washed or serviced without dismantling, and choose closures that tolerate repeated cleaning cycles. Leave a discreet internal marker or brief documentation for future wearers or repairers, and validate the solution with wash and wear tests to reveal stress points and guide final adjustments.
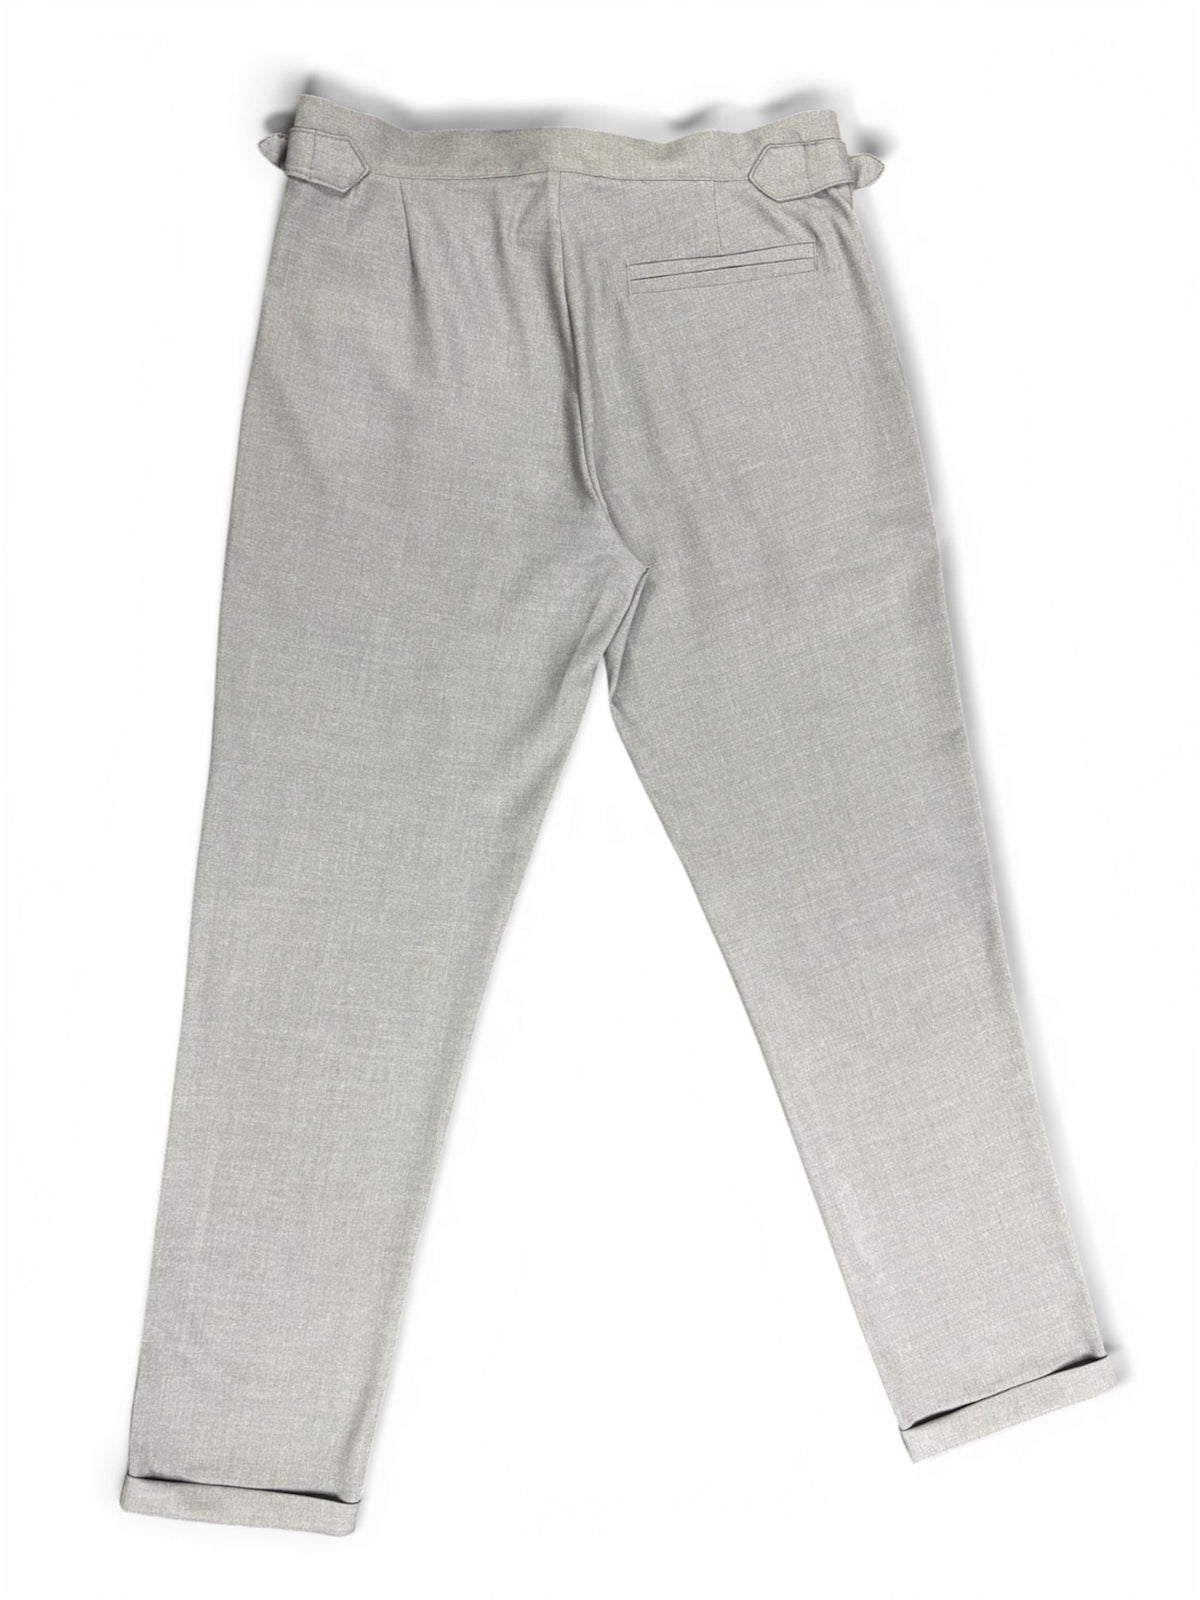
Streamlines the waist while adding discreet, lightweight storage.

How to craft invisible openings using concealed layers and extra fabric at the seams
Choose a lining that matches the outer fabric’s drape, colour, and opacity. Cut the lining pieces on the same grain and test an overlay of scrap to check for shadowing or bagging; a lining that behaves differently will reveal pockets and panels in movement. Allow generous seam allowances of 1.5 to 3 cm, depending on the technique, so you can turn, trim, and understitch without weakening the seam, and keep extra allowance for later adjustments when fitting removable panels. Stabilise openings with low-bulk interfacing and staystitching at the pocket mouth and panel edges. Understitch the lining to the seam allowance so it sits quietly inside and does not roll to the outer face.
With the lining and allowances set, conceal closures within the seam allowance to preserve a clean exterior. Sew a zip into the lining, construct a folded tunnel for hidden snaps, or embed studs between doubled layers. Position fastenings off the garment's outer surface and tack through the seam allowances so the exterior remains flat. Always prototype the assembly on scrap fabric: sew the pieces together, press them, and simulate typical wear to reveal creasing, shadow lines, or hardware show-through. Record precisely where the lining or fasteners become visible, then adjust seam allowances, interfacing weight, or fastener placement. Repeat the test until the opening remains imperceptible in everyday movement, demonstrating how careful material choice, stabilisation, and iterative testing prevent read-through and yield effectively invisible pockets, linings, and removable panels.
Choose robust, fully lined denim for hidden closures.

How to design patterns for long-lasting, hidden details and evaluate their performance
Start the pattern phase by drafting precisely and transfer the pocket, lining, and removable-panel seamlines to a toile. Simulate use: insert a weighted packet, sit and move, and note where contents distort the silhouette. If printing appears, relocate the opening into a seam or a recess, alter the grainline, or introduce negative space until the feature disappears under movement and pressure. Choose concealment methods that suit the function. Options include an invisible zip with a narrow zip guard behind a facing, internal snap tape sewn into the seam allowance, or a channel with internal studs or discreet fabric loops. Reinforce areas subject to concentrated loads with bartacks, back-tacking, or a small interfaced patch. Test fabric and interfacing combinations on scraps to compare drape and friction. Use lightweight, soft fusible interfacing only where structure is essential. Grade seam allowances, and favour tricot or other slippery linings to reduce show-through rather than relying on thick facings that create visible edges.
For construction details, understitch facings, slipstitch linings to prevent shifting, and finish raw edges with narrow bias binding. Use subtle topstitching set within seam lines to flatten openings, and finish removable panels with an internal hem or a double-fold channel so they sit flush when removed. Make at least two prototypes, annotate the pattern with every alteration, and record stitch length, needle size, and reinforcement details. Conduct wear trials with weighted loads and repeated laundering, and photograph the garment inside and out to reveal printing or seam distortion. Iterate on construction until the concealed feature produces no measurable change to the garment's silhouette under normal use.
When you follow these practices, concealed pockets, linings, and removable panels sit out of sight: plan access deliberately, stabilise openings with suitable interfacing, and prototype assemblies under realistic loads. Testing fabric mock-ups and conducting wear trials with weighted loads reveal how placement, grainline, and seam allowance width either disappear or become apparent in movement.
To act on that conclusion, follow three stages: plan the intent and placement, construct using matching linings and generous allowances, then draft and iterate patterns. Prototype each design at least twice, record every adjustment, and run wash and wear tests to ensure the concealed feature endures everyday use without disturbing the garment's lines. Aim for the detail to read as considered construction rather than an addition.