When utility garments sag, fray, or restrict movement, everyday tasks take longer and fabrics deteriorate more quickly. Might traditional tailoring techniques provide a neater fit, stronger construction, and simpler repairs, helping pieces last longer and retain their function?
This article outlines practical tailoring techniques, including pattern reshaping, seam reinforcement, and repair-friendly details, that transform ordinary workwear into reliable garments. Read on for clear, actionable steps on fit adjustments, fabric selection, and modest features you can specify to extend a garment’s serviceable life and ease its care.

Achieve a precise fit and a clean silhouette
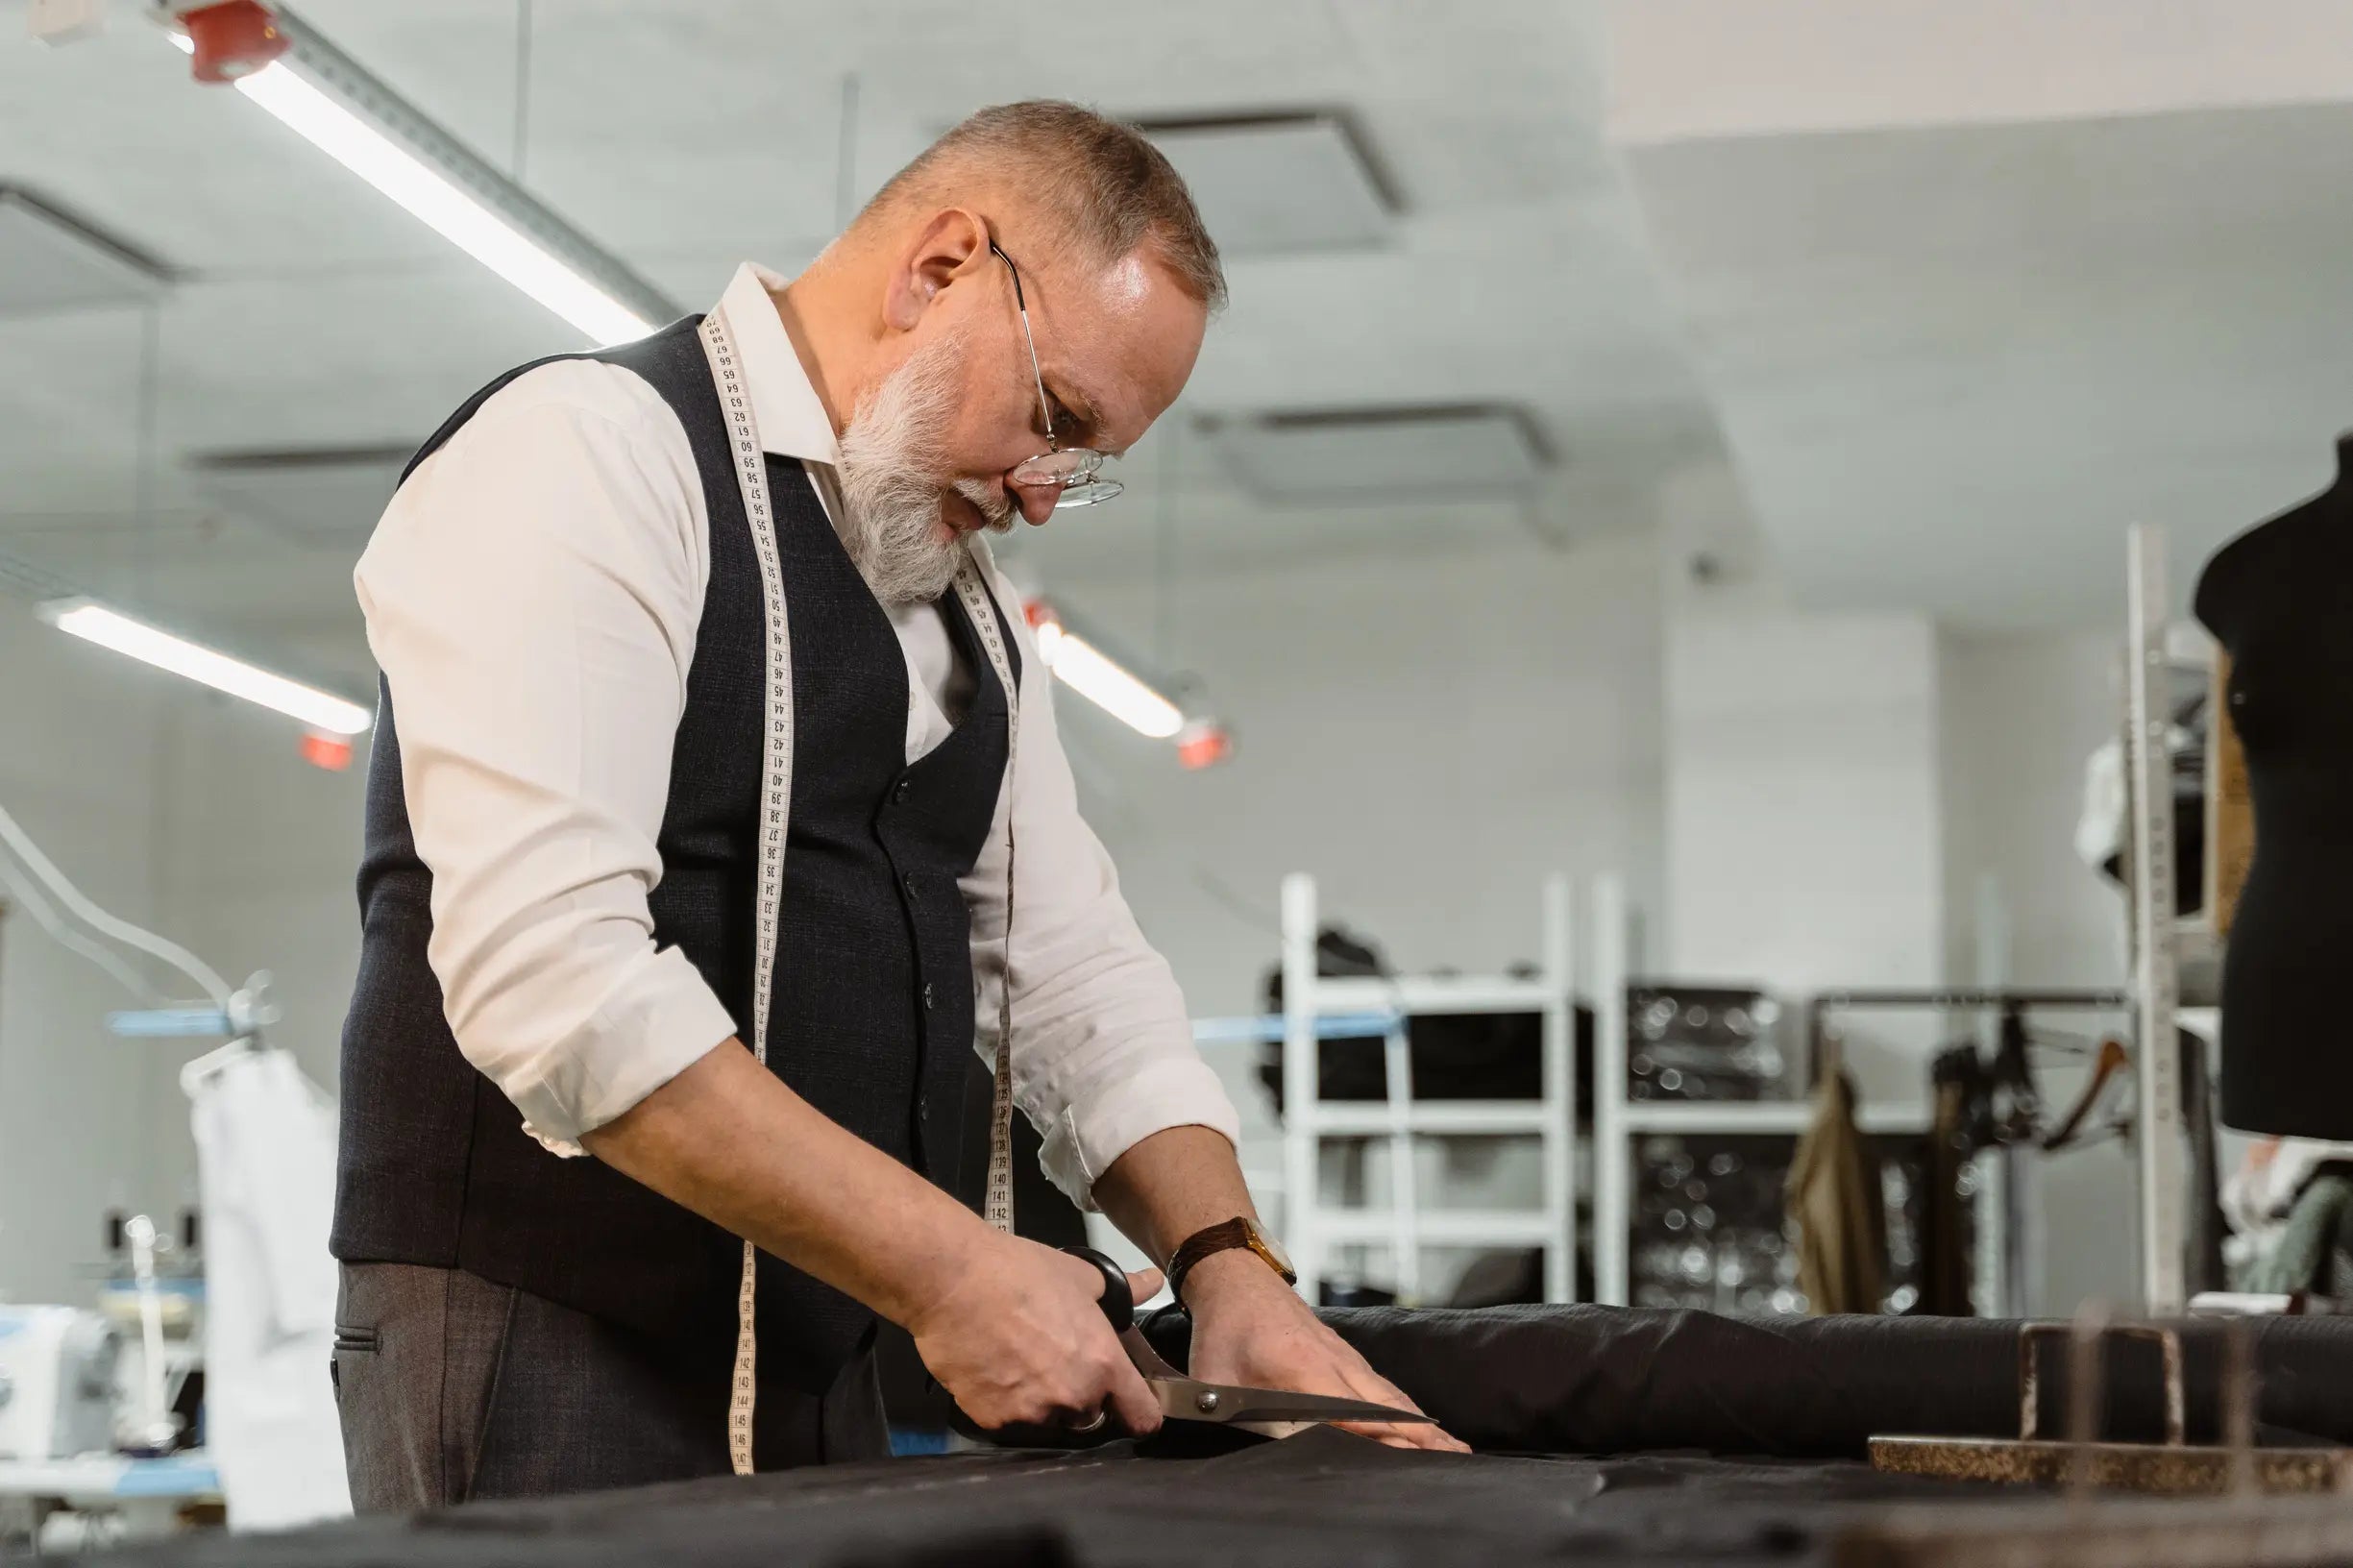
Begin with precise measurements and a toile. Record chest, waist, hips, shoulder width, back length, arm length, and the high point of the shoulder. Make a simple toile in calico to see how the cloth hangs; it will reveal where fabric pulls, wrinkles, or gapes, allowing you to adjust seamlines and ease before cutting the final fabric. This step helps avoid wasting premium cloth. Set and align the shoulders and sleeves carefully. Position the shoulder seam at the edge of the shoulder bone. Adjust the sleeve pitch so the underarm seam follows the wearer’s natural arm line, and balance the sleeve-cap height to eliminate pull lines. Shape the body with controlled tailoring techniques such as darts, princess seams, centre back shaping, and side-seam tapering to remove unwanted ease while preserving movement. Redirect fullness into structured seams rather than bulky trim to slim the silhouette without compromising comfort.
Remove bulk and reinforce finishes by grading or trimming seam allowances where layers meet. Staystitch around curved areas, and press seams into place as you construct. Clean finishing and subtle interfacing let panels lie flat, so the garment reads as a single, crisp plane rather than a stack of uneven layers. Build functional ease into key points without altering the outer line: mark and test movement at the seat, crotch, underarm, and knees, then add gussets, pleats, or a slightly extended back length where required. Small, targeted allowances prevent distortion of the silhouette during motion, keeping lines neat while preserving utility. Taken together, these steps eliminate pull lines, reduce stress on seams, and preserve mobility, so the garment performs in use while maintaining a clean silhouette.
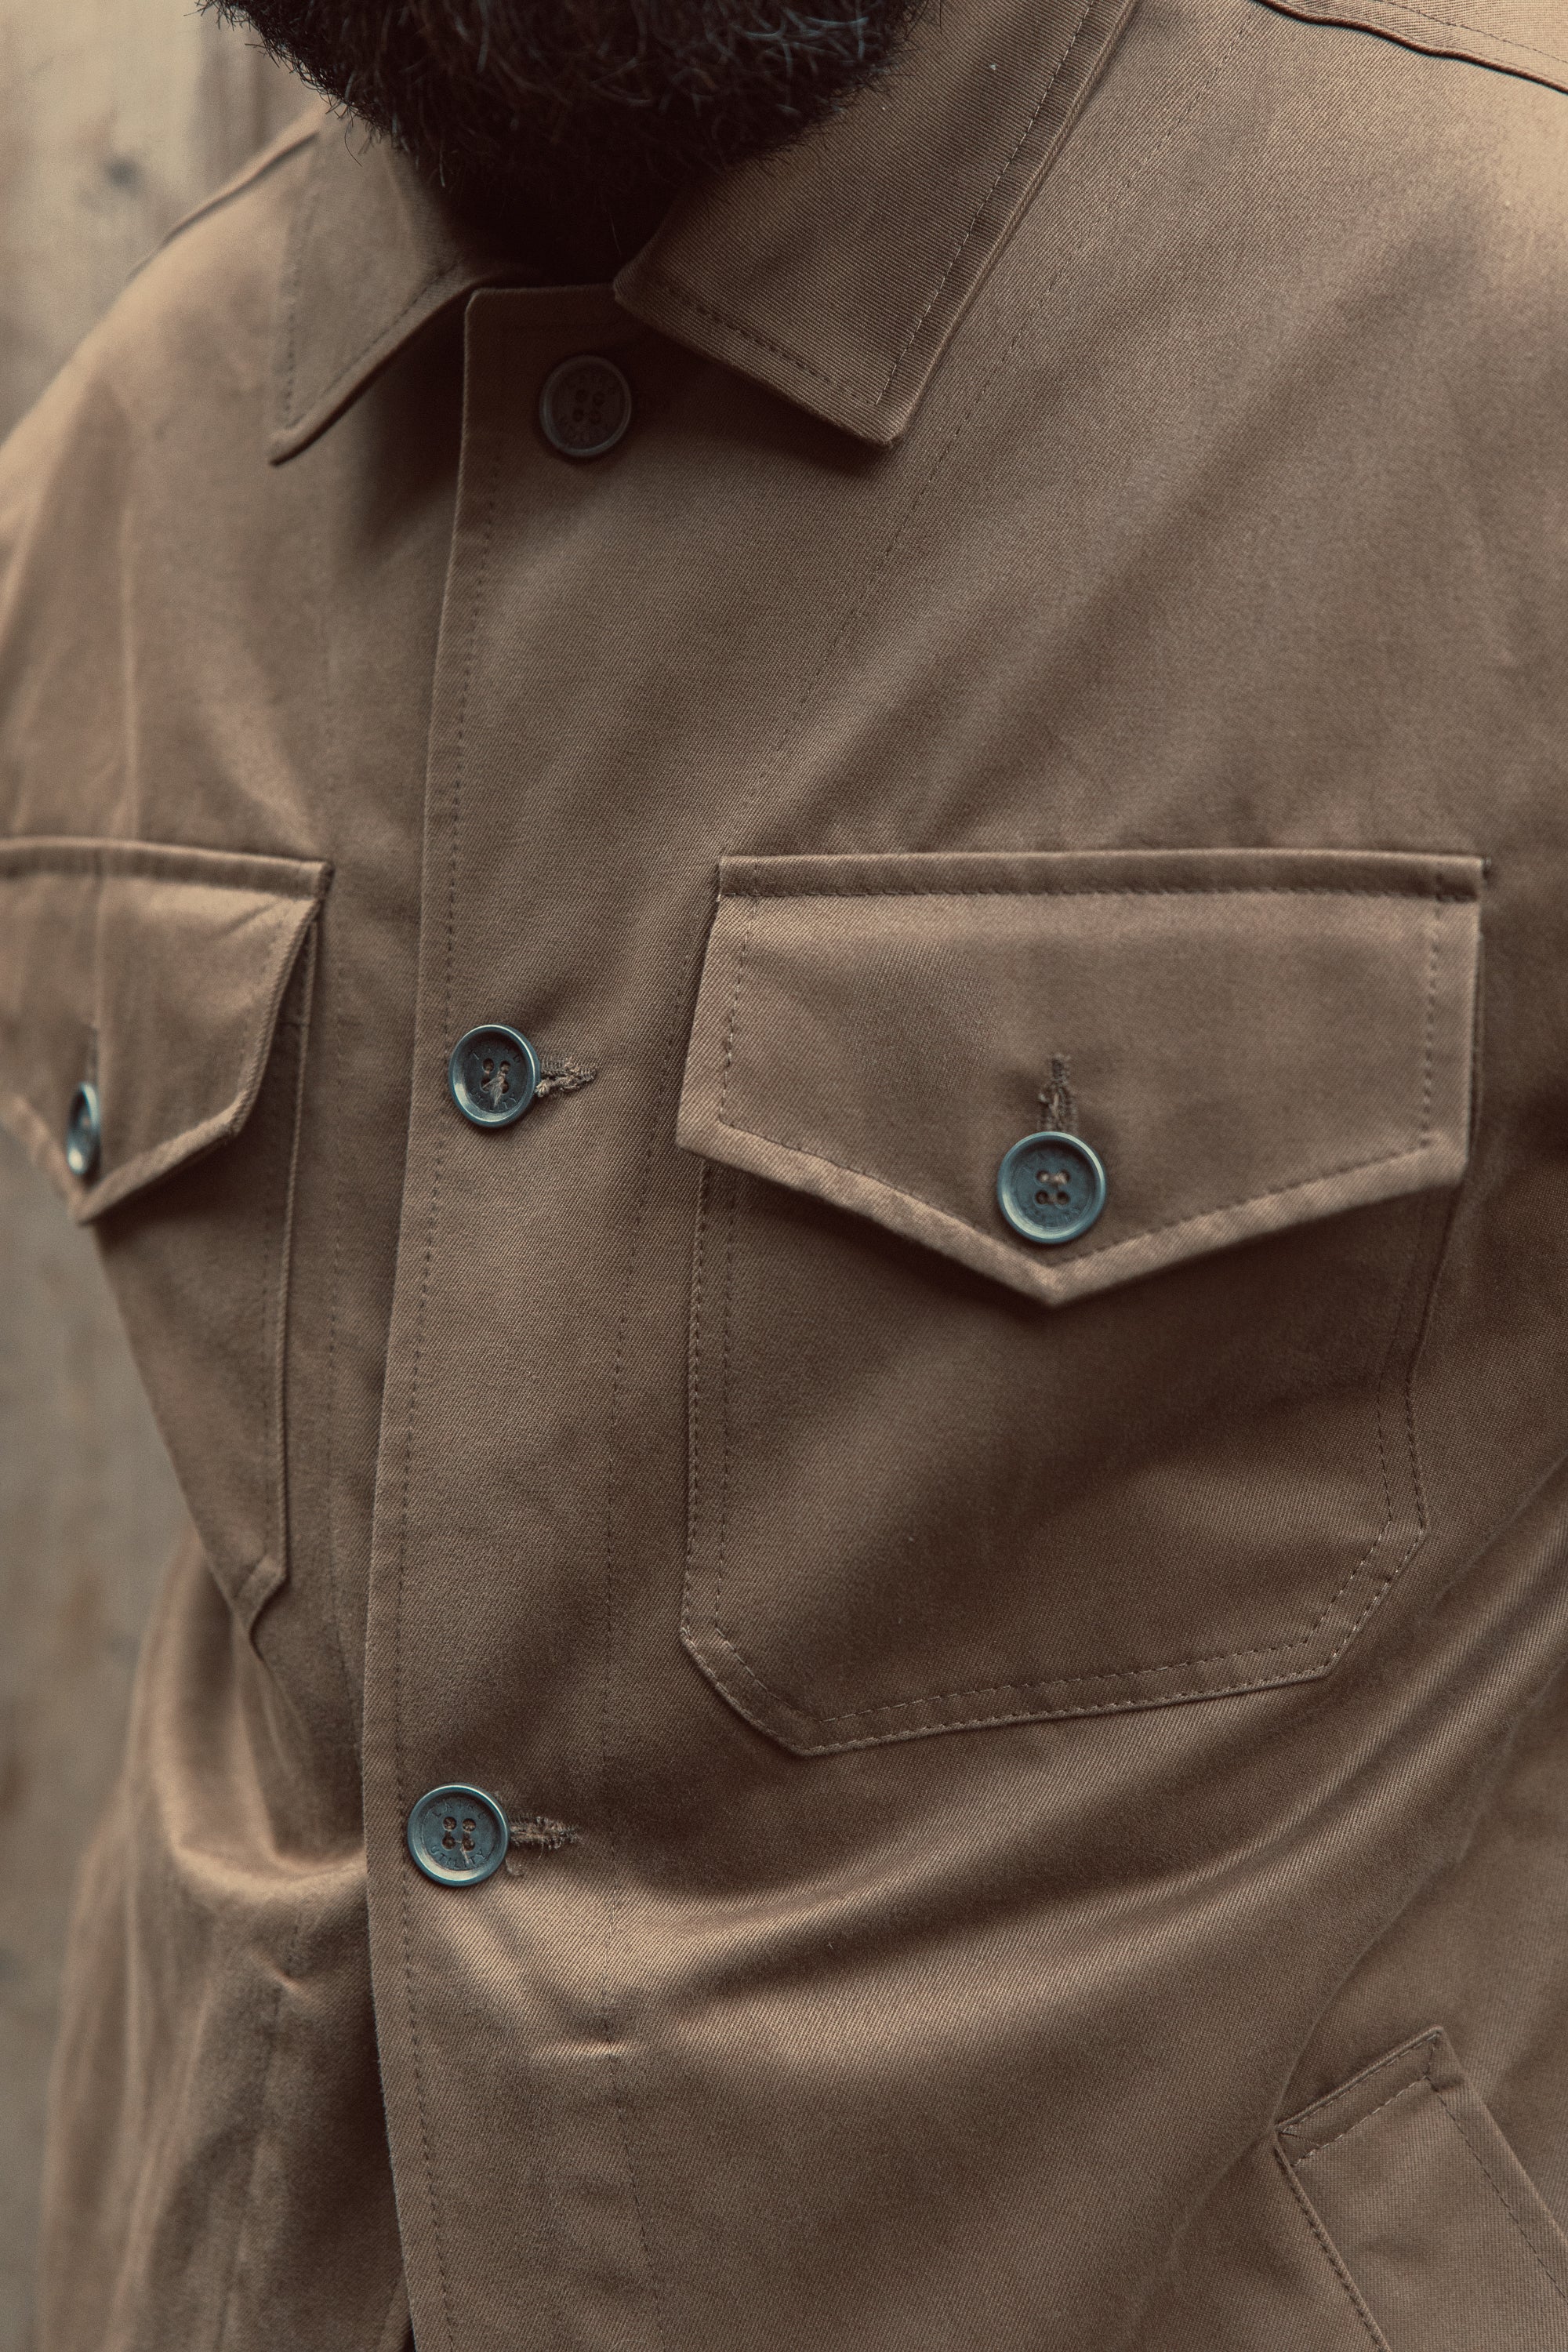
Choose structured twill for a crisp, tailored silhouette.

How to choose robust materials and reinforce construction for enduring garments
Choose tightly woven constructions with proven abrasion resistance and dimensional stability, such as heavy twill, canvas, ripstop, or waxed finishes. Carry out simple wear tests by rubbing and folding samples to locate where fibres break, then reserve the densest cloth for high-wear areas such as pockets and knees. Match high-tensile threads, for example bonded nylon or polyester-wrapped core-spun, to appropriately sized needles, and use heavier topstitching thread on visible seams. Fit corrosion-resistant zips and fastenings to reinforced patches so the load spreads rather than concentrates.
Target reinforcements to predictable stress points. Apply bar tacks at pocket corners, belt loops, the crotch, and underarm, use box-and-cross stitches at strap terminations, and add small internal patches where abrasion concentrates. Place these elements on the garment's strain lines so the extra fabric and stitching take the load rather than the main seam allowance. Choose seam constructions that enclose raw edges and distribute tension, for example flat-felled seams on side seams and inseams. Bind exposed hems, and specify seam tape or interlining where regular water exposure is expected. Incorporate structural details to preserve shape and movement: gussets in the crotch or underarm, articulated panels at knees and elbows, and interfaced collars, waistbands, and pocket openings. Pre-wash fabrics and build prototypes to reveal shrinkage and weak spots before finalising construction; this limits fraying, reduces seam failure, and helps garments perform through repeated use.
Handles heavy wear every day.

Design garments with functional details to simplify repairs
Specify generous seam allowances, around 3 cm, and standardise seam finishes, using single-needle backstitching at high-load points. That extra fabric and precise stitching let panels be let out, replaced, or re-stitched without altering the garment's fit. Incorporate access panels or removable linings secured with buttons, press studs, or visible stitching. These features give repairers direct access to inner layers, so insulation can be patched, padding replaced, or worn linings mended without dismantling the whole garment. Select replaceable hardware and standard fastenings, such as plain shank buttons and interchangeable zip sliders, and reinforce high-load areas with bar tacks. By favouring part replacement over complex reconstruction, you restore function with minimal intervention and preserve the original fit.
Designing garments as modular panels, with a clear fabric grain orientation, allows sleeves, knees, and crotch panels to be rotated or replaced. Long-serving utility garments demonstrate that planned panel replacement can materially extend service life. Marking construction lines visibly and leaving spare thread help subsequent repairers match original techniques, while reinforced stitch patterns, such as bartacks and backstitches at stress points, preserve intended fit and performance. Together, these measures enable repairers to reproduce original seams and reinforcements, limit dimensional change when patches or panels are fitted, and shift wear from irreversible damage to standardised, repeatable maintenance actions.
Careful tailoring, using pattern reshaping, seam reinforcement, and targeted panelling, reduces strain, improves mobility, and lengthens a garment's lifespan. By redistributing stress and reinforcing high-wear areas, it produces a cleaner silhouette, stronger construction, and simpler, more predictable repairs, keeping workwear reliable through heavy use.
To put these principles into practice, begin with a toile (a test garment) to establish fit. Choose abrasion-resistant weaves and high-tensile threads for high-stress areas. Add gussets, bar tacks, and modular panels so wear concentrates on replaceable parts. Design for repairability from the outset to keep everyday kit dependable, mendable, and maintainable rather than disposable.