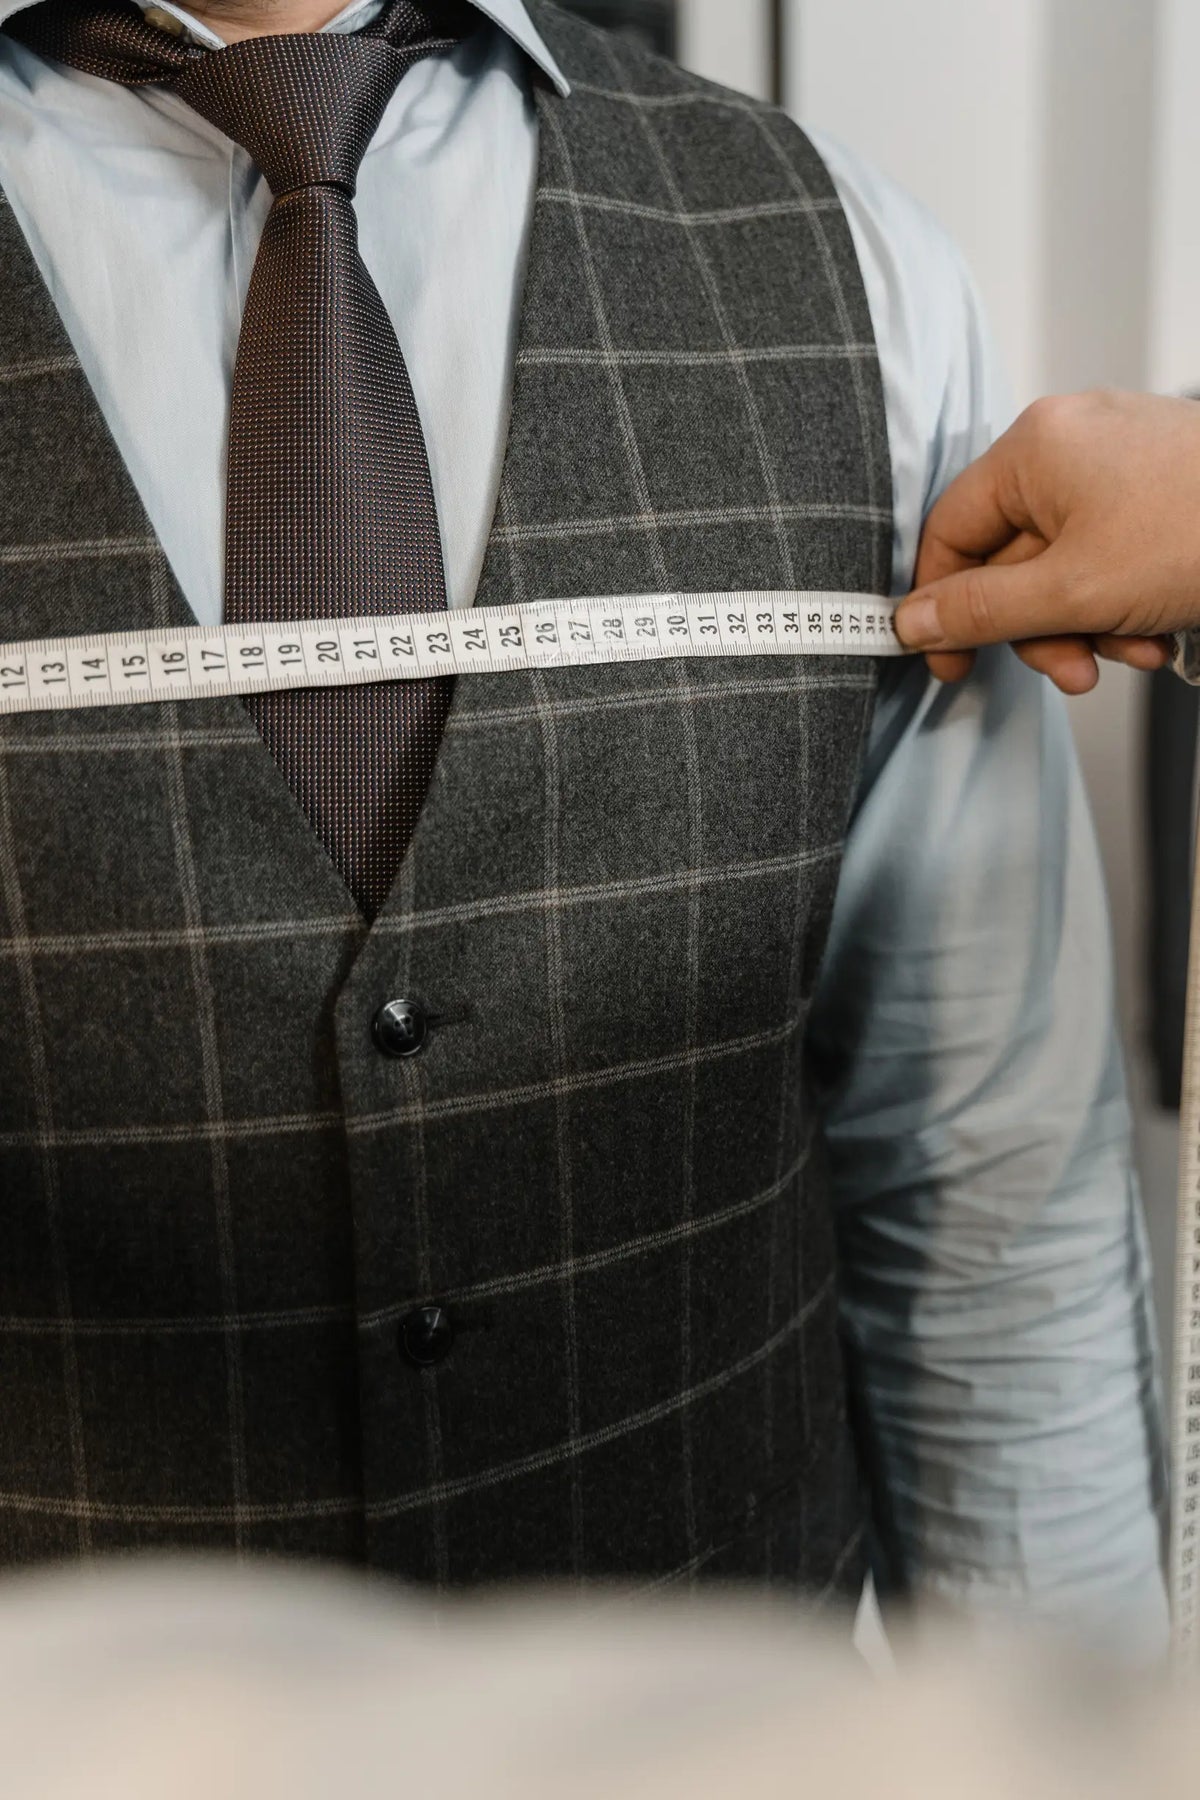
Small faults often cut an item's useful life short, because replacement parts can be difficult to source and repairs require specialist skills. A broken fastening or a weakened seam can therefore escalate from a minor nuisance into a permanent failure.
This post outlines three practical design choices for durable garments: fabrics that mend and age gracefully, reinforcements at stress points, and modular, interchangeable fittings, all intended to keep maintenance straightforward. Use them to spot issues early, carry out repairs without specialist tools, and prolong the life of your garments.

1. Choose fabrics that mend and age well
Choose natural fibres or long-staple blends in plain weaves or mid-weight knits; their structure accepts darning and patching cleanly and resists pilling. Test a swatch by rubbing it between thumb and forefinger, then inspect for fuzz and fibre breakage. Pre-wash a seam allowance to check shrinkage and colourfastness so repairs will sit correctly after laundering. Keep a labelled, hidden scrap of the original fabric, matching thread samples, and brief care notes, which makes it easier for anyone to match texture and colour for future mending.
Design garments for repair from the outset: allow generous seam allowances, specify accessible finishes, and fit removable linings so sections can be replaced without dismantling the garment. Reinforce high-wear points with additional stitching or backing cloth to simplify future replacements and reduce the need for frequent repairs. Treat visible mending as a considered detail; choose fabrics and thread colours that accept decorative patches and topstitching so repairs read as design choices rather than concealment. Label components clearly and provide simple access points, such as snap fastenings or stitched-on patch areas, so maintenance becomes straightforward and easily taught.

2. Reveal and reinforce stress points to simplify repairs
During prototyping, run straightforward load tests and controlled wear trials to map stress points. Record recurring failures on technical drawings so local reinforcements address actual failure modes. Make stress lines easy to see with contrasting topstitching, visible seam tape, or surface stitching; this reveals fraying, stitch breakage, and fabric thinning early, before a catastrophic failure. These visible wear patterns help owners and repairers plan timely, targeted interventions.
Specify visible, replaceable reinforcement elements, such as external webbing strips, stitched-on patch panels secured with snap fasteners or hook-and-loop fastenings, or removable leather patches, so a damaged layer can be replaced without unpicking main seams. Increase stitch density at strap ends, pocket corners, and load-bearing transfer points using bar tacks, box stitches, or tight zigzag patterns; these concentrated terminations stop tears spreading and create distinct, easy-to-restitch details. Design access for repair by incorporating inspection panels, removable linings, or generous seam allowances, allowing a repairer to reach reinforced areas without dismantling the whole garment. Document service points on assembly guides, workshop diagrams, or repair sheets so maintenance teams can locate and replace reinforcements quickly and consistently.

3. Opt for interchangeable fittings and modular components for lasting versatility
Limit fastenings to a small set of common, replaceable types — for example, standard screw heads, captive screws, and thumbscrews — so technicians need the same tools and spares; this reduces error rates and spare-part complexity. Where routine access is required, favour tool-free or minimal-tool quick-release fittings such as quarter-turn fastenings, bayonet mounts, or clip-in brackets; these keep parts captive during removal and speed subsequent access. Design modular subassemblies with mechanical keying, labelled connectors, and alignment features so replacements only fit the correct way and swaps remain straightforward. Specify connectors and fastenings to match the expected number of disconnect cycles, and employ captive wiring, sliding rails, or pogo-pin contacts where servicing is frequent to minimise wear and accidental damage.
Document module boundaries and swap procedures on product and service sheets, and include exploded views, connector pinouts, and torque or retention specifications. Exploded views show how parts relate, pinouts map signal and power connections, and torque or retention figures ensure fastenings secure without overstress. Label both module and chassis clearly with identifiers that match the documentation, and use keyed plugs and alignment marks so field staff recognise connectors at a glance and avoid misconnection. Taken together, these measures simplify spares management, speed routine servicing, and reduce the risk of incorrect reconnection during maintenance.
Taken together, design choices that favour visible, repairable features stop minor faults becoming terminal. When wear is easy to spot and components are simple to replace, garments endure longer and need less specialist attention.
Specifically, choose fabrics that can be easily mended, make reinforcement lines visible to allow early intervention, and specify swappable fittings so repairs remain predictable and teachable. The result is less waste, simpler spares management, and a straightforward, widely adoptable way to keep garments in use.