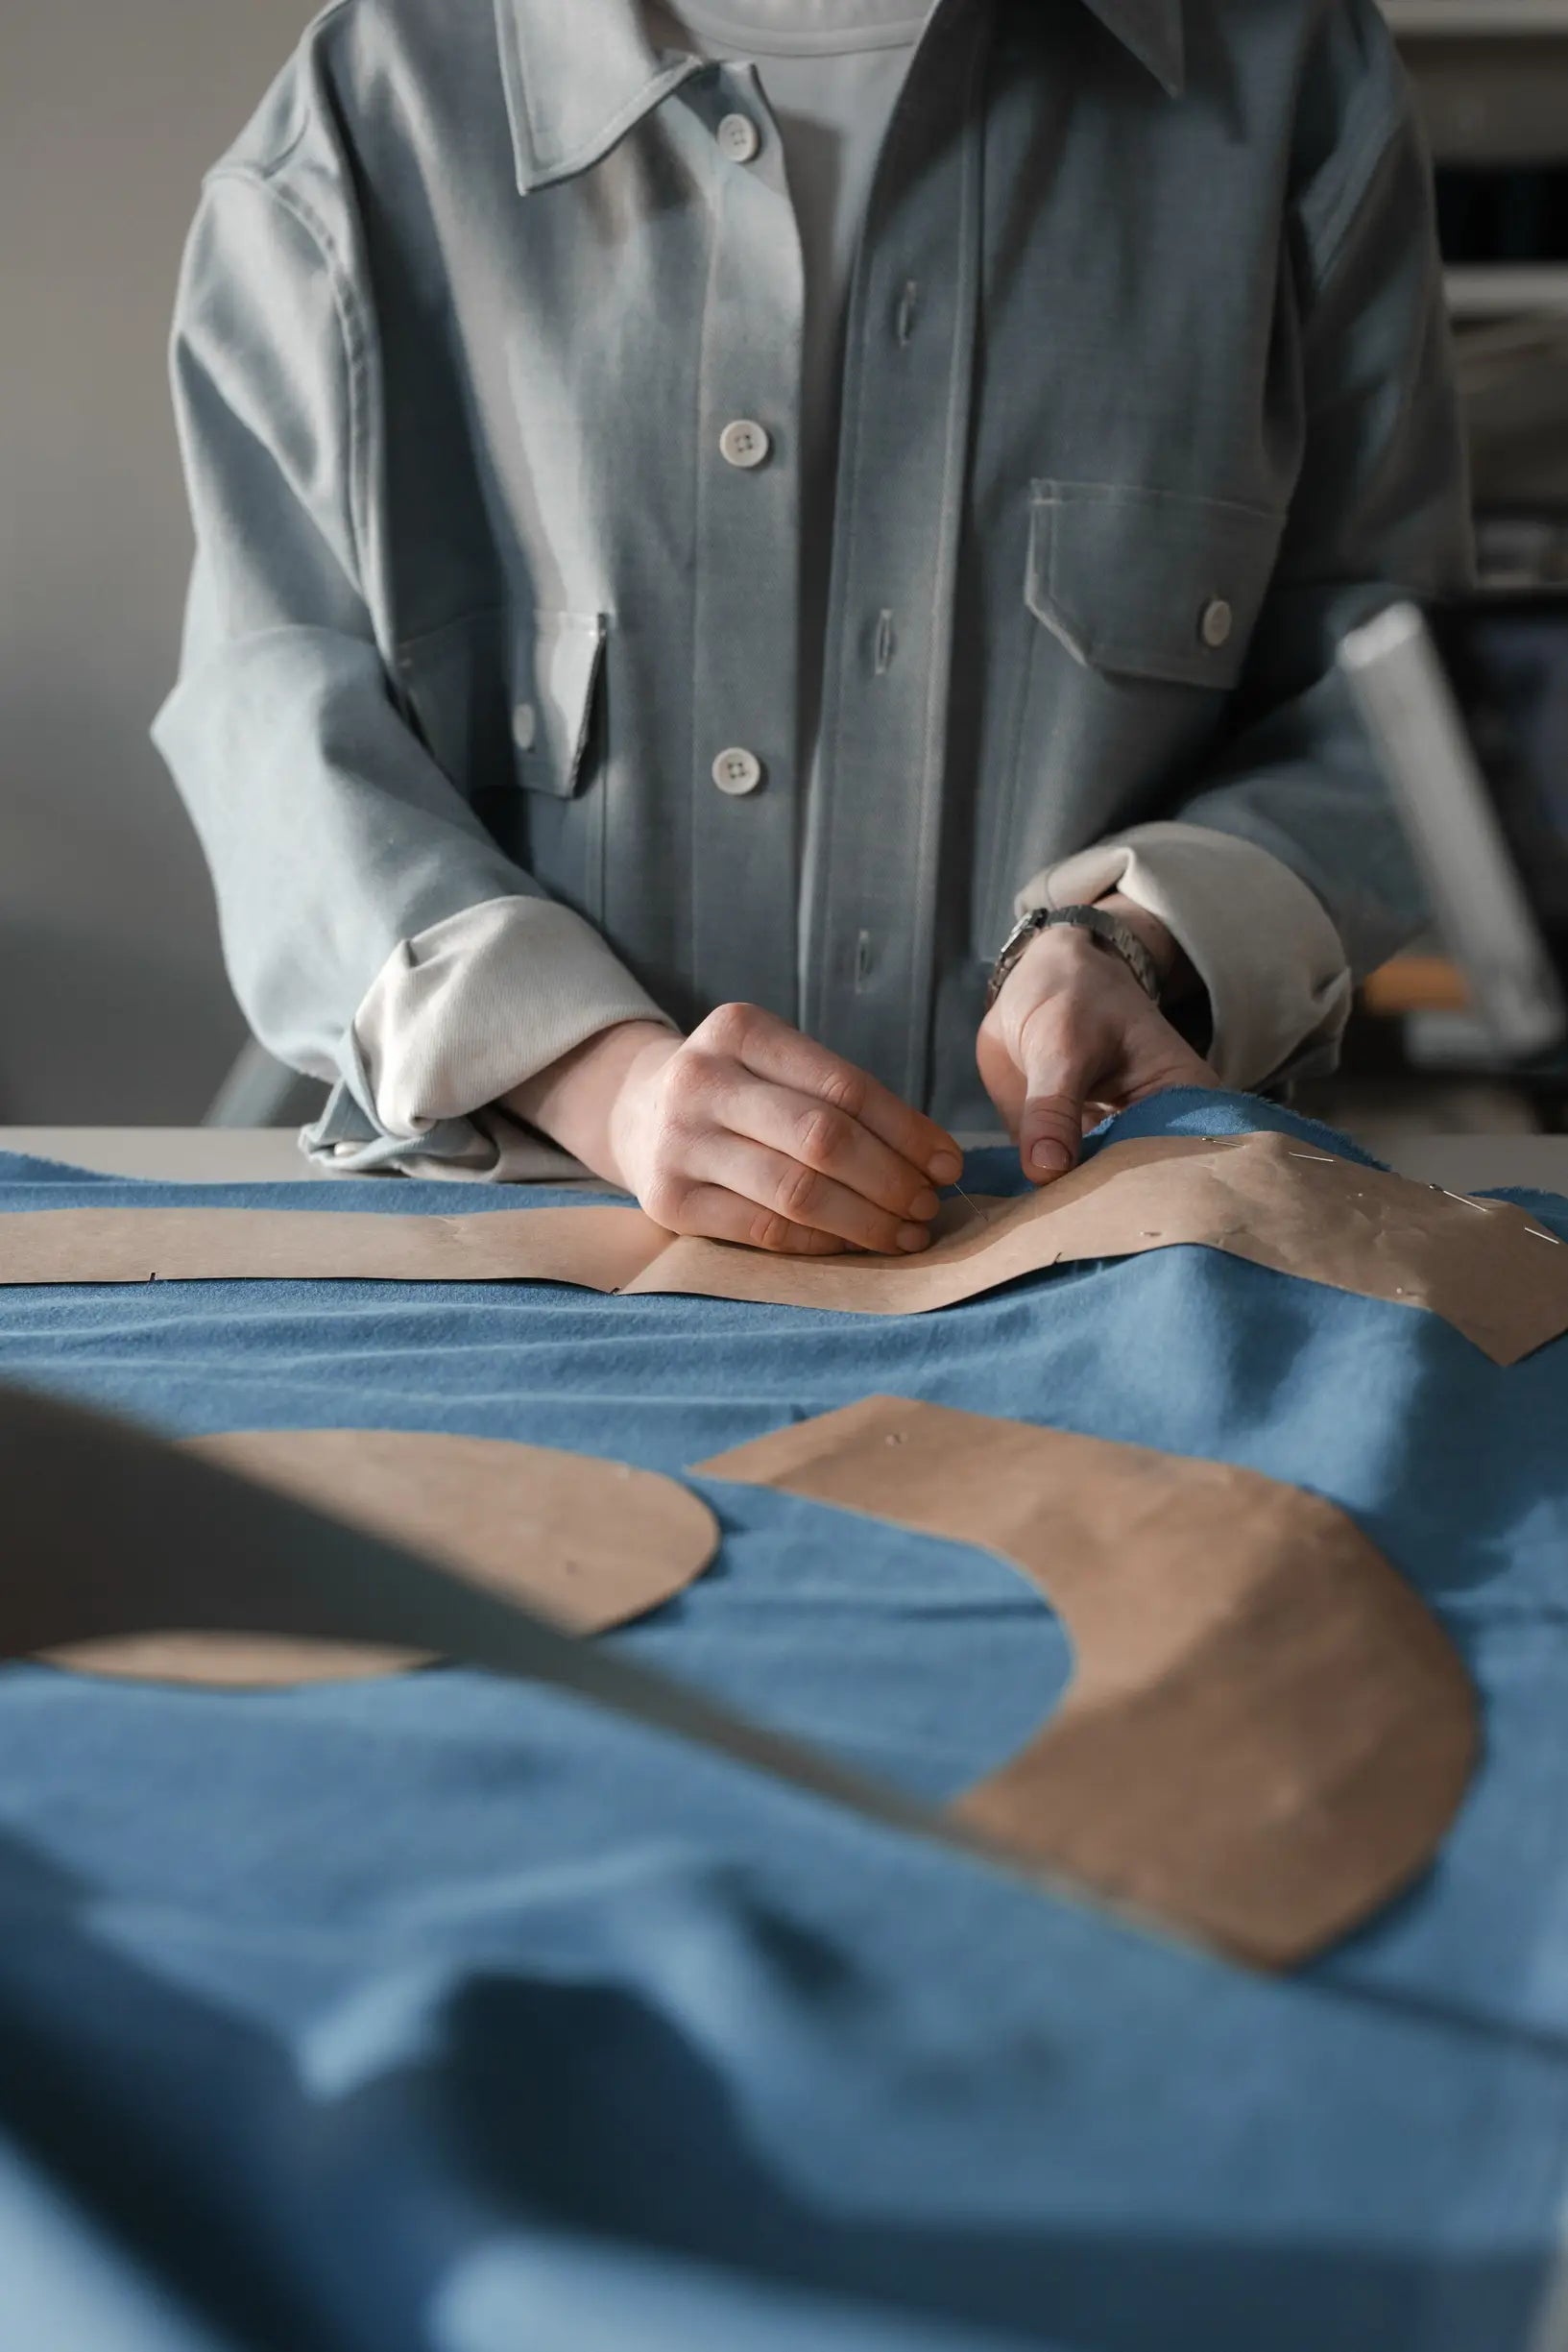
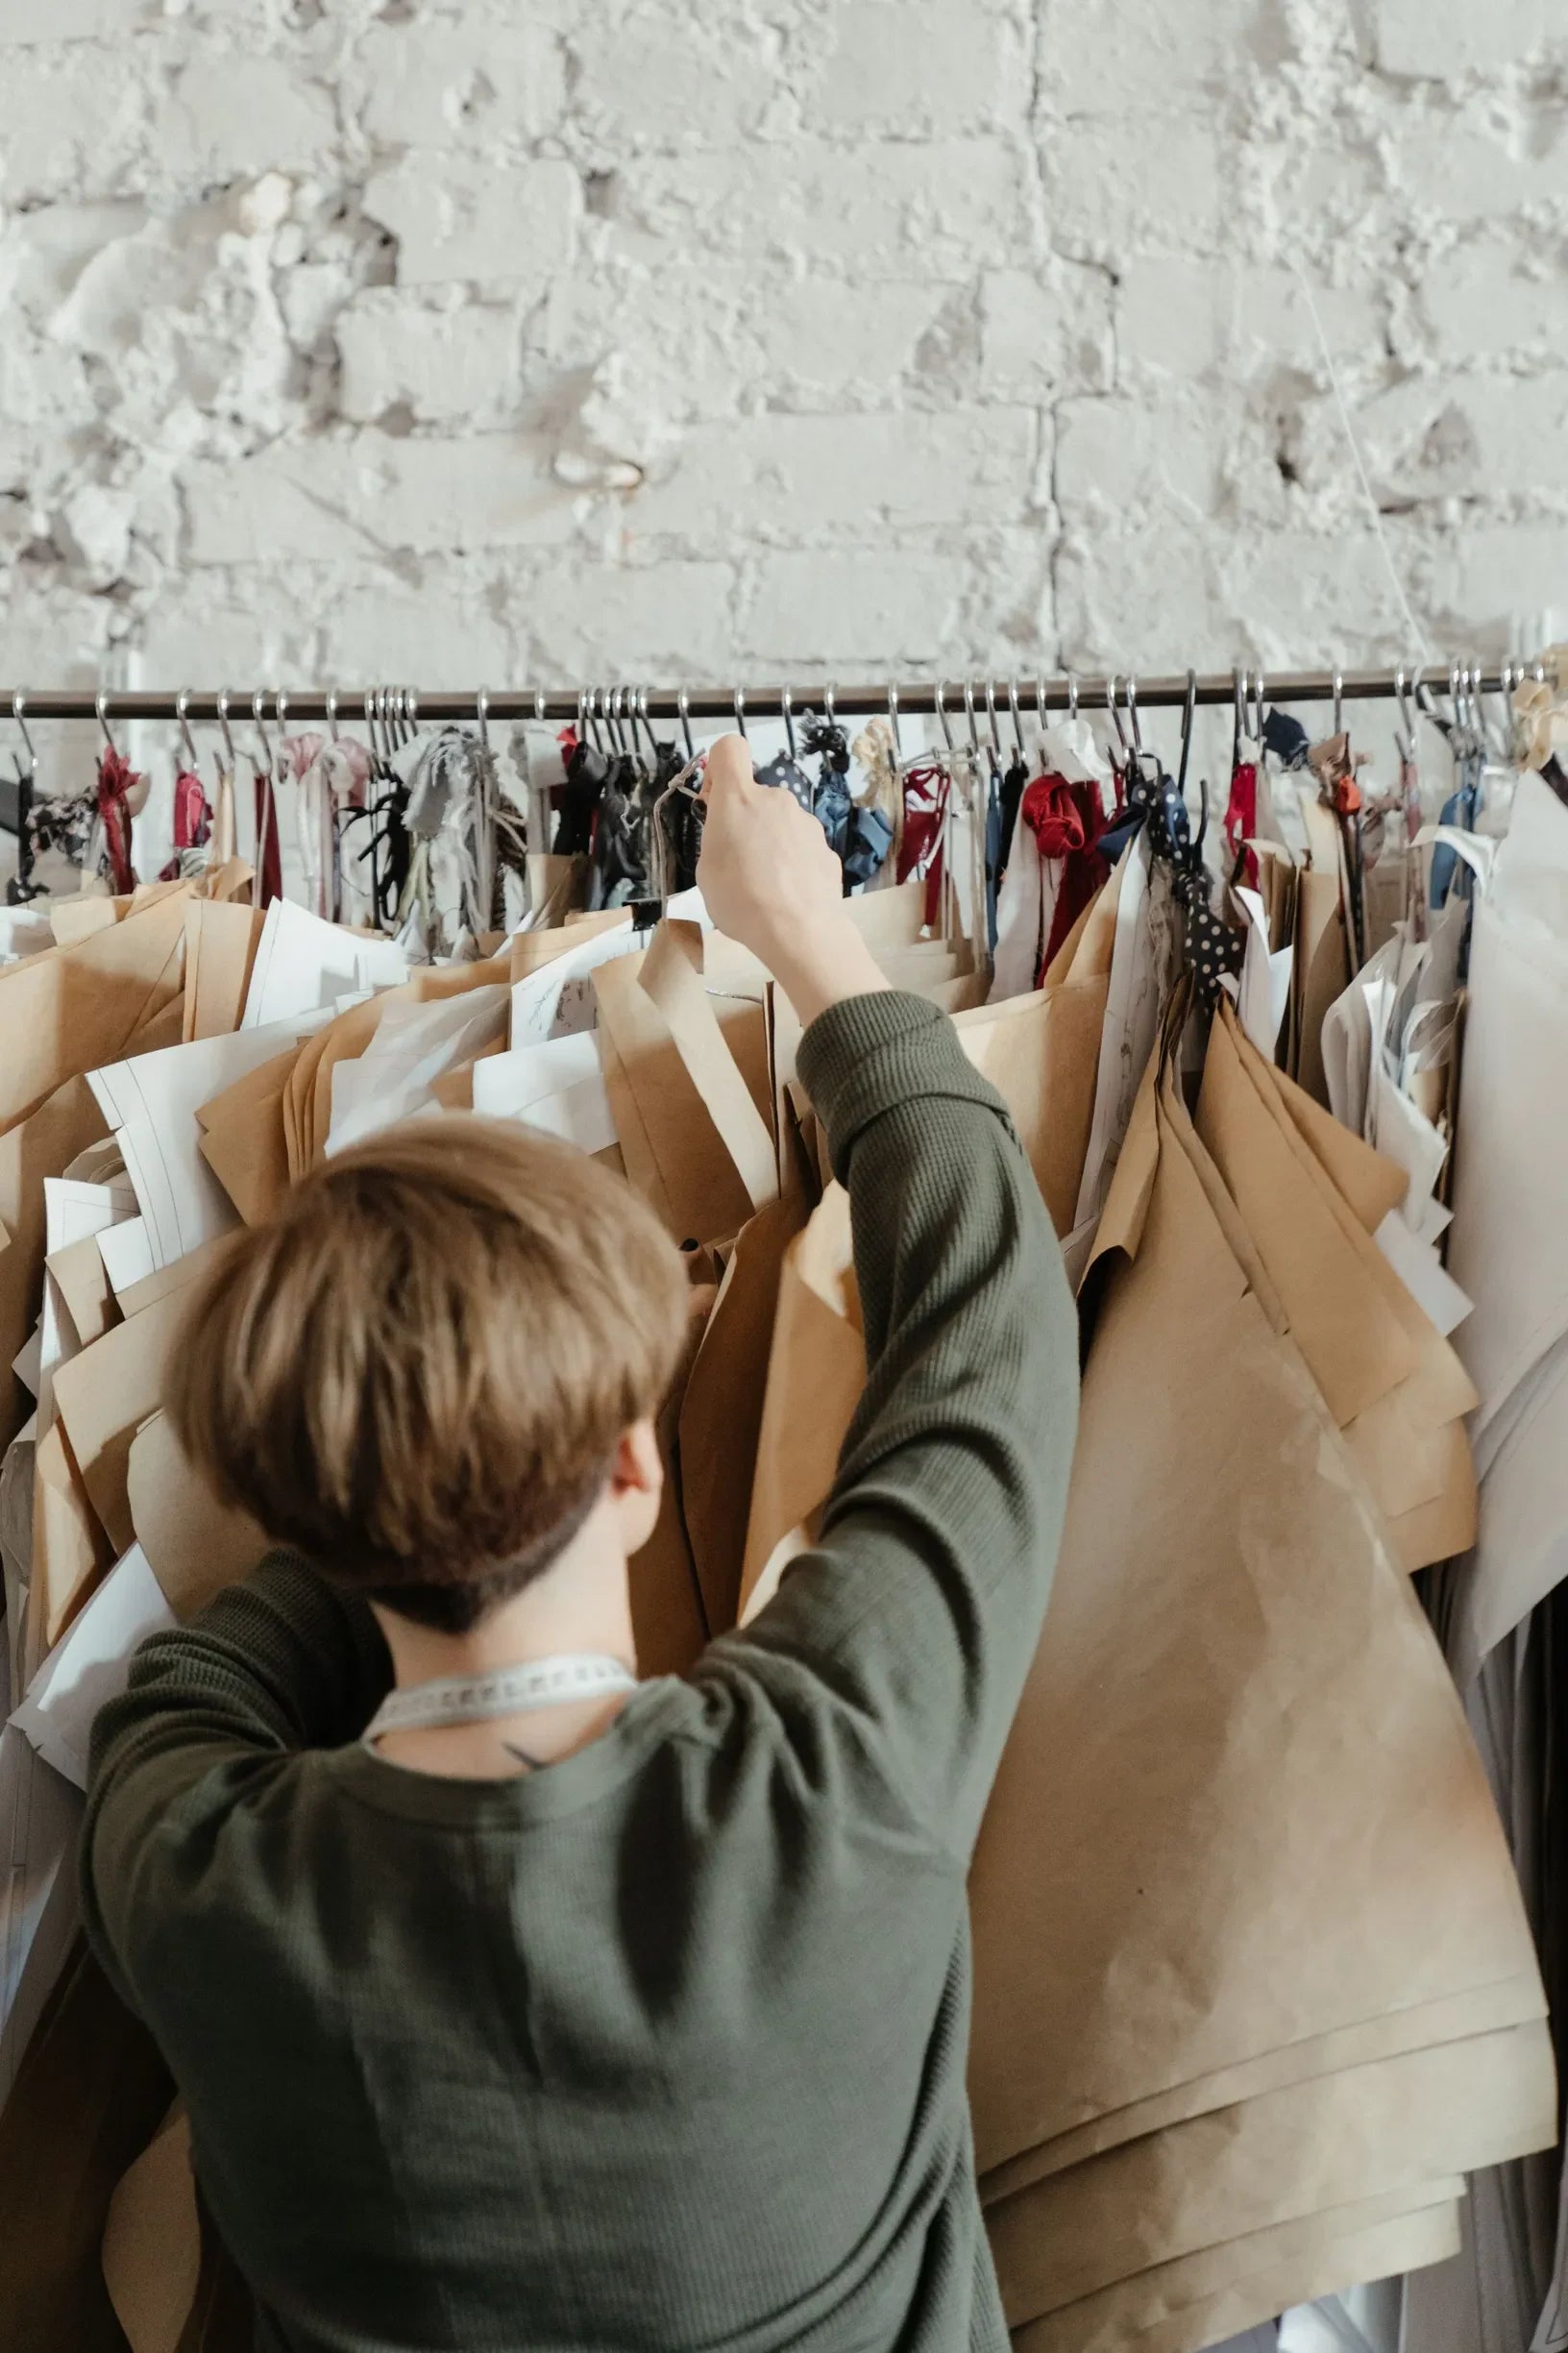
Have you ever spent hours mending a favourite jumper, only to find it distorted after the next wash? Small choices in fibre, weave, finish, and seam construction govern how readily a garment can be repaired, and how well it retains its shape.
This guide explains which fibres take visible repairs well, which weaves and knits resist distortion, and which finishes and stabilisers help fabrics remain dimensionally stable. It also offers practical guidance on seam choices and design details that make repairs straightforward and everyday maintenance easier.

Choose fibres that mend easily to extend a garment's life
For repairs that remain neat and durable, favour wool and cotton. Wool fibres interlock and felt, while cotton swells and grips stitches, so darning sits flatter and holds better. Before you begin, check the fabric: make a darning swatch on a scrap, or cut a small piece and tug gently to see whether the cloth frays or knit loops keep their shape. Choose tightly woven cloth or stable knits over loosely woven, friable fabrics; they tolerate needlework and provide a predictable surface to work on.
Match repair thread, yarn, or patch fabric to the original fibre and weight so shrinkage, wear, and colour behaviour remain compatible. Wash a test scrap first to check colourfastness and any dimensional change before stitching the repair into place. Avoid slick synthetic fabrics, glazed or coated finishes, and heavily laminated technical textiles for hand-sewn repairs; they can resist needles, tear around stitches, or melt with heat. For such difficult surfaces, use surface patches or specialist sewing techniques that distribute stress across a larger area rather than relying on tight, single-point stitches. To help jumpers and similar garments retain their shape, choose naturally resilient fibres, tightly spun yarns, or fabrics with controlled stretch, and reinforce sag-prone areas with a compatible stretch yarn or a discreet backing to make future mending last longer.
Wear a heavy cotton jacket that takes repairs in stride.

Opt for stable weaves and knits that hold their structure over time
Plain and twill weaves lie flat and recover from handling, while interlock, double-knit, ponte, and rib knits show mirrored or denser loop structures that resist stretch and sag. Slide a fingertip along the surface, compare edge curl and snap-back, and feel whether the fabric is smooth or hairy to infer whether the fibres are long-staple or filament, compact-spun or loosely spun and fuzzy. These tactile cues predict how a fabric will hold its shape after wear, washing, and repairs.
Before cutting, assess the fabric’s stability. Gently stretch a sample across and on the bias, wet a small hidden area and let it dry flat, and hang a swatch to judge drape and any distortion. Check the label for pre-shrunk, stabilised, mercerised, or compacted finishes, and perform a short test wash if the finish or fibre content is unclear. For structured garments, choose slightly heavier weights, stay-stitch or add lightweight interfacing at stress points, and align pattern pieces with stable grainlines rather than the bias. These construction choices, combined with stable fibres and finishes, help minimise the need for frequent mending or reshaping.
Choose a hard-wearing twill for structure and lasting shape.

How to choose durable finishes and stabilisers
Heat-set and resin finishes lock the fibre structure by setting threads into a more stable alignment. That reduces distortion after washing and helps stitched shapes remain true. To test how a finish will behave, wet and gently stretch a scrap of the fabric, or steam-press a seam from the reverse, and see whether the material springs back to its original shape before you commit to a garment. Heavy laminates, plastic coatings, and stiff chemical finishes can complicate later repairs; when working with them, stabilise from the wrong side, use specialist needles, or apply a compatible, removable stabiliser that allows needles and stitches to pass cleanly and helps patches adhere.
Match the interfacing's weight and fibre content to the main fabric: use woven interfacing for woven cloth, knit interfacing for stretch materials, and favour sewn interfacing for very delicate fabrics to preserve the fabric's hand. Test a small scrap with the iron to confirm adhesion and feel before applying interfacing to the whole piece. To prevent distortion and make later repairs easier, add stay tape to bias edges, apply fusible or sewn patches at stress points, and reinforce buttonholes and pocket mouths with bar tacks or a clear stabiliser before construction. For slippery or open-weave fabrics, use a water-soluble stabiliser, spray sizing, or tailor's tacking to hold the shape while you stitch, then remove the temporary support to restore the fabric's original drape and hand.
Testing, choosing and applying finishes and stabilisers
- Pre-application tests: try a wet-and-stretch scrap, steam-press a hidden seam, and fuse a small piece of interfacing to a scrap. If the fabric springs back, retains drape, and shows no discolouration, the finish is likely stable; if it holds distortion, flakes, becomes brittle, or shines, reject or try a gentler option.
- Match interfacing to fabric weight, weave and stretch: use woven interfacing for woven cloth, knit interfacing for stretch garments, and choose a similar fibre content and weight so the main fabric keeps its hand and movement. Prefer sewn interfacing for very delicate or textured surfaces, and always trial a small fusion patch to check adhesion and hand.
- Apply to preserve hand and future repairs: stabilise from the wrong side where possible, use removable stabilisers so stitches and patches can be changed later, and select specialist needles for heavy laminates or coatings. Reinforce bias edges with stay tape, and strengthen stress points with sewn or fusible patches, bar tacks, or clear stabiliser before construction to reduce later mending.
- Use temporary supports for slippery or open-weave fabrics: tailor's tacking, water-soluble stabiliser, or spray sizing to hold shape while you stitch, then remove the temporary support to restore original drape. Reserve heavy laminates and permanent coatings for areas unlikely to need repair, or apply compatible, removable stabilisers to keep future mending straightforward.

Prioritise robust construction and accessible seams to simplify repairs
Leave generous seam allowances, around 2.5 cm where possible, and mark them with tailor's chalk. Stay-stitch seams where appropriate so you can trim, restitch, or insert a patch later without altering the garment's shape. Choose seam constructions to suit the fabric's behaviour. Use flat-felled seams to enclose raw edges and resist fraying on heavy woven cloth; their overlapping folds also help distribute strain. Use French seams for delicate or loosely woven fabrics to produce a neat, enclosed finish. Plain seams, by contrast, make unpicking straightforward where future access or alteration matters. Bear in mind that stronger seam types can add bulk, so match technique to fabric weight and intended drape. For heavy wovens, use coarser thread and longer stitches to avoid perforation; for delicate cloth, choose finer thread and shorter stitches. Position seams so later topstitching or reinforcement can correct distortion and help the garment retain its shape.
Reinforce known stress points proactively. Add bar tacks, a second row of stitching, or stay tape at pocket corners, crotch seams, underarms, and shoulder lines to spread load and reduce the risk of seam failure in normal wear. A second row of stitching, for example, will carry strain if the primary seam begins to give. Design linings and waistbands for access by attaching them in small, removable panels. Use bound or faced edges rather than glued finishes, and fasten linings with press studs or temporary basting so a single panel can be unpicked for repair. These choices speed future mending and help garments resist distortion through successive repairs.
Durable canvas endures heavy use and eases repairs

Built to be mended: simple repairs and easy maintenance
To make garments easy to mend and maintain, opt for long-staple natural fibres, such as linen or wool, or for medium- to high-twist cottons. Longer staples and greater twist lock yarns together, which reduces loose ends and the tendency to pill. To test a swatch, rub the surface and then gently pull a thread: if fibres come away, form pills, or the yarns loosen, the fabric is likely to pill or fray in wear. Prefer stable constructions, such as plain weaves and twills, which lie flat beneath patches and stitches. Check stability by stretching a small area and seeing whether it springs back and keeps seams neat. Choose finishes that preserve shape, for example pre-shrinking, heat-setting, or mercerising, and assess them by stretching a sample and noting how well it recovers.
Overall, small choices in fibre, fabric construction, finish, and seam detail determine whether a garment can be repaired neatly and will retain its shape. Match repair materials to the original fibre so the repair behaves the same in wear and wash, favour stable weaves and knits, and reinforce stress points. These steps help mends endure and allow garments to recover their shape after washing.
Refer to the sections on choosing fibres, testing stability, selecting finishes, and designing accessible seams as a practical checklist when planning or buying a garment. Test swatches and add modest reinforcement where required; these steps reduce alteration time, limit seam stretch and pilling, and help your favourite jumper preserve its silhouette and appearance for longer.