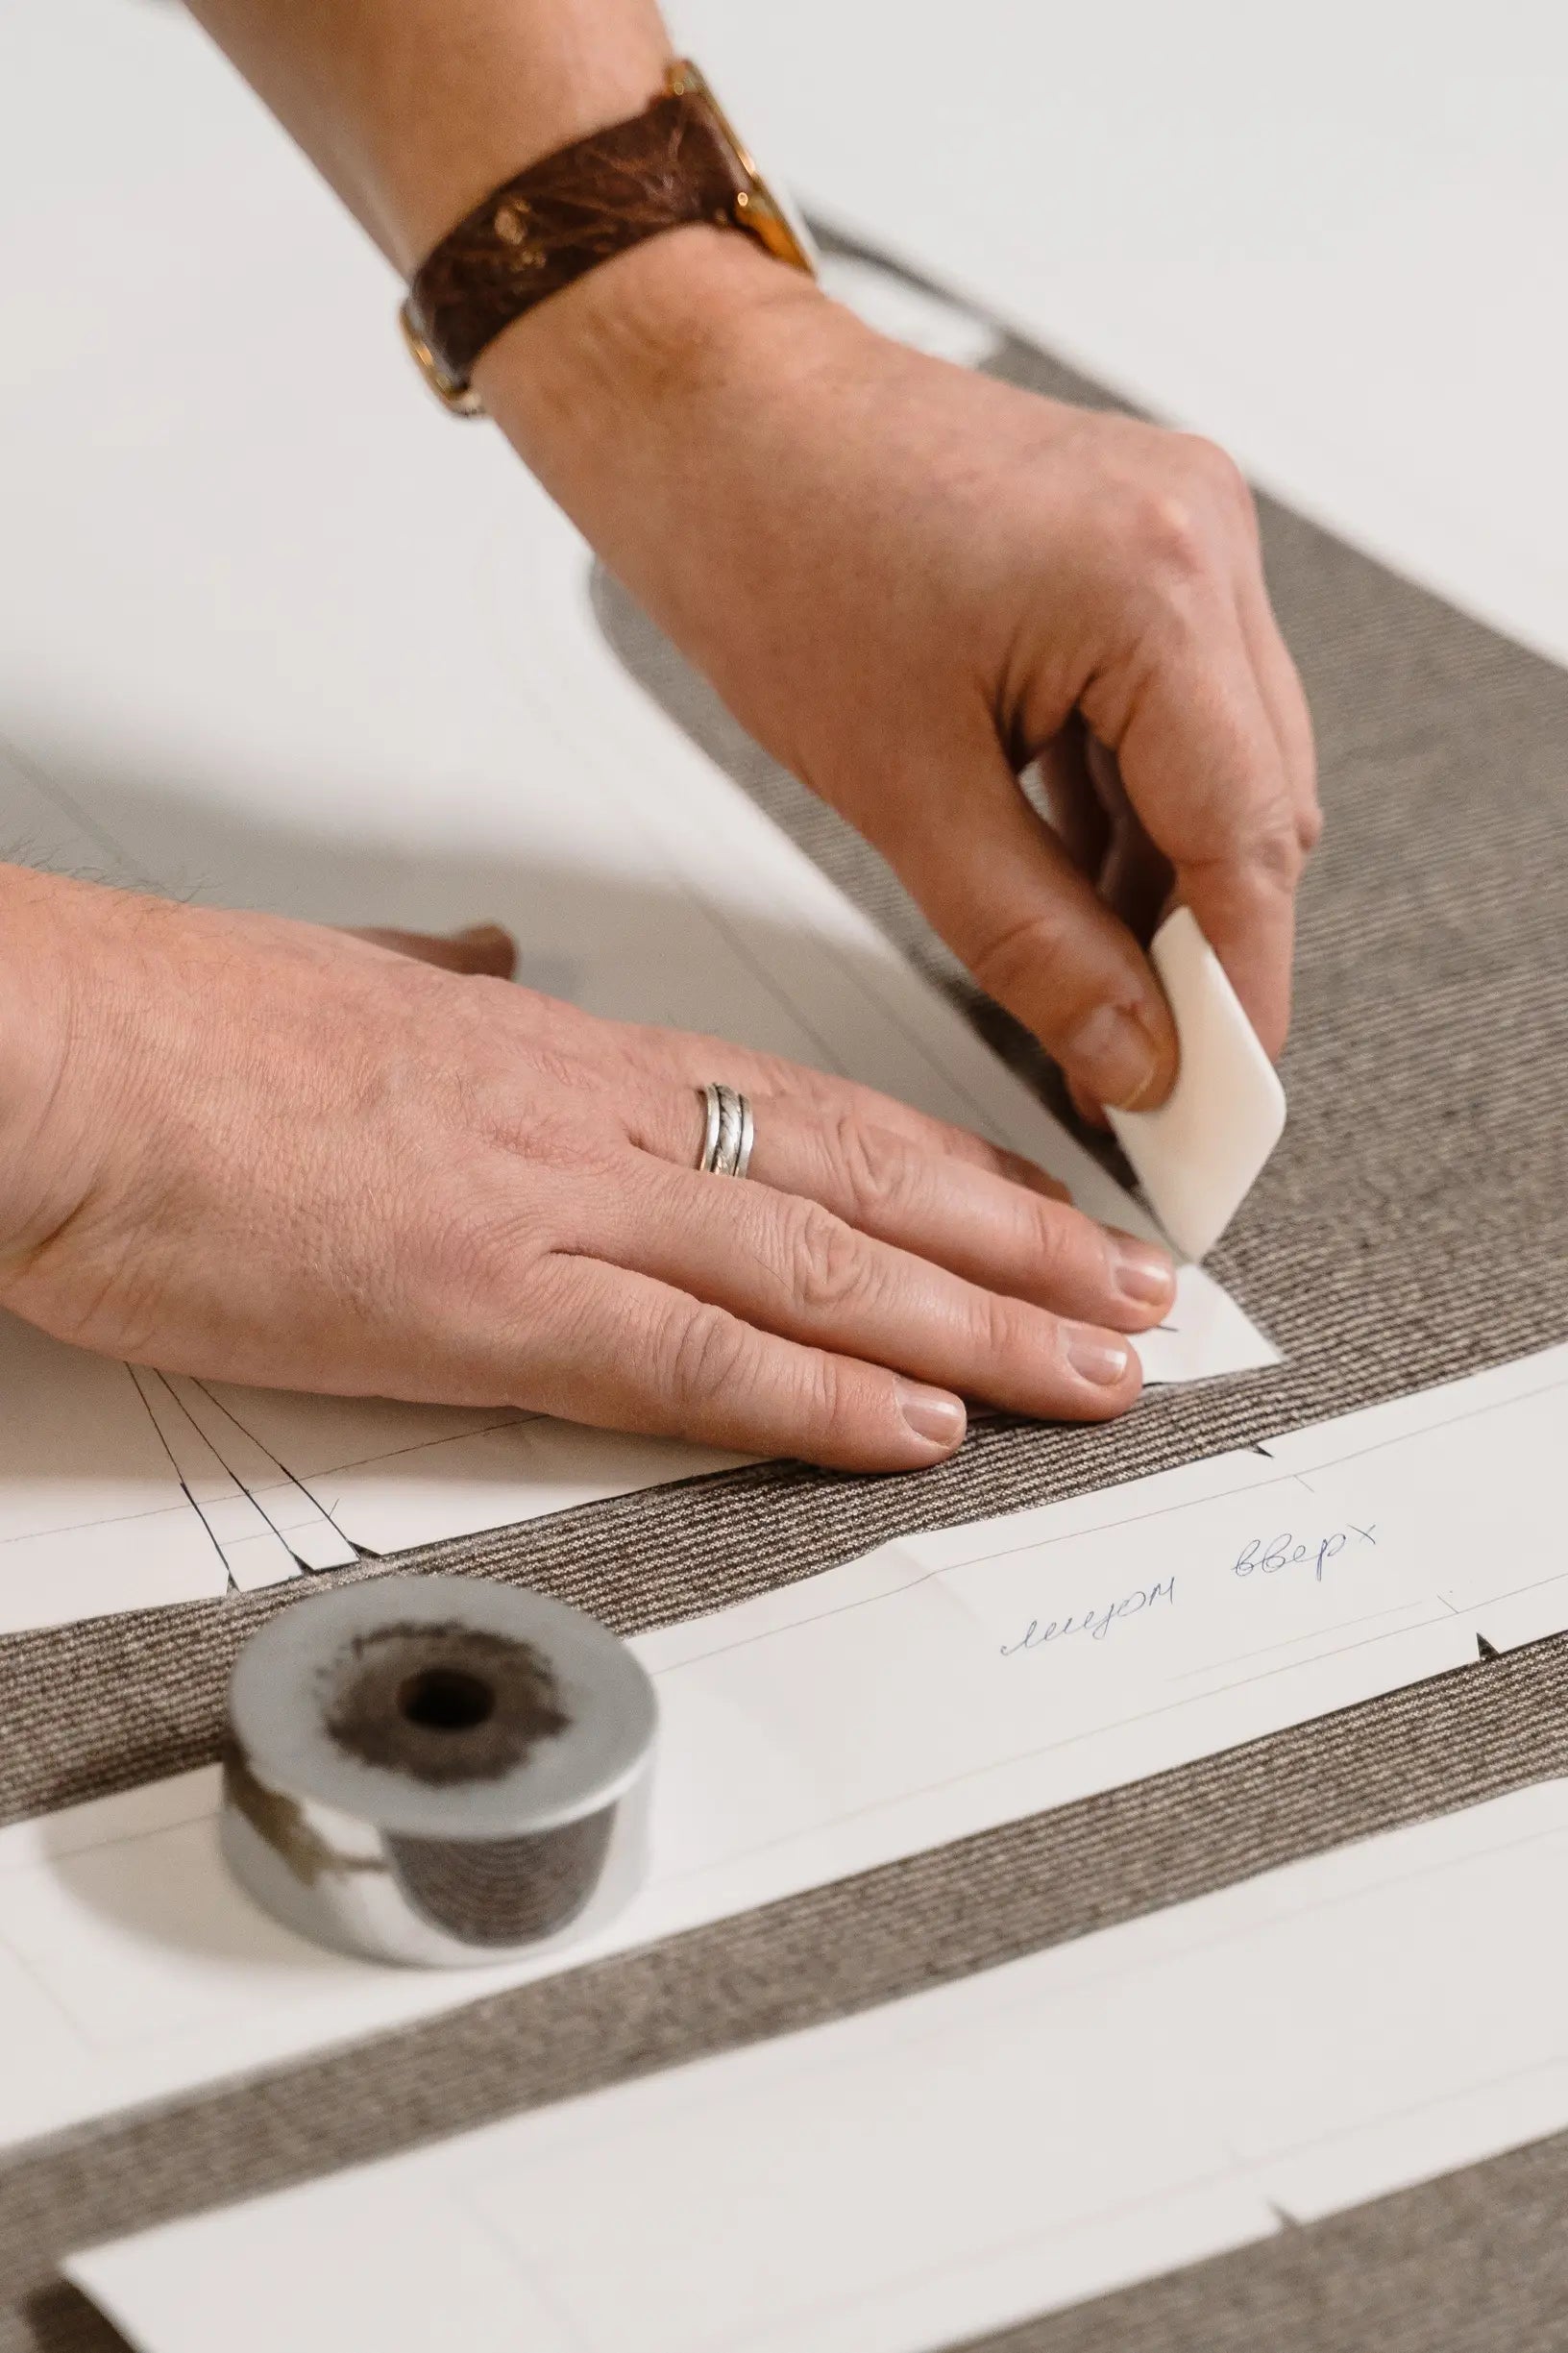
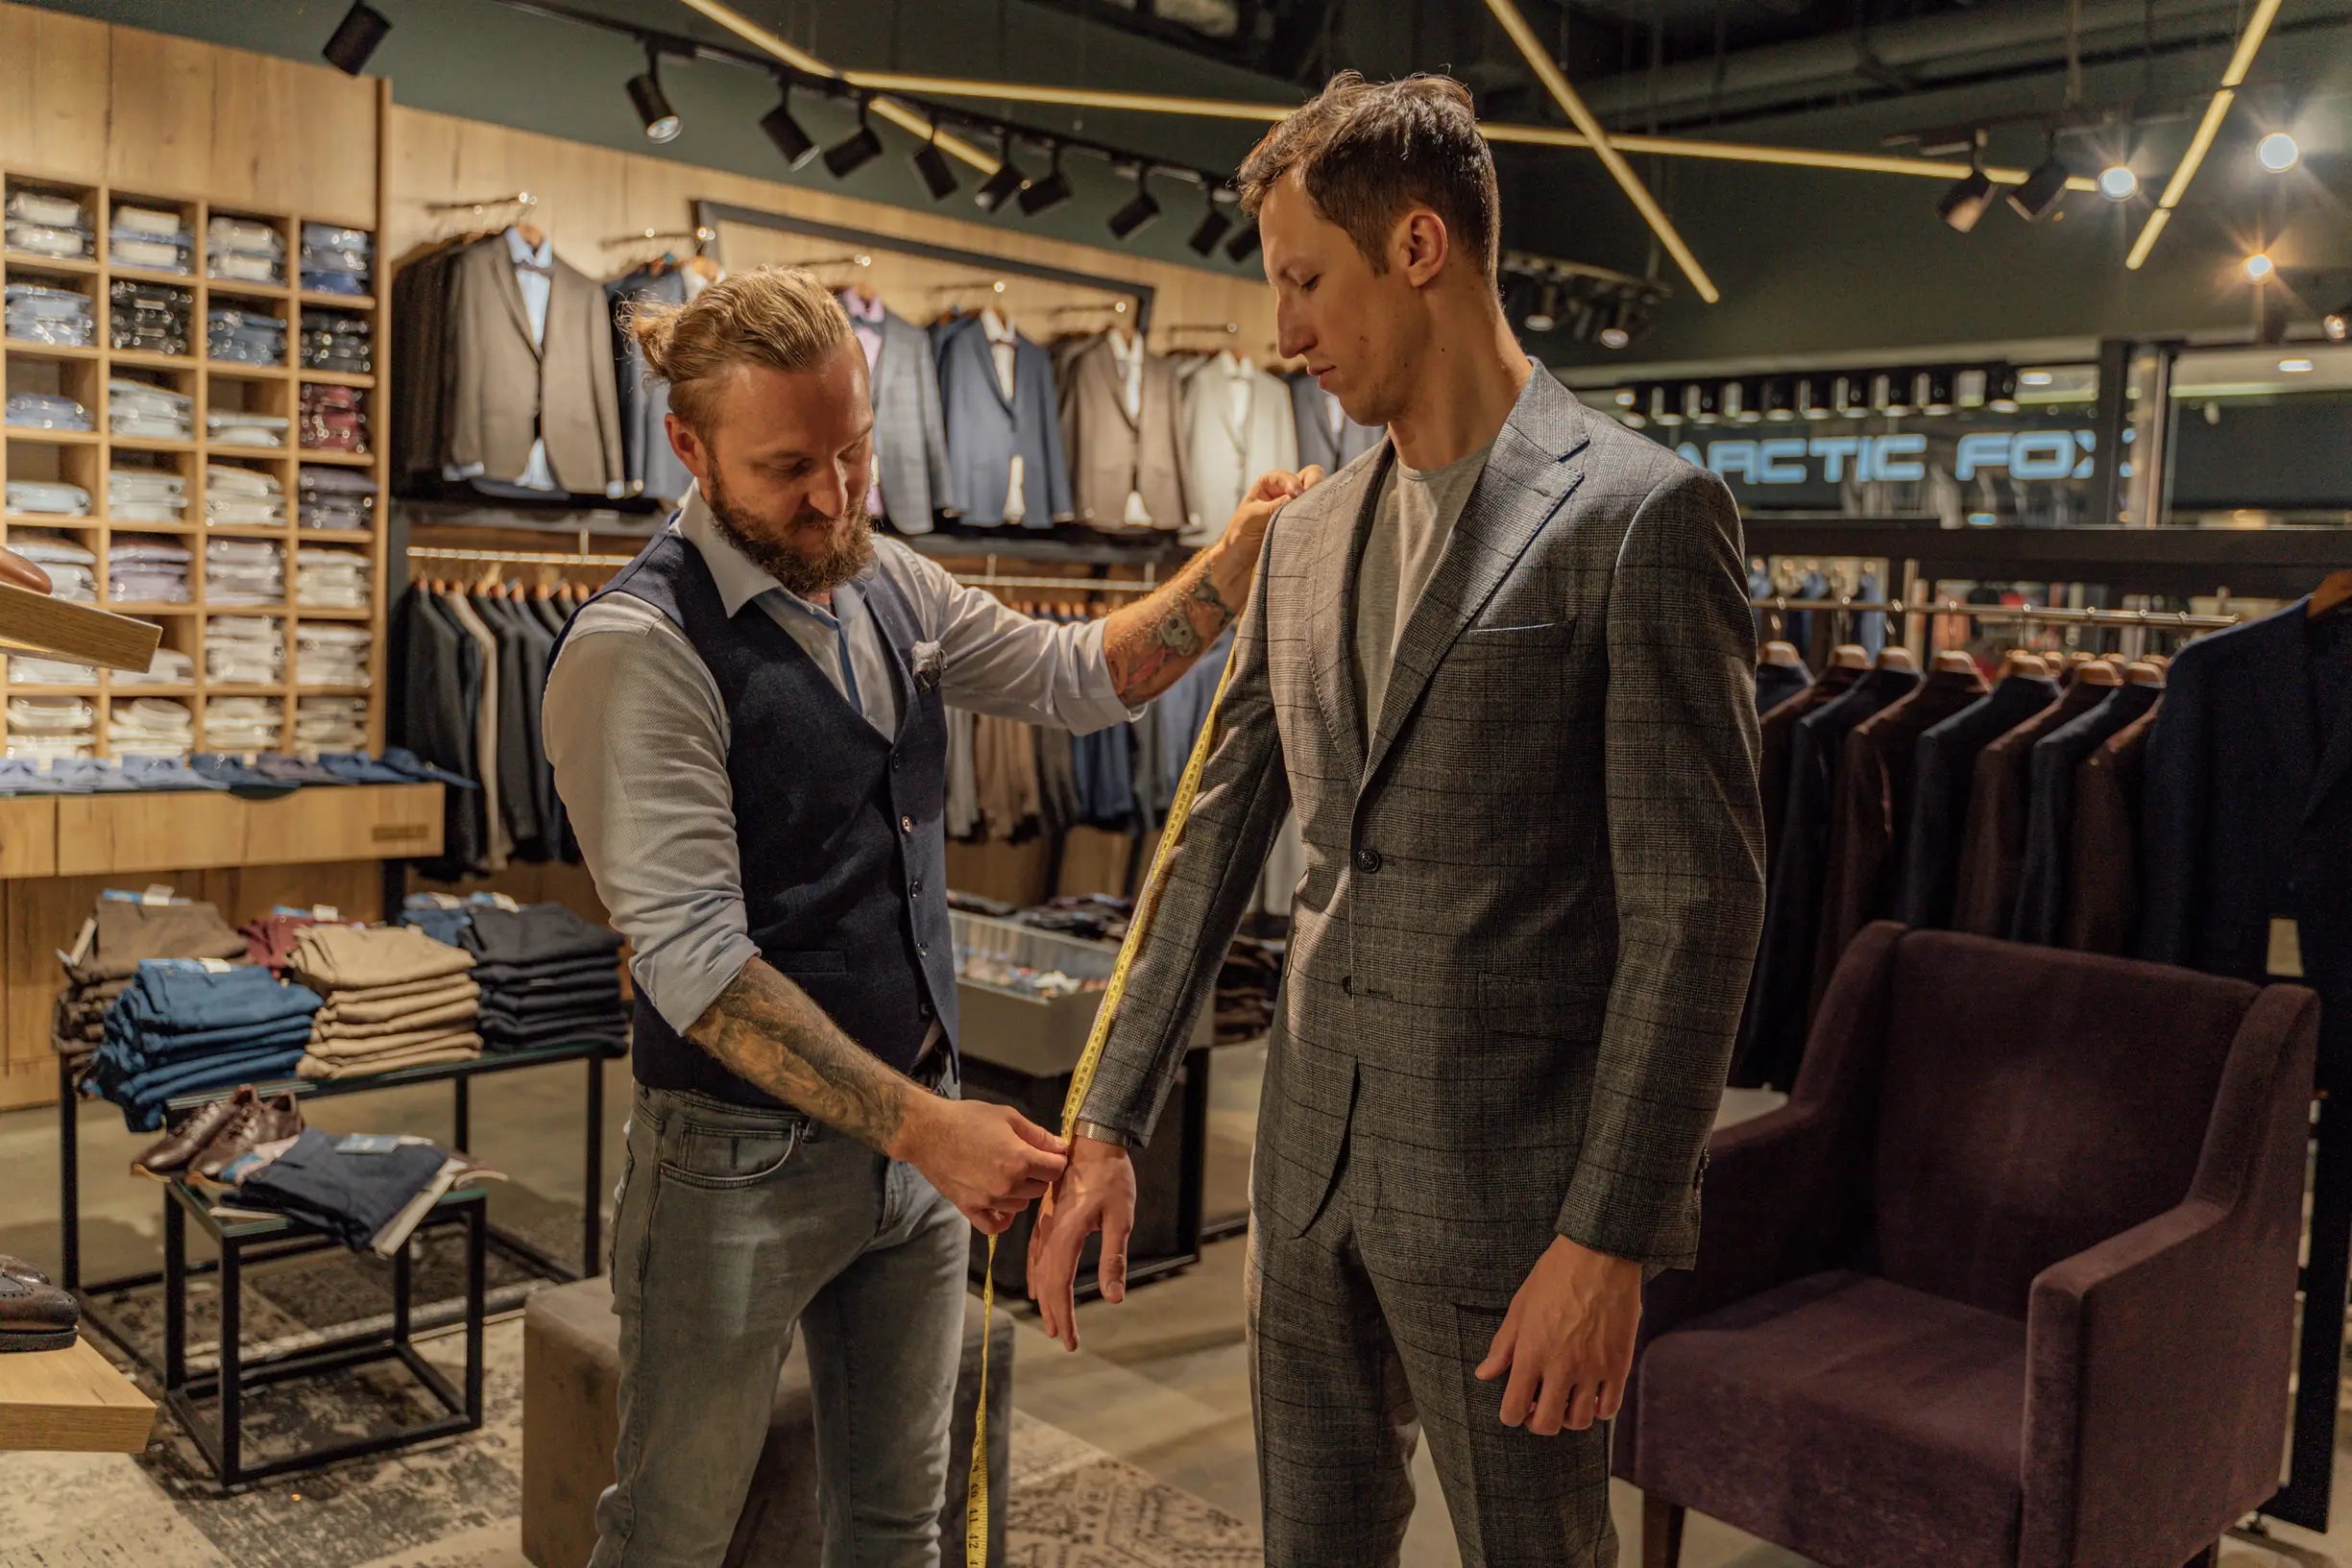
A botched repair or a fabric that loses its shape will quickly undermine a favourite jacket. Choosing fabrics and weaves that mend neatly and retain their shape preserves a crisp silhouette, keeps repairs discreet, and ensures predictable wear.
This post explains how to assess a fabric's stability, stretch, and drape; how to choose fibres that reknit or fuse cleanly; and how to match weaves for tidy repairs. It also outlines which tailoring details and practical repair techniques preserve a jacket's structure and drape, helping garments retain their shape and appearance.

How to assess a fabric's stability, stretch, and drape
Begin with a hands-on stability and recovery test. Cut a small square from an inconspicuous area, stretch it across the grain and on the bias, release it, and observe how readily it springs back and whether the selvedge skews. Hang the sample and apply steam or a press to assess drape and memory; if the fabric returns to its original shape and the selvedge remains straight, you can expect neater mends with less distortion. Match fibre and weave to those behaviours: tightly woven plain and twill weaves give the structure that supports needlework and patching, while loose basket or satin weaves tend to fray or show visible stitch lines. Fabrics containing elastane recover but require stretch-compatible techniques, and materials with a high natural fibre content can relax, or even felt, when laundered, so plan reinforcements and stitch types accordingly.
When planning a repair, mind the fabric's grain and bias. Align patches with the grain where possible, or stabilise bias areas with a woven interfacing to keep seams and hems straight. Choose reinforcements and stitch types that suit the fabric's behaviour: add woven fusible or sew-in interfacing to restore body to limp cloth, use small zigzag or other stretch stitches for elastic blends, and favour hidden hand stitches or closely spaced topstitching on firm weaves to keep repairs discreet and durable. Before completing the mend, launder and press a scrap to reveal any shrinkage, colour change, or alteration in the fabric's hand. Use those observations to select a compatible thread fibre, stitch density, and an edge finish, such as overcasting, binding, or a turned hem, to prevent future distortion.
Choose sturdy military twill for neater, durable mends.

Choose fibres that mend easily and retain resilience
Favour long-staple wool in worsted constructions, long-staple cotton, tightly spun linen, and high-tenacity synthetics such as nylon or polyester. Longer staple fibres and a higher yarn twist produce firmer yarns that make neater darning holes, resist abrasion, and help garments retain their shape. Choose dense plain weaves, twill, gabardine, or structured herringbone when shape retention matters; compact interlacing holds form and accepts precise reweaving. Conversely, avoid open weaves, slubby linens, and loose knits when you want straightforward invisible mending, because they fray or stretch and more often require reinforcement or patching.
Match the repair technique to the fabric. Reweaving, or invisible mending, suits worsted suiting because the smooth, aligned yarns accept substituted thread. Darning works for knitted jumpers because the knit structure can be bridged with new loops. Applied patches, with an underlay, best reinforce heavy outerwear by spreading stress. Backing or stabilisers support slippery silk and prevent laddering and visible puckering. Before cutting or buying, run a few simple tests. Pinch and release to check elastic recovery, rub a sample to gauge pilling, examine a fray to judge yarn twist and strength, and count picks per centimetre to estimate weave density. Each finding indicates how readily the fabric will take a stitch and how well a repair will hold. Bear in mind that finishes and fibre blends change behaviour. Mercerisation, resin finishes, and synthetic blends reduce shrinkage and improve shape retention, yet they can make colour-matching and invisible mending harder because fibres take dye differently and resist needle penetration. Balance repairability with the drape and hand you want; choose fibres and constructions that meet your priorities rather than defaulting to the easiest look.
Pick gabardine for firm shape and seamless mending.

How to Choose a Weave That Aids Neat Mending and Preserves Shape
Different weave structures respond differently to repairs. Plain weaves form a tight grid, so replacement threads sit proud and can create noticeable bulk. Twills, with their diagonal ribs, distribute stress across the cloth and help patches lie flatter. Satins, with long floats, snag easily and typically require reweaving or very fine patching. Match the repair thread's fibre to the garment to avoid differential shrinkage and colour migration. For dense weaves, choose a finer needle and a shorter stitch length; for open weaves and knits, use a larger needle with longer or stretch stitches. Before mending, relax any finishes by prewashing or steaming, press the cloth to restore the grain, trim frays, and apply a lightweight sew-in interfacing or underlay so the repair has support without altering the drape.
For tailored jackets in particular, rebuild the internal architecture by replacing or inserting canvas or horsehair, and hand-stitch facings and stay-stitch seams so the garment retains its shape and natural movement. Prefer sew-in supports to fusible ones where breathability and ease of movement matter. Test each technique on a swatch first to avoid surprises. Photograph those trials and record stitch length, thread weight, stabiliser, and tension, then apply the same settings to the garment to prevent puckering, visible repairs, or alterations to the silhouette.
Weave-aware mending and shape-retention checklist
- Thread, needle and stitch pairings for weave types: for dense plain weaves choose a finer, matching-fibre thread, a fine needle, and short stitches to minimise bulk and puckering; for twills use a medium-fine thread and slightly longer stitches to follow the diagonal ribs so patches lie flatter; for satins and fabrics with long floats match filament fibres, use very fine thread and consider reweaving or invisible fine patching to avoid snagging; for knits use stretch-appropriate thread, a ballpoint or medium needle, and longer or stretch stitches to preserve elasticity, and always match fibre content to the garment to prevent differential shrinkage and colour migration.
- Support and interfacing strategies to preserve shape: recreate internal architecture in tailored garments by inserting or replacing canvas or horsehair, hand-stitch facings and stay-stitch seams to mirror original construction, and favour lightweight sew-in supports over fusible options when breathability and natural movement matter; use underlays and minimal stabilisers to support the repair without altering drape, place layers in the same order as the original, and prototype placement on a swatch.
- Preparation, swatching and documentation workflow: relax finishes by prewashing or steaming, press to restore the grain, and trim frays before you begin; cut a matched swatch and prototype every technique, photograph outcomes, and record stitch length, thread weight, needle size, stabiliser type, and machine tension so you can replicate settings on the garment and avoid puckering, visible repairs, and changes to the silhouette.

How to plan tailoring details for straightforward repairs
When planning tailoring, allow generous, consistent seam allowances and accessible seam lines. This enables a tailor to turn and restitch individual sections without dismantling the jacket. Leave extra fabric at the side seams and hems, finish linings with pick-stitched openings, and position seams so repairs require minimal tear-out. Wider allowances preserve cloth when you re-cut or re-sew. Place stripes, checks, and herringbone deliberately so conspicuous motifs do not run across high-wear areas. Favour small-scale repeats; they need less replacement fabric and render patches less conspicuous.
Choose fabrics with tight, even weaves spun from resilient fibres, such as combed worsted wools, dense cotton twills, or carefully constructed blends. Tight weaves accept smaller, neater stitches and resist fraying, which makes repairs less visible and extends a garment's useful life. Avoid heavily napped or loose-pile finishes, because their fibres shed and quickly reveal stitch disruption. Build reinforcement into the tailoring by adding bartacks at stress points, and specify stitched interlinings rather than glued ones so strain distributes evenly across the cloth. When repairing, use thread with similar fibre content and tensile behaviour to the outer cloth to prevent puckering, differential shrinkage, and premature breakage.
Offers durable, repair-friendly everyday wear

Preserve a garment's structure and drape with considered repairs
Begin by identifying the fabric fibre and weave, then choose repair materials that match the original drape and stretch. For example, pair a lightweight plain-weave silk with a similarly fine organza, and replace lost internal structure in a wool jacket with a canvas or twill of matching weight so the chest and lapels regain their shape. Cut patches and reinforcements on the same grain and nap as the original cloth, aligning warp and weft so the repaired area hangs and reflects light like the surrounding fabric. Mismatched grain produces visible lines and distorts drape, even when colour and texture match. Unpick or open the damaged area to study the original construction, then rebuild the internal supports rather than merely covering the fault, reattaching or substituting a shaped canvas, stay tape, or interfacing in the same position and thickness to preserve fit and movement. Following this approach restores the garment's intended silhouette and prevents a stiff, boxy result that would reveal a superficial repair.
Use low-bulk finishing techniques: grade seam allowances, trim edges, and choose featherweight or lightweight interfacing. Favour hand tacking where a machine would add bulk; thinner joins help collars and shoulders sit correctly. Match the needle size, thread type, stitch length, and tension to the fabric, and always test on a scrap of the same material to avoid surprises. Tiny, even stitches and invisible slipstitching suit fine worsted cloth and silk, while stronger stitches and a narrow zigzag stitch work better for heavy twill and corduroy. Correct technique reduces puckering and directs stress away from the repair, so the mended area moves and wears like the rest of the jacket.
Prioritise fabrics and weaves that spring back and accept neat mending, so jacket silhouettes remain crisp and repairs stay discreet. Practical stability and recovery tests, careful fibre selection, and compatible repair techniques preserve drape and make future maintenance predictable.
Assess fabric stability, choose suitable fibres, match the weave, plan tailoring allowances, and opt for low-bulk finishes to guide buying and repair decisions that support your longevity goals. Trial repair techniques on swatches, record stitch and stabiliser settings, and place seams and allowances so mends remain inconspicuous, strain disperses evenly, and the jacket wears as intended.
What simple tests can I do to assess a jacket fabric's stability and drape?
Cut or use a small matched square, stretch it across the grain and on the bias, release to check recovery and selvedge skew, then hang and apply steam or a press to observe drape and memory; good spring-back and a straight selvedge predict neater mends and less distortion.
Which fibres and weaves resist wear and make neat mending easier?
Prefer long-staple worsted wool, long-staple cotton, tightly spun linen, and high-tenacity synthetics in dense plain weaves, twill, gabardine, or herringbone, because they reweave cleanly, resist abrasion, and hold shape; avoid open weaves, slubby linens, and loose knits for invisible repairs.
How should I match repair technique to different fabric types?
Use reweaving or invisible mends for worsted suiting, darning for knitted jumpers, applied patches with an underlay for heavy outerwear, and backing or stabilisers for slippery silks, and always match thread fibre, needle, and stitch to the fabric after prototyping on a swatch.
What tailoring details make jackets easier to repair later?
Plan generous, consistent seam allowances and accessible seam lines, leave extra fabric at side seams and hems, finish linings with pick-stitch openings, and place conspicuous motifs away from high-wear areas so a tailor can turn and restitch without dismantling the jacket.
How do I keep repairs low bulk so the jacket retains its shape and drape?
Recreate lost internal supports like canvas or horsehair in the original position, grade and trim seam allowances, use featherweight interfacing and hand tacking where possible, and favour sew-in supports over heavy fusibles to preserve natural movement and avoid a stiff silhouette.