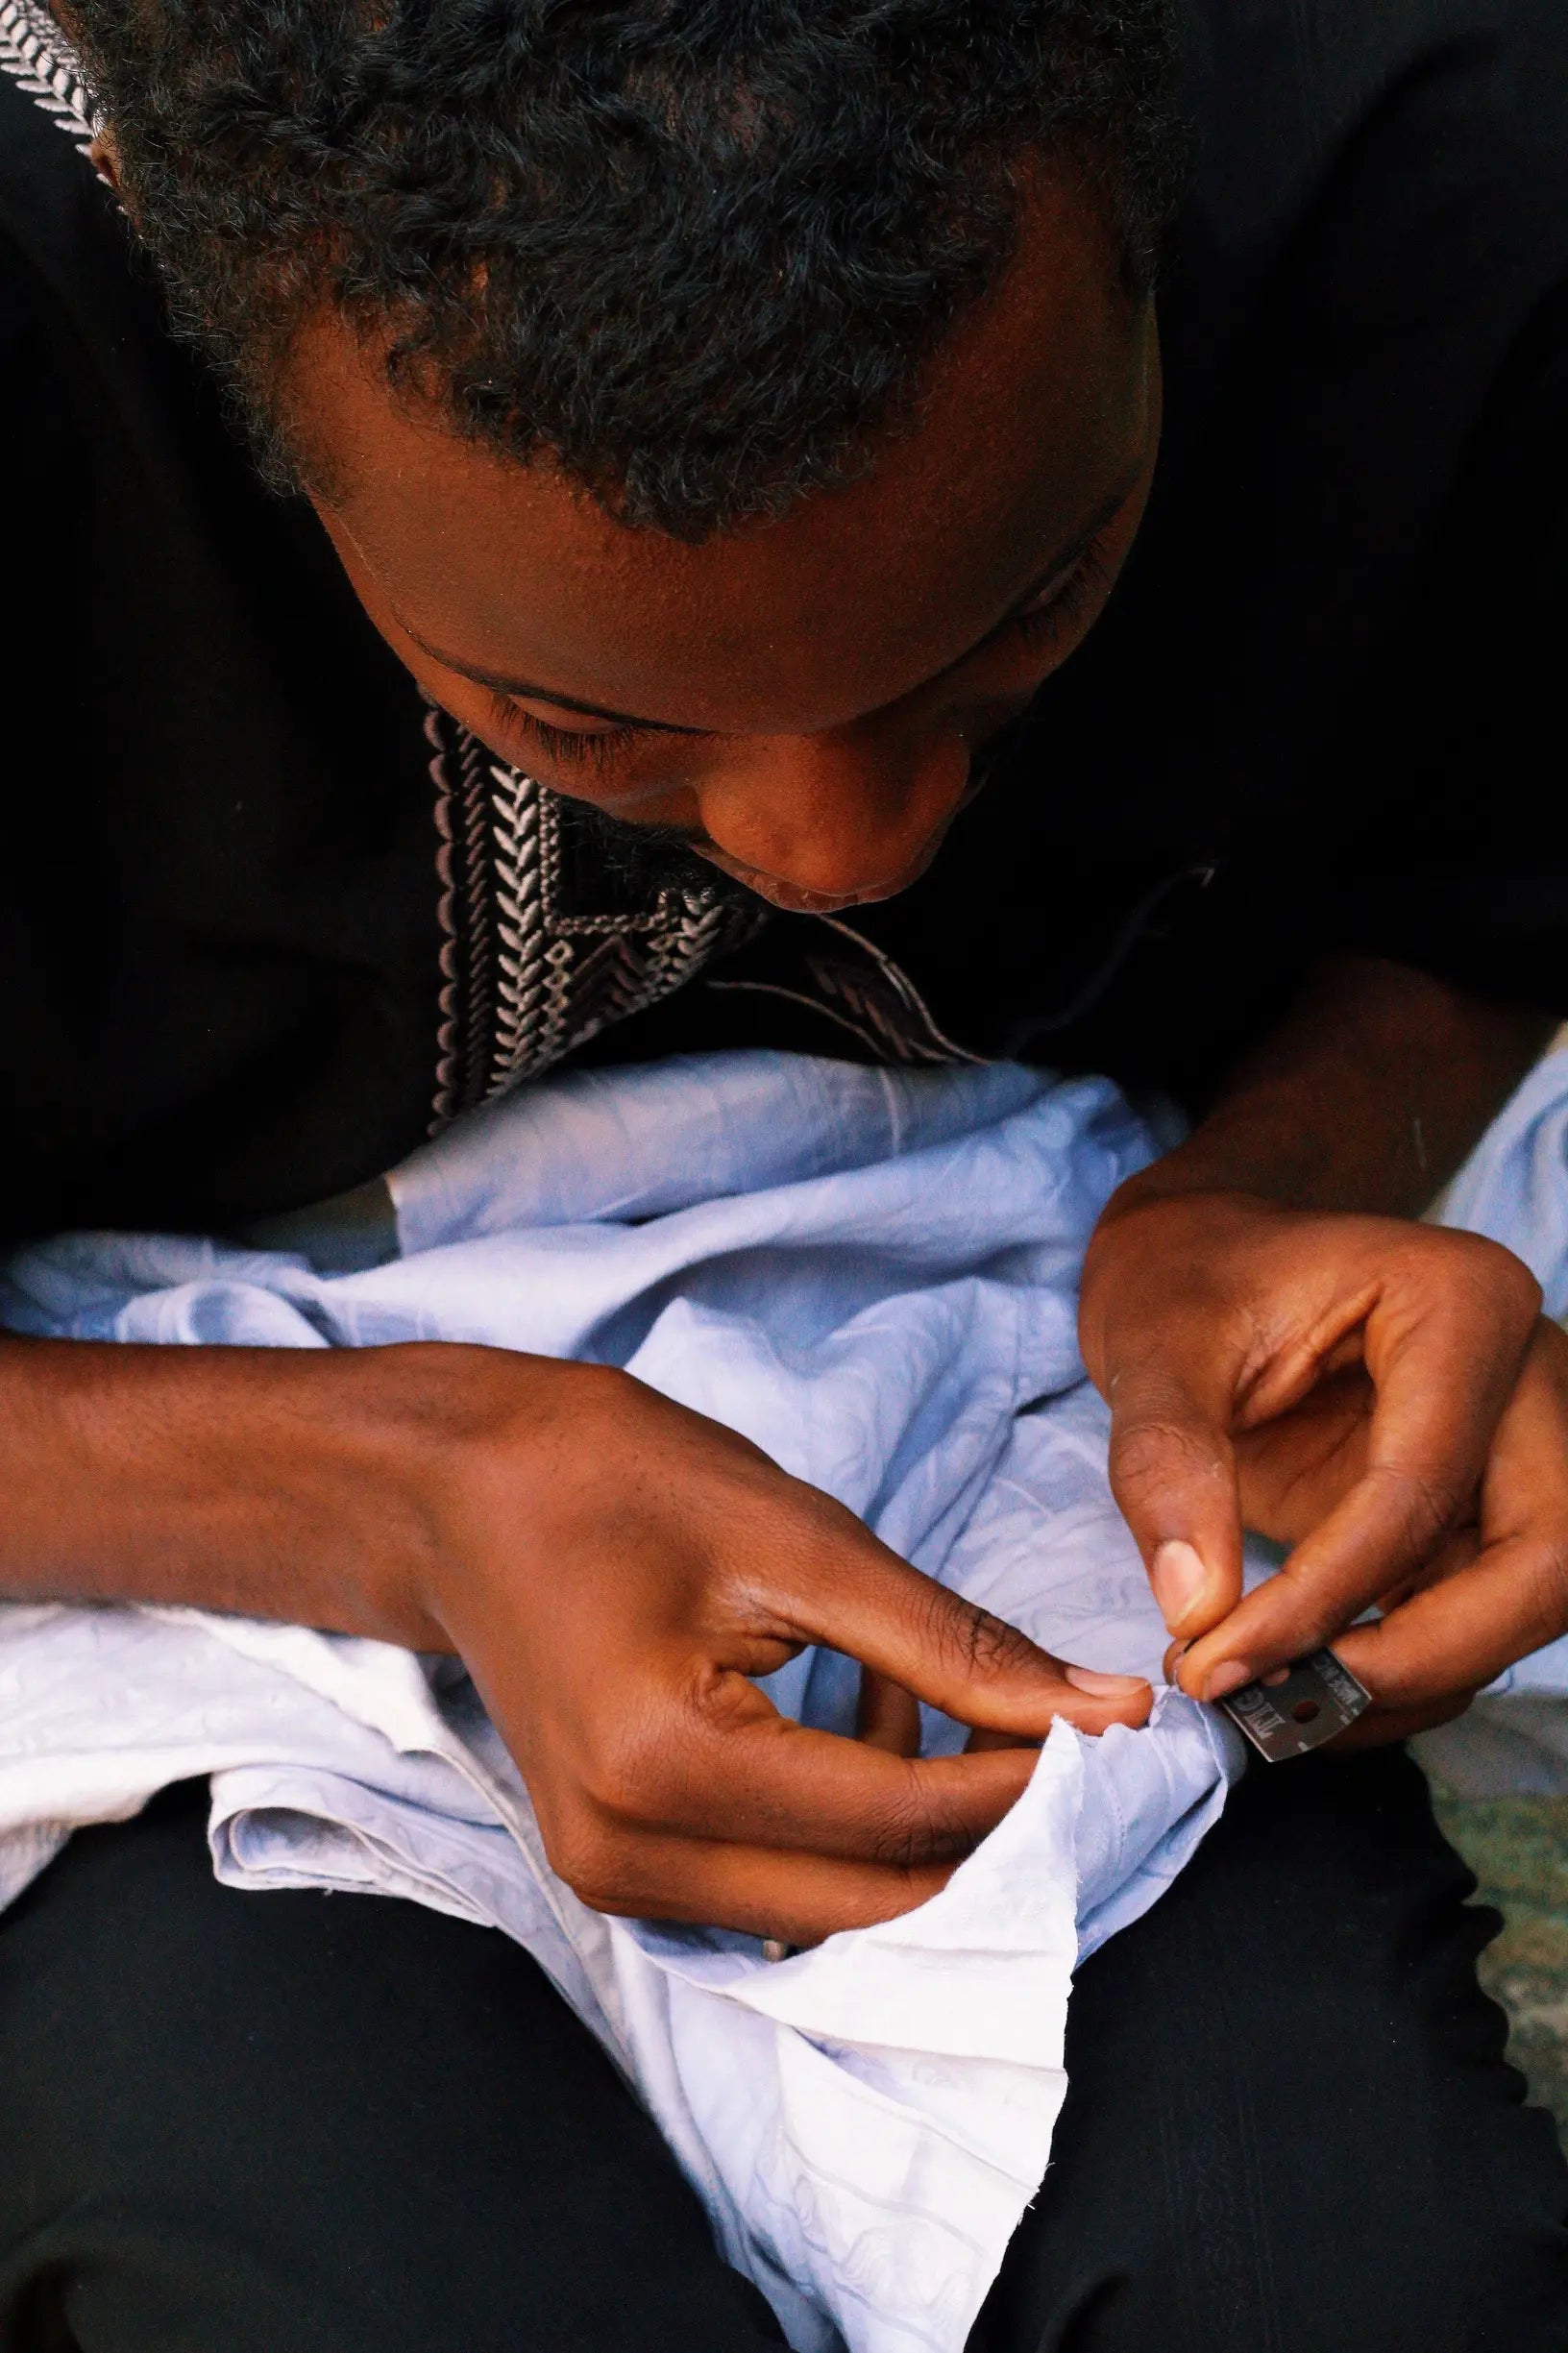
Why do some garments endure for decades while others fall apart after a few wears? The difference often lies in small design choices and daily habits. Frayed cuffs, split seams, and worn fittings commonly result from weak fabrics or construction that makes repair difficult.
This post explains how selecting robust fabrics and durable fittings, designing garments for easy repair, and mastering straightforward care and mending techniques can extend a garment's usable life. You will learn practical alterations and simple stitching methods that help you keep favourites in rotation, reduce waste, and mend rather than replace.

Choose robust fabrics and enduring fittings for garments that last
Choose fabrics woven or knitted from long-staple fibres, with higher yarn twist and a dense construction. Fewer loose fibre ends and closer yarn packing reduce abrasion and pilling. At home, hold the cloth up to the light to assess weave density, gently rub an inconspicuous area to check abrasion resistance, and stretch a seam to see how neatly it recovers. Denser knits distribute force across more loops, lowering point wear, while higher twist shortens the loose ends that form pills. A firm hand and an even surface are reliable signs of durability, since tight packing slows thread slippage and surface abrasion.
Inspect seam and stitch details closely. Seek flat-felled, felled, or bound seams, generous seam allowances, and visible bar tacks or backstitching where straps or pockets meet the garment. Accessible seam lines and reinforced finishes make repairs simpler. Prefer sew-on buttons with a shank or backing patch, standard-size fastenings, and metal or moulded zips with stitched tapes. Opt for fittings secured with bartacks or box stitches rather than thread-only anchors so individual parts can be replaced without rebuilding the piece. Check for targeted reinforcement such as double-layer knees, elbow patches, shoulder facings, taped belt loops, and removable linings or trims. Avoid permanently sealed hems or glued trims; favour finishes that allow needle penetration and dye absorption for colour-matched mending.
Choose a heavy duty jacket with reinforced seams.

Design garments for easy mending
Allow generous seam allowances and provide at least one access point so future repairers can unpick seams, swap panels, or let a garment out without cutting the main cloth. This mirrors traditional tailoring and preserves the garment’s original fabric. Prefer repair-friendly textiles — tightly woven linen, cotton, wool flannel, denim, and stable plain knits — because they take darning and patches cleanly. Avoid slippery, bonded, or laminated fabrics, which resist needles and adhesives and complicate mending. Specify standard, replaceable fastenings and attach them in ways that make removal straightforward. For example, sew buttons with a small thread shank to reduce stress on the cloth and allow easy replacement, and use conventional zip lengths so closures can be unpicked and swapped without wholesale alteration.
Design garments with modular elements, such as removable linings, separate collars, reinforced cuffs, and colour-matched panels, so high-wear areas can be replaced independently. Workwear traditions favour panel swaps to extend a garment's life. Include repair cues and hidden helpers: mark grainline and seam allowance on internal labels, finish raw edges with simple bindings, and position topstitching or pattern lines where patches will sit; these details make visible mending faster and neater. Such choices allow a repairer to unpick, patch, or swap parts using common skills and tools, reducing the need for complete remakes. Over time, a few stitches or a replaced panel restore function without altering the original silhouette, keeping the garment adaptable and serviceable.
Choose a durable canvas jacket built for easy repairs.

How to master everyday garment care and mending
Turn garments inside out, fasten zips, and wash on a gentle cycle or inside a laundry bag. Cool water and a mild detergent reduce abrasion and preserve colour, and reshaping damp jumpers flat prevents stretching and long-term distortion. Inspect pieces for thinning, loose seams, and frayed buttonholes before storing; catching wear early keeps repairs smaller and less visible. Keep a compact repair kit to hand, with sharp scissors, a selection of needles, and thread in core colours, so you can mend faults as soon as you spot them.
Master a small repertoire of stitches that covers most repairs: backstitch for seams, darning for knitted holes, ladder stitch for invisible hems, and whip stitch for patch edges. Practise on scrap fabric so repairs sit naturally within the weave. Match thread weight and stitch length to the fabric, and replace weakened stitching with a compatible, stronger thread to prevent one failure leading to further damage. Reinforce predictable stress points, such as collars, cuffs, pocket corners, inner thighs, and knees, with bar tacks, small fabric patches, or an extra line of topstitching to spread the load. Make fastenings easy to replace by securing spare buttons to the care label and restitching frayed buttonholes. Keep a darning tool, for example a darning mushroom, and scrap patches in your repair kit for knits and heavier fabrics.
As the sections above demonstrate, how a garment is made and everyday habits determine its lifespan. Robust fabrics, reinforced fittings, and accessible seams reduce wear and make repairs straightforward. A few simple care routines and basic stitches convert minor faults into quick fixes, keeping favourites in rotation and reducing the number of garments discarded.
To put this advice into practice, inspect fabric density and reinforcement points, favour replaceable fastenings, and allow modest seam allowances so future repairs remain straightforward. These practical steps reflect the article's advice on fabric, design, and mending, and give you a clear, achievable way to extend a garment's life with a few careful stitches.