Repairs can leave a favourite garment sagging, gaping, or out of balance, even when the visible damage seems minor. Which removable or replaceable features, such as linings, buttons, and modular panels, actually restore the original fit rather than alter it?
In this post we outline practical steps for restoring the fit and structure of tailored garments: identify and mark fit-critical components, remove and replace linings and interfacings, swap closures and hardware while preserving balance, and introduce panels, gussets, or hems to recover shape. You will learn simple diagnostic checks and repair options that preserve drape, restore symmetry, and keep garments wearable as you rebuild their structure.

1. Identify and mark the garment areas most critical to fit
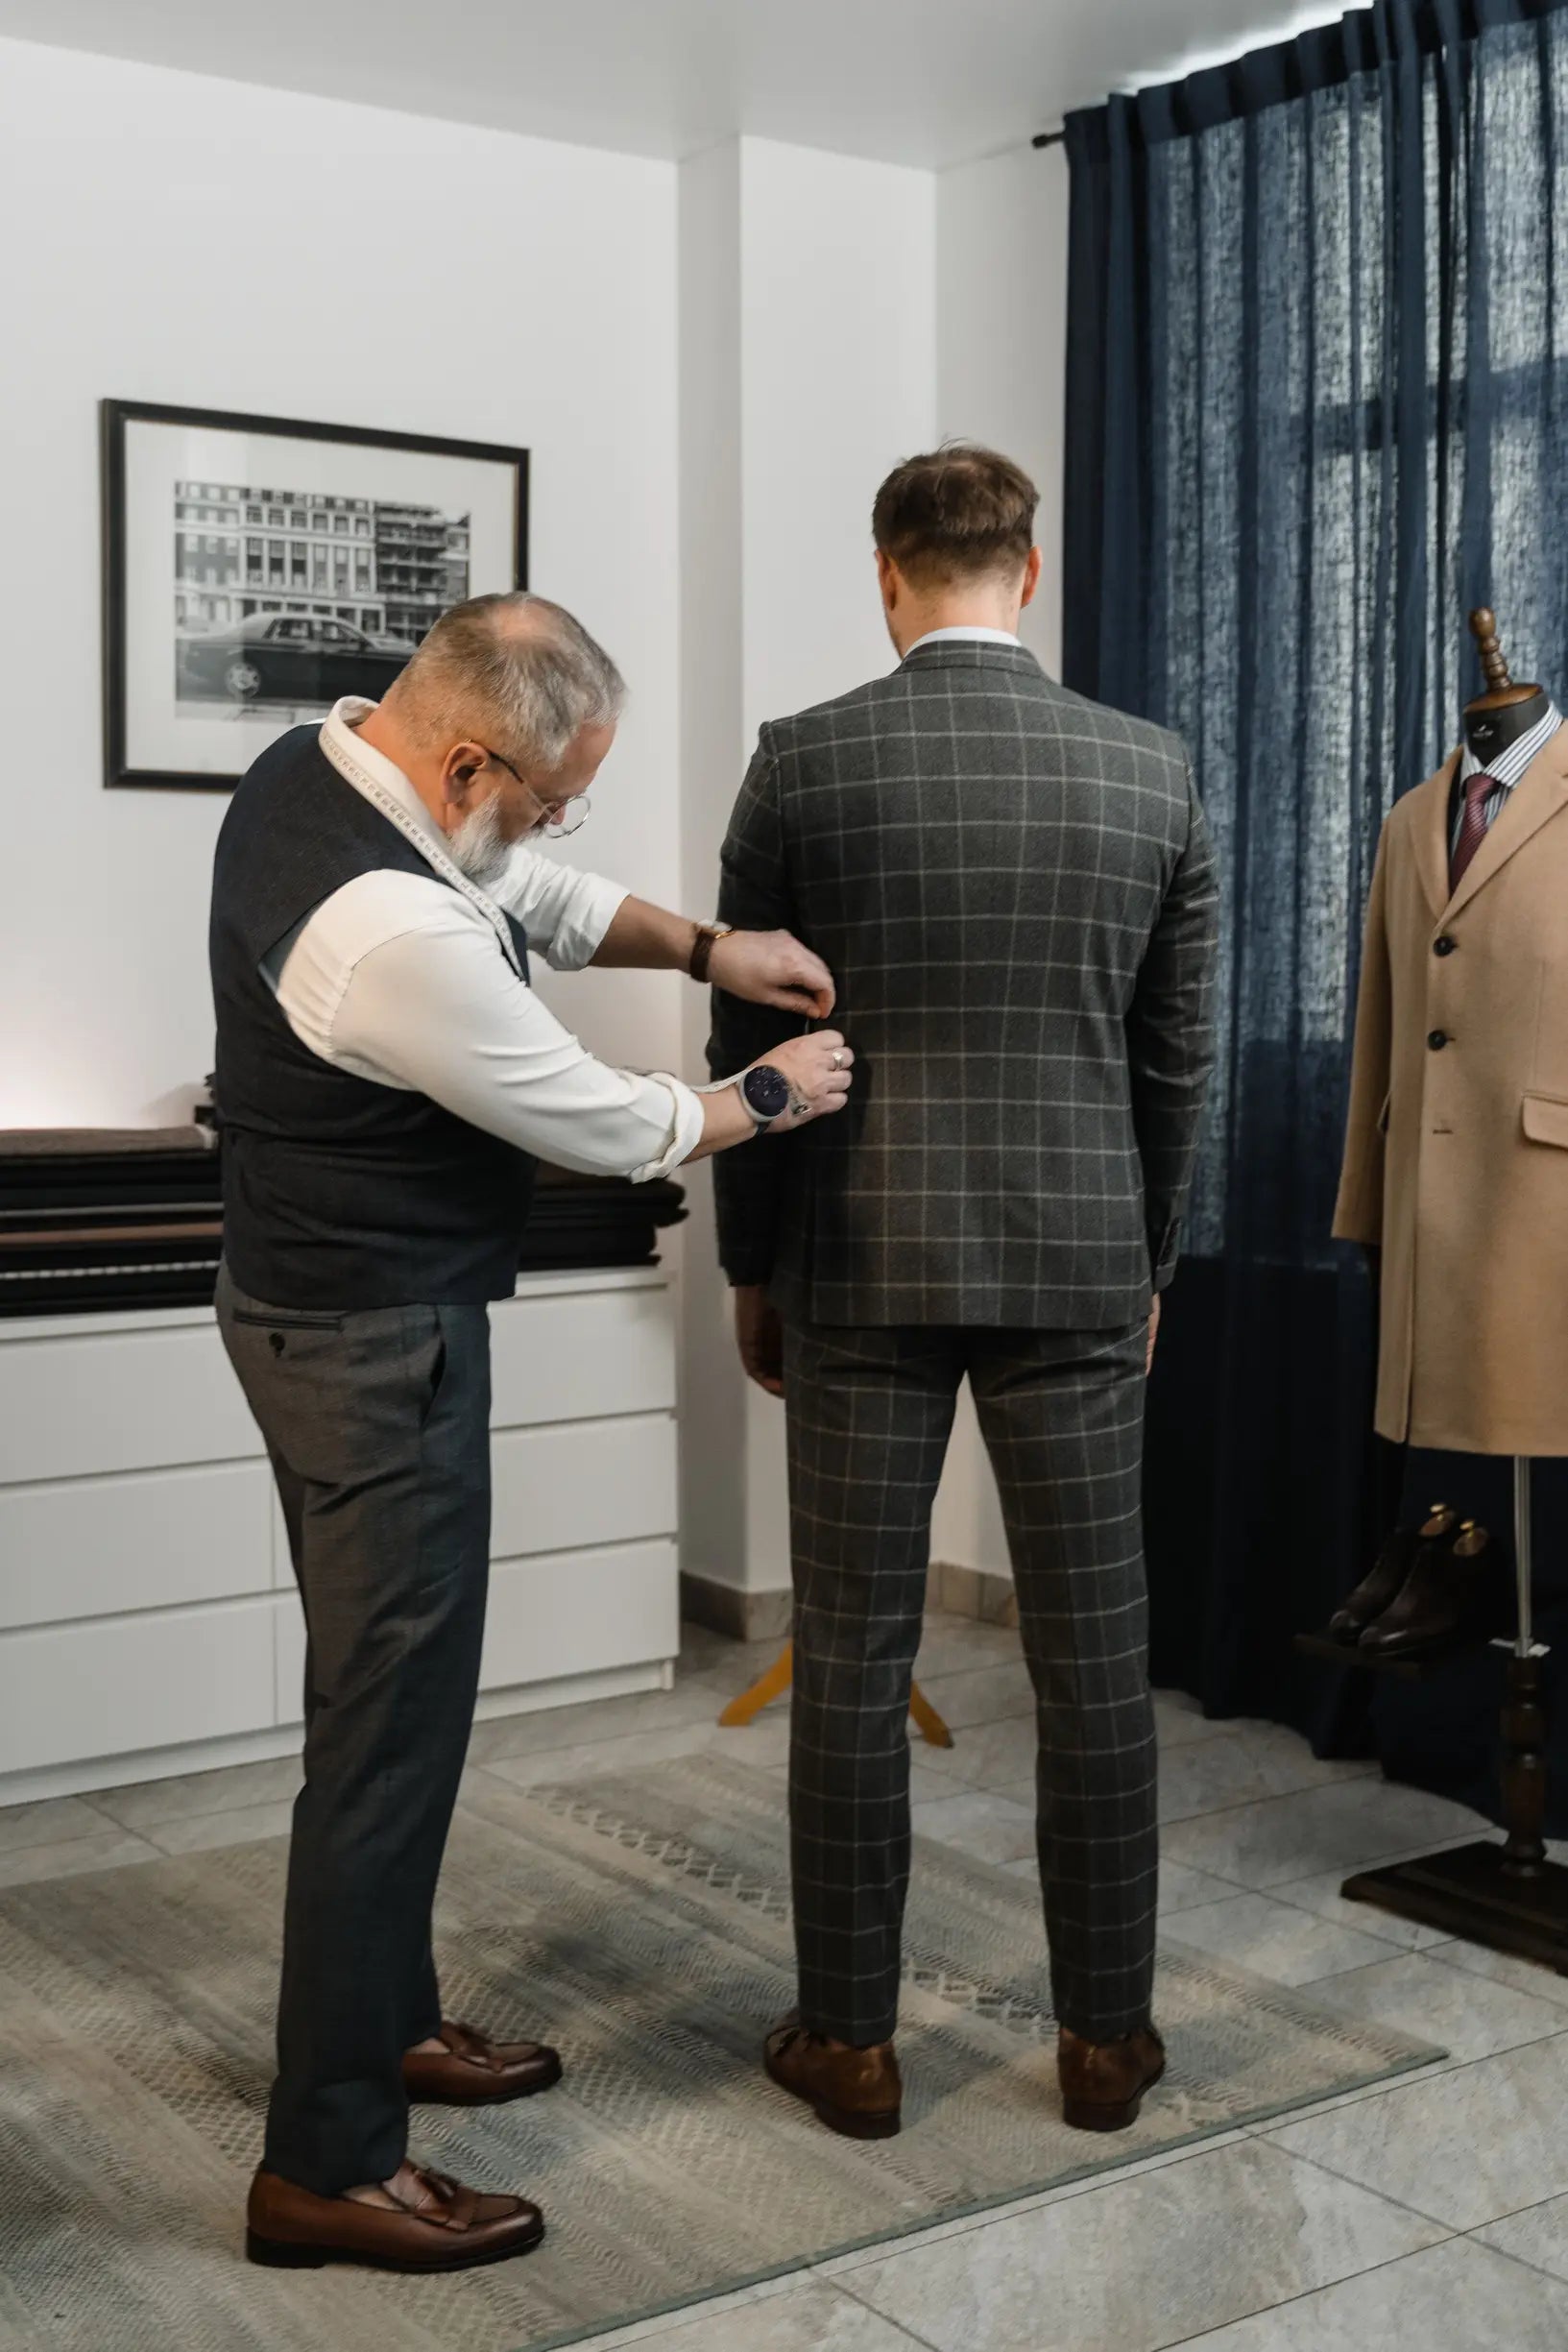
Begin by mapping fit-critical components: seams, panels, linings, shoulder pads, collars, waistbands, hems, darts, and fastening positions. Pin the garment to the wearer, then ask them to move through typical actions to reveal any changes to the silhouette or restrictions to movement. Record baseline measurements and visual references: chest, waist, hip, shoulder width, armhole depth, centre back length, and the distances between buttons or panel joins. Note these on a simple diagram and photograph the garment both laid flat and on the body to establish precise reference points. Use those references to prioritise which removable pieces need the most careful marking and reattachment.
Mark the garment with reversible, temporary indicators — tailor's chalk, fabric-safe pens, tailor's tape, or temporary stitching — to record balance lines, grainlines, and original seam lines so orientation remains clear. Remove any detachable elements one at a time; place each in a labelled bag or tagged envelope, and photograph it both in situ and separately. Note button stitch counts, thread colour, and the precise positions of snaps or clips to ensure faithful replacement. Record construction details that affect fit, including seam allowances, interfacing placement, stitch length, pressed shaping, stay-stitching, and any underfusing. Where possible, perform a trial basting or temporary reattachment to confirm the original fit before committing to the final stitching.
Choose a fully lined jacket for accurate, durable alterations.

2. Remove and replace linings and interfacing
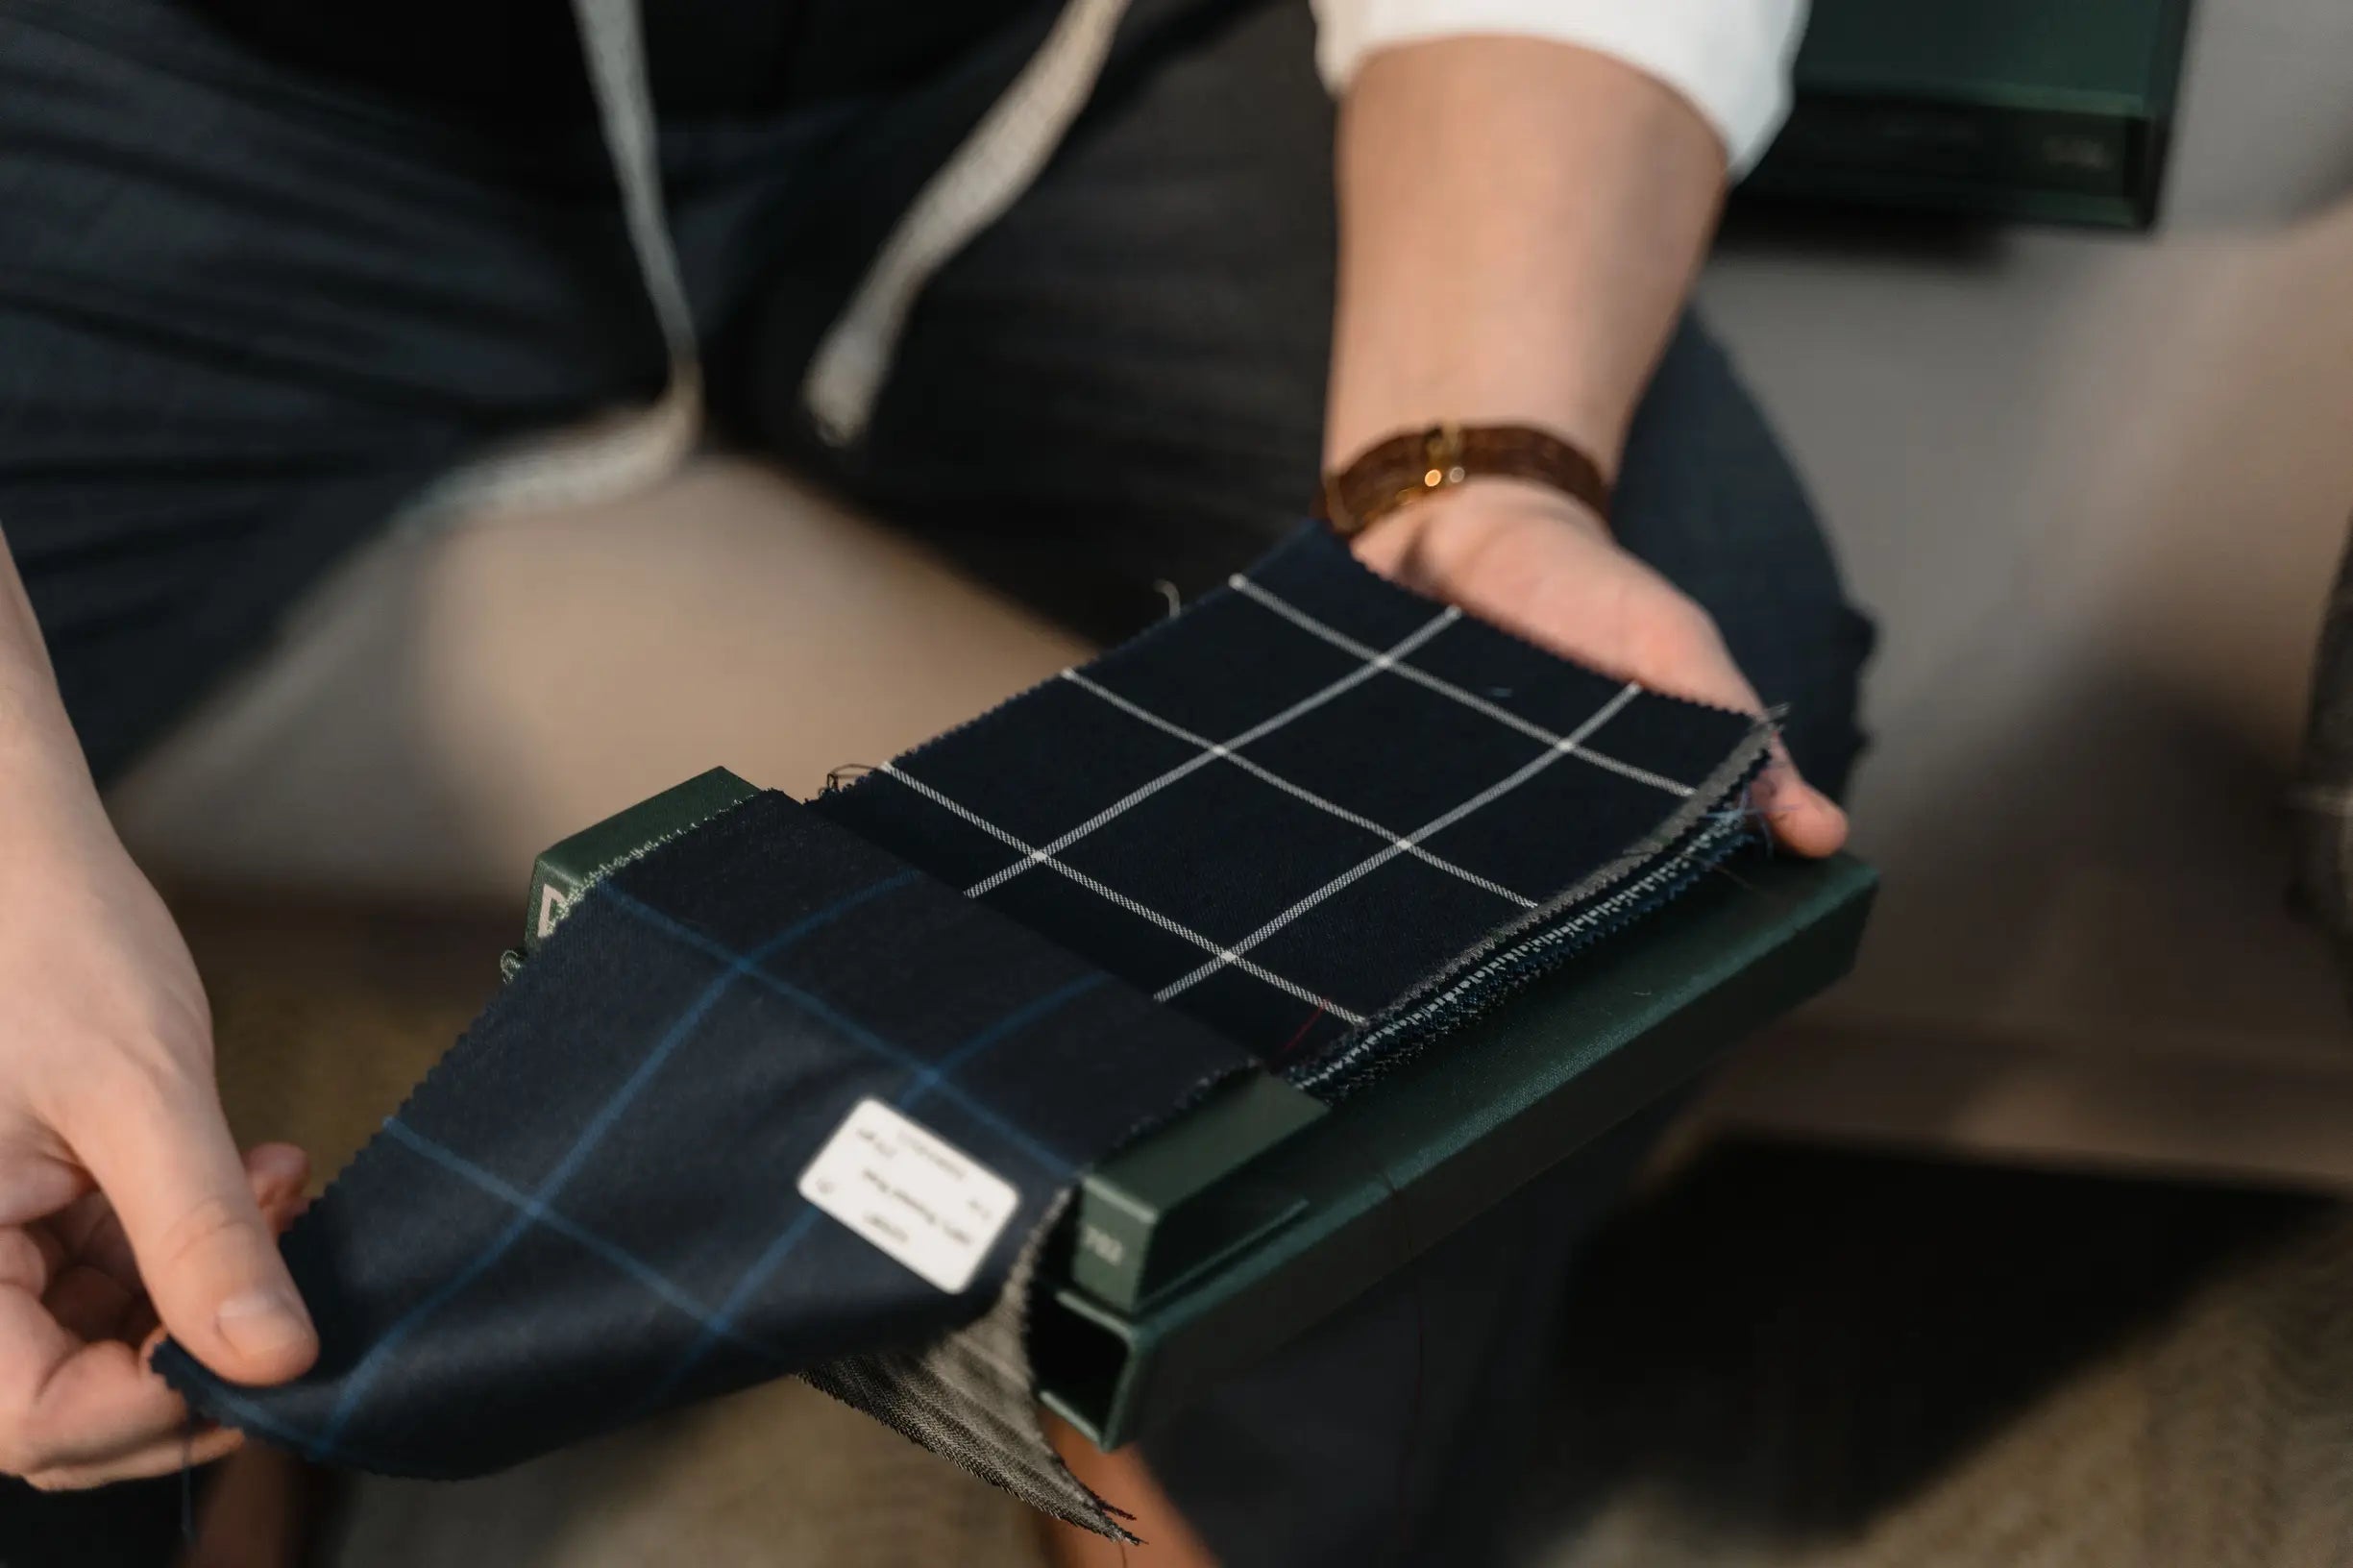
Before removing linings and interfacings, trace and copy each piece, and clearly mark notches, grainlines, and seam allowances. These details preserve the ease and seam positions that determine fit. Unpick linings and interfacings carefully with a seam ripper or small scissors, supporting the adjacent fabric with pins. Leave a small hinge on fragile areas rather than removing everything at once; this prevents distortion around the shoulders, armholes, and waist. Choose replacement materials that match the original weight, weave, and stretch, and pin small swatches into the garment to judge how the substitutes alter drape and ease.
Rebuild the structural points in the original sequence, using the same techniques: transfer the stay-stitches, and reinstate darts and pleat positions so the garment’s shaping remains intact. Apply interfacing only where it originally appeared, selecting comparable stiffness and recovery, and either fuse or sew it in as appropriate. Baste the new lining into place, then fit the garment to check for any drift in silhouette before final stitching. Finish by pressing carefully, understitching linings to prevent roll, and trimming bulk at seam junctions to restore the crisp lines that determine how the garment sits and fits.
Restore drape with lightweight pleated trousers.

3. Replace fastenings and hardware while preserving the garment's fit
When replacing closures and hardware, measure the distance from the seam to the centre of the original closure and transfer those marks to the replacement. Even a few millimetres of shift will alter how a garment closes and how panels sit, so work to the original geometry rather than relying on the eye. Choose like-for-like fastenings and profiles: match button diameter and shank height, zip tooth size and slider type, or popper depth. Thicker or higher-profile components change drape and tension, so select hardware that sits in the same plane as the original piece.
Where possible, anchor repairs into the garment's original reinforcement and stitch lines. Sew replacement buttons through the original thread paths, set poppers through existing bar tacks, and reuse eyelets so closures behave as intended. If new holes are unavoidable, apply a lightweight interfacing on the inside to restore strength without adding bulk; this preserves the fit better than heavier layers. Baste the repair and wear the garment through its normal range of movement before final attachment, adjusting position and orientation until gaping, pulling, or rubbing disappear. Match the original stitch technique, thread weight, and tension, and use a needle suited to the fabric so seam elasticity and drape remain consistent.
Opt for jackets with original buttons and reinforced stitching.

4. Sew in modular panels, gussets, and hems to restore garment shape
Within a modular approach, design removable linings that clip or button into the garment. Cut linings on the same grain as the outer fabric and baste them in place for a trial fit before adding concealed fastenings set within the garment's original seam allowance. A well-fitted lining preserves drape, reduces surface abrasion, and absorbs stresses that would otherwise distort the shell. Install small gussets at high-stress points, such as the underarm, crotch, and sleeve head. Cut gussets on grain, finish their edges, understitch the joins, and reinforce junctions with bartacks or backstitching to prevent seam blowout. Add zip-in or stud-in modular side panels that sit in existing seam lines. Draft the panels to continue pattern lines and match fabric weight, baste for a test fit, then secure them with invisible zips, snap studs, or sewn channels so the panels remain removable and unobtrusive.
To fit a hidden extension hem system, sew a narrow, folded extension strip into the hem allowance and secure it with concealed fastenings or tailor tacks, allowing you to alter the length without reworking the waist. Finish with neat topstitching to preserve a crisp fall. Reinforce all modular attachment points, use stay-stitching near curved seams, and apply lightweight interfacing at fastenings. Mark balance points with tailor tacks so strength concentrates where fabrics commonly distort. Test the fit with temporary basting, make any necessary corrections, then complete the final stitching to minimise subsequent changes in shape.
Try pleated trousers for easy drape and adjustable hems.

5. Use repair techniques that preserve a garment's balance and drape
Before removing linings, panels, or closures, record the garment's original balance and grain. Take clear fitting photographs, mark seamlines, notches, and button positions with tailor's chalk or thread tracing, and trace pattern pieces so each component can return to the exact point that produced the original hang. When selecting replacement materials, compare weight, hand, and drape by holding candidate linings or panels against the garment. Hand-baste a trial section and assess movement on a dress form or the wearer; a lighter or stiffer lining will alter sleeve and skirt behaviour. Match the size, shape, and placement of interfacings, stay-stitching, and shoulder pads, using materials of equivalent thickness and flexibility. Reapply stay-stitches and understitch linings to prevent distortion at necklines, shoulders, and armholes.
Replace closures with dimensional equivalents: measure button diameter, shank length, and distance from the edge, or match the zip type and tape width. Baste them in place, then test closure tension and alignment on the wearer to avoid unintended changes in front ease or waistline tension. When reattaching hems, panels, or linings, baste in short sections, distribute easing evenly, and clip or notch curved seams to remove puckers rather than stretching the cloth. Press gently from the wrong side and shape each seam on a tailor's block or on the wearer where possible, securing only after a trial fitting confirms the original drape. These measured, temporary steps show how small changes in placement, shank height, or fabric weight affect hang, allowing you to adjust before committing to permanent stitching.
Thoughtful repairs restore a garment's fit by replicating its original geometry, materials, and reinforcements rather than altering them. Careful documentation and temporary basting, together with matched linings, interfacings, and hardware, preserve balance, drape, and wearer comfort.
Proceed through the five steps as a practical checklist: identify the components critical to fit, remove and replace linings and interfacings, match closures and hardware, add modular panels or gussets where required, and test balance and drape using temporary basting. Baste each alteration and compare the result to your measurements and original photographs; only commit final stitching when the garment hangs and moves as it did before, ensuring the repair restores the garment’s balance and wearability.