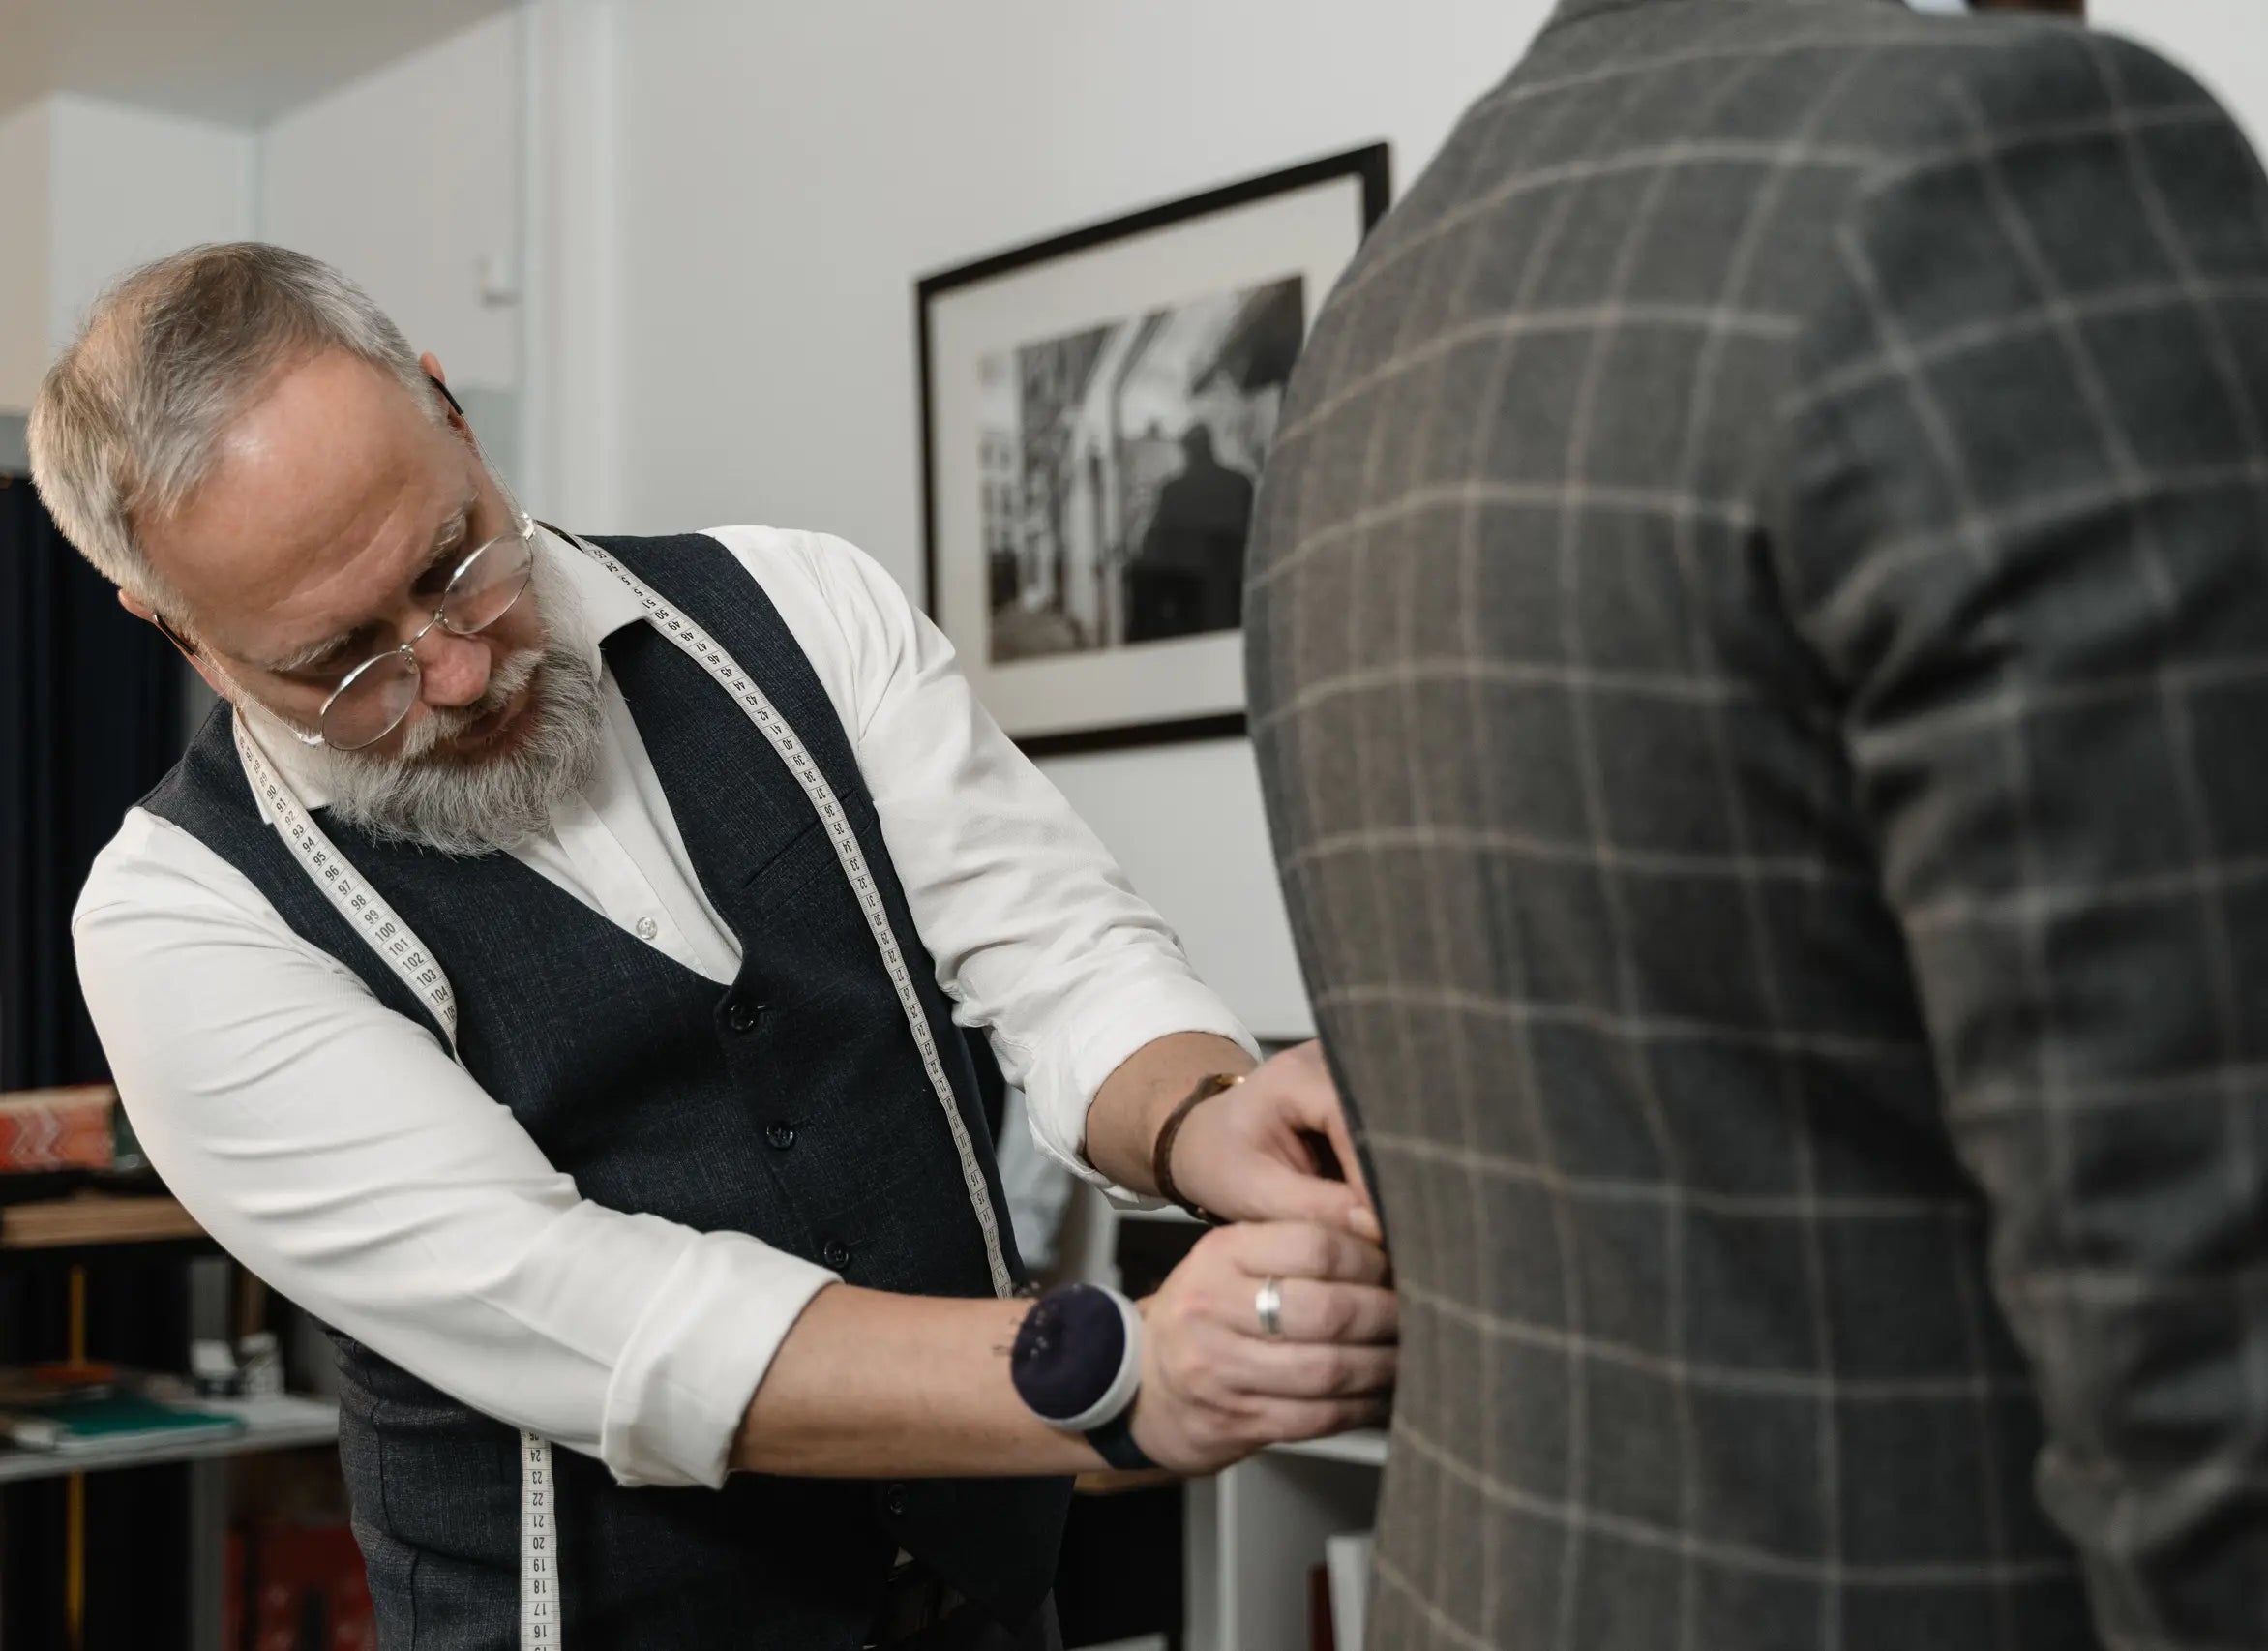
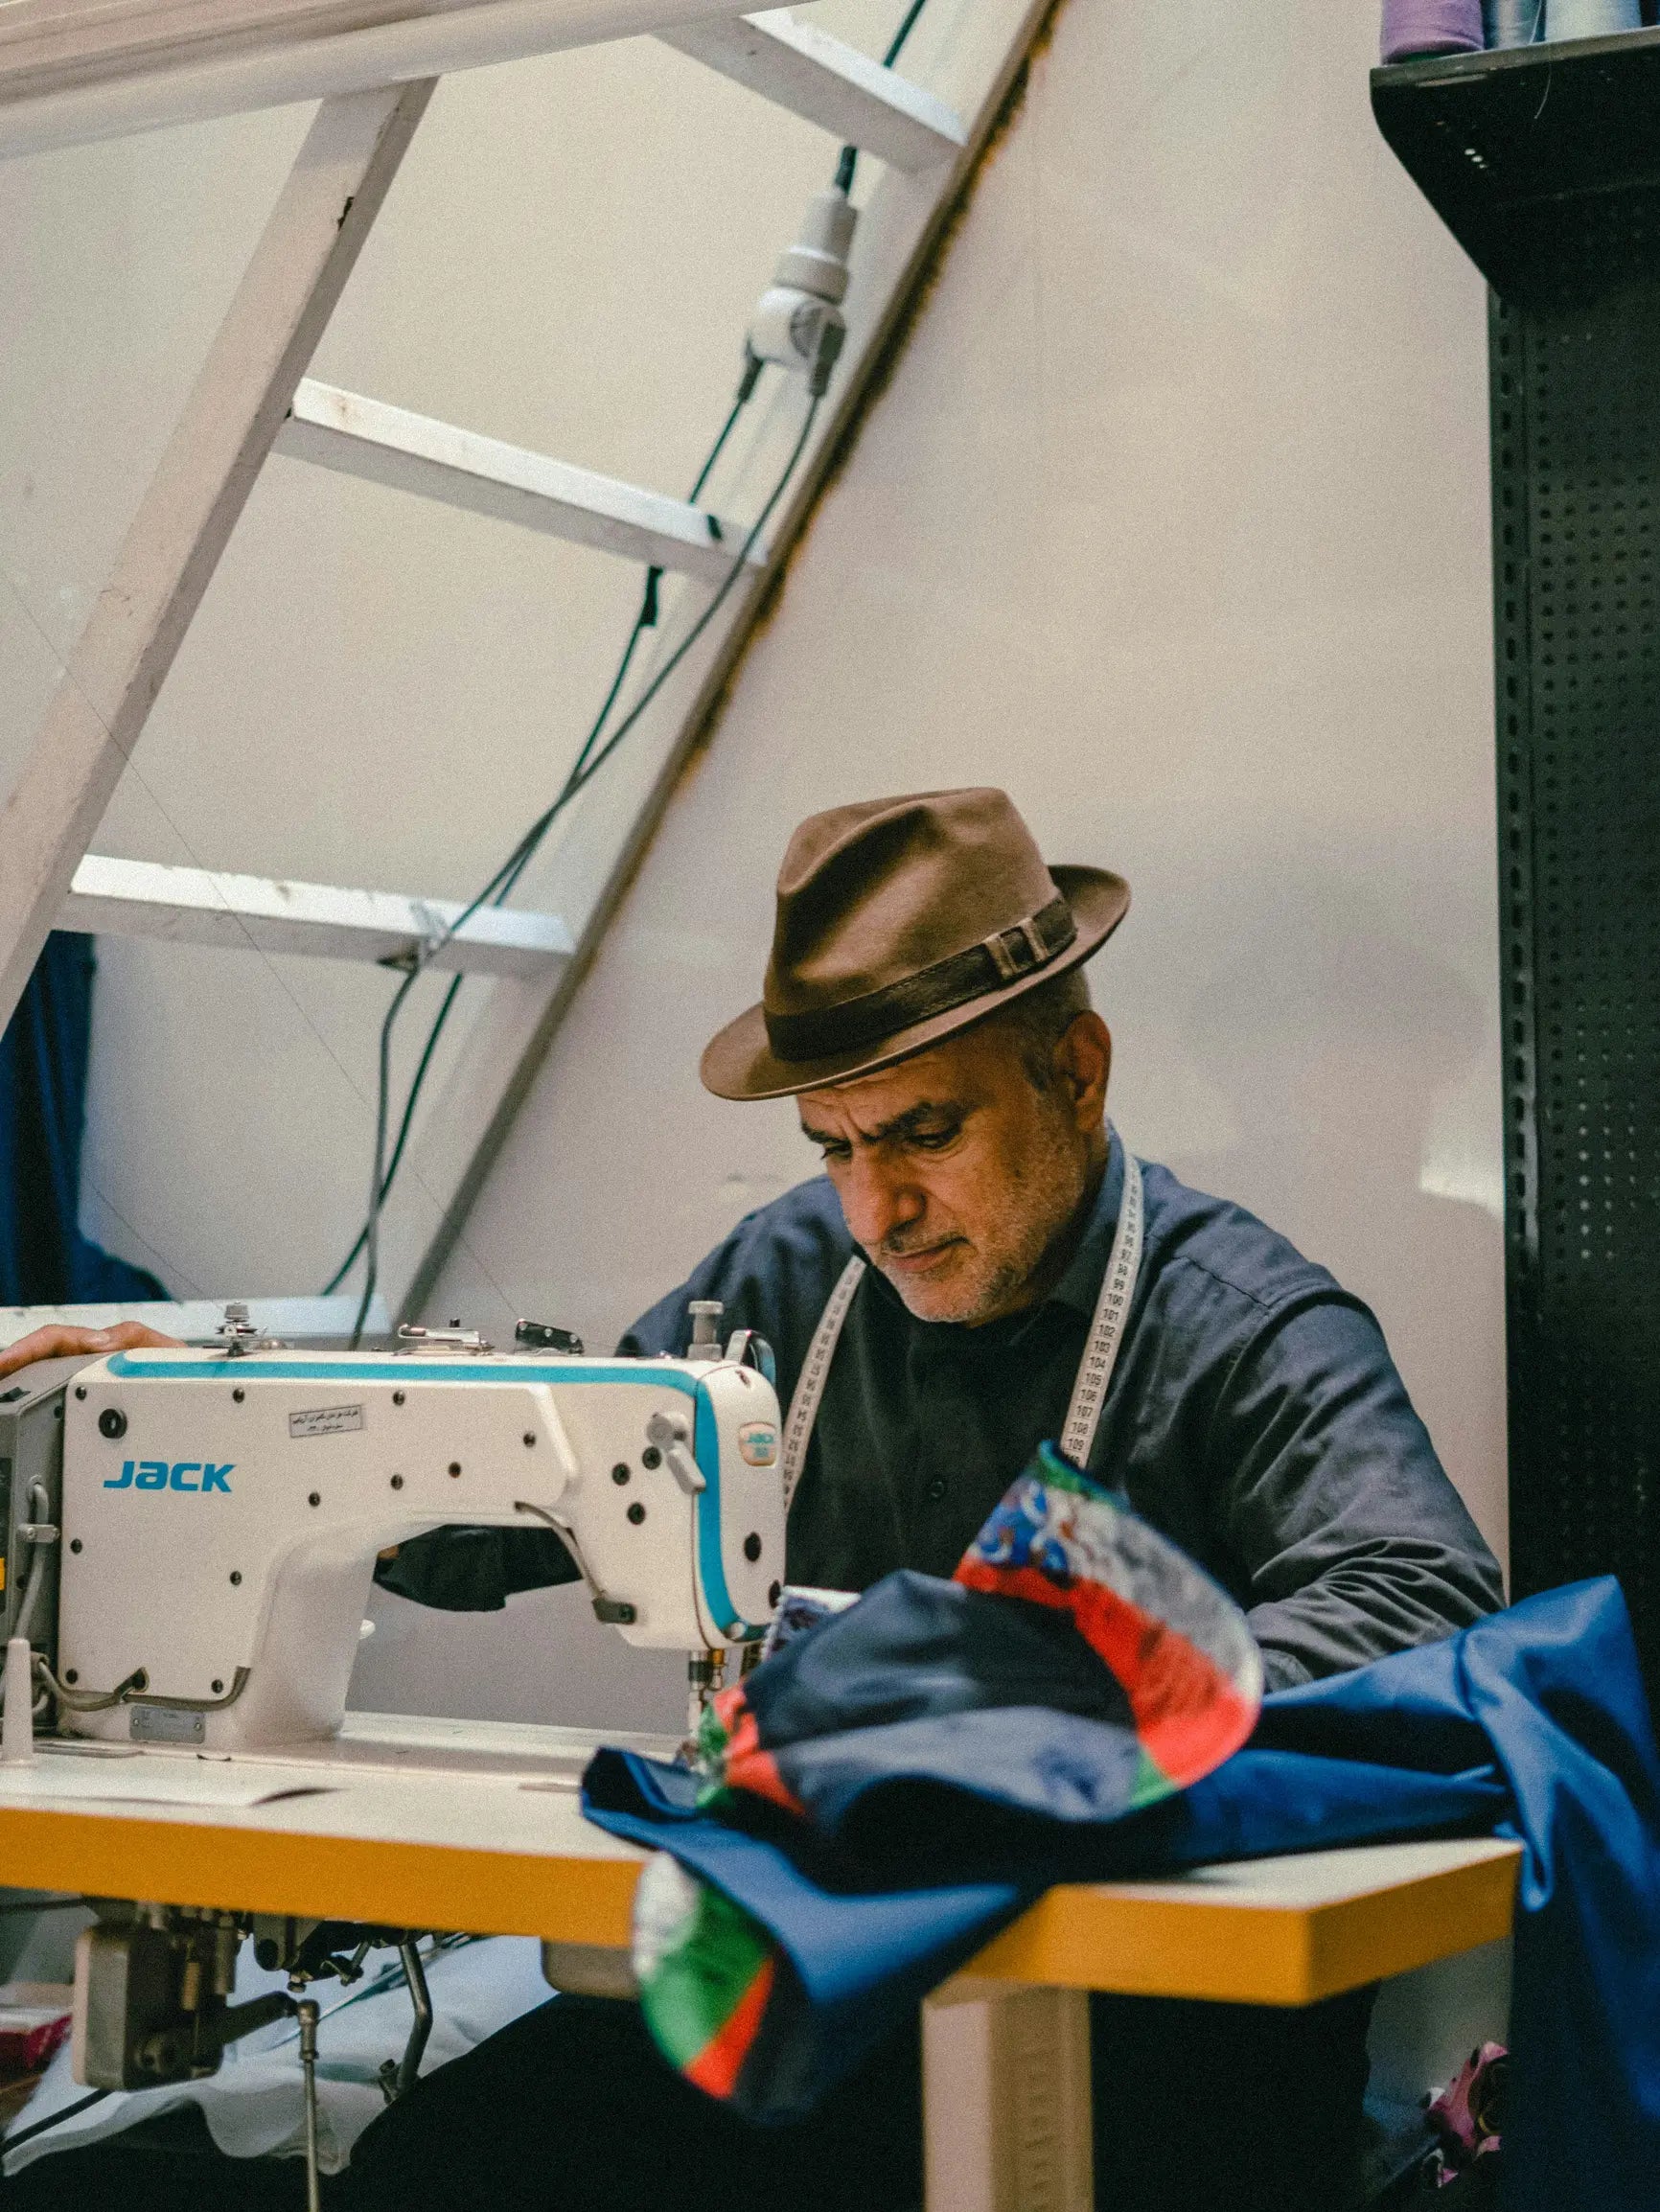
Looking for garments that appear sharp yet permit you to reach, sit, and drive without tugging? A skilled tailor can achieve that balance, provided you give three clear, movement-focused instructions addressing posture, tailoring adjustments, and fabric selection.
Begin by mapping posture, measurements, and natural movement so every pin and pattern change addresses a genuine tailoring need. Then specify shoulder, torso, and sleeve alterations, and choose fabrics, construction methods, and finishes that preserve mobility while producing a neater silhouette.

1. Map your posture, measurements, and movement needs for a better fit
Map your posture and any asymmetries, and record them with neutral front, back, and side photographs while wearing a lightweight layer. Annotate shoulder slope, head tilt, spinal curve, and your dominant side. Note where shoulders, waist, or hips sit differently when you stand naturally and when you adopt a deliberately upright posture, as those shifts affect shoulder seam placement and where fabric will pull. Measure for movement, not only static size. Record chest, waist, hip, seat, thigh, rise, back length, shoulder-to-elbow, and elbow-to-wrist with the arms relaxed, raised, and bent, and repeat these measurements while seated so the tailor can see how dimensions expand or contract. Bring a well-fitting garment as a reference for sleeve length, armhole depth, and crotch comfort.
When having a garment fitted, run targeted movement tests: sit, reach forward, raise and cross your arms, walk a few paces, and bend your knees. Mark any points where the fabric restricts movement with pins or chalk, identifying problem areas for alteration. Decide the functional ease you require and the compromises you are willing to accept. Explain which areas should remain close to the body and which need extra room, and discuss solutions such as darts, vents, pleats, gussets, or curved seams to add mobility without altering the intended silhouette. Bring an annotated record, photographs, notes on your typical activities, and a reference garment, and request a basted toile fitting. Moving in the unfinished piece lets you mark adjustments directly on the fabric for precise alterations.

2. Specify shoulder, torso, and sleeve alterations for optimum freedom of movement
Ask your tailor to align the shoulder seam with the end of your shoulder bone, and adjust the shoulder slope in 0.5 to 1 cm increments until the sleeve hangs smoothly. If the seam sits too far forward or back, the sleeve will ride and the chest or upper back will pull. Adjust the sleeve pitch and reshape the armhole to match your habitual arm position, rotating the sleeve seam slightly if you usually sit or drive with your arms forward. Raise your arm and reach to check for any bunching. Be specific about bicep and cuff room: allow enough space to make a fist comfortably, retain the sleeve head height to preserve balance and drape, and check cuff length with your arm slightly bent so the sleeve does not ride up.
Specify the total torso ease you prefer, typically an extra 2 to 4 cm at the chest and waist, and demonstrate how you move so your tailor can observe pull lines and strain points during the fitting. Rather than asking for general looseness, request targeted mobility features such as a small underarm gusset, a shallow centre-back pleat, or eased armhole seams; these add room where fabric needs it without creating bulk across the chest and waist. Confirm their effect by repeating common actions, such as sitting, bending, and reaching, so you can see how the garment behaves in use. Clear measurements and on-body testing give the tailor the evidence needed to fine tune the balance between a slim silhouette and practical movement.

3. Select fabric, construction, and finish to maintain freedom of movement
Choose fibres and weaves that offer natural recovery and graceful drape, such as worsted wool, tightly woven twills, or blends with 2 to 4 percent elastane. Wool’s crimp, together with a small elastane content, helps the fabric return to shape after movement, so the garment looks neat without feeling constrictive. For jacket construction, favour a half-canvas or sewn-in shoulder rather than a fully fused chest; these methods balance retained shape with subtle flexibility. In trousers, specify gussets, a shaped crotch, and articulated knees so panels move independently and reduce pull lines. Rather than broad roominess, build in targeted wearing ease: add roughly 1 to 2 centimetres at the shoulder, across the upper back, and through the seat, and lower the armhole slightly or use a forward-shoulder cut to preserve reach without visible bagging. Practical fitting shows that small, well-placed allowances remove tension when sitting or lifting while maintaining a trim silhouette.
Additionally, choose finishes and linings that preserve mobility. Request partial or breathable linings and soft interlinings at stress points, and prefer garment washing or enzyme softening rather than heavy resin finishes that stiffen the cloth and trap heat. At the fitting, perform movement tests: sit, bend, reach across a table, and climb a step, and ask for temporary basted seams to allow adjustments to be pinned while you move. Specify low-bulk seam finishes, such as flat-felled or bound seams, in high-friction areas, and reinforce stress points with stretch thread or bartacks to keep the fit neat under repeated movement.
In short, provide your tailor with three movement-focused instructions: assess posture and record precise measurements; specify adjustments for shoulders, torso, and sleeves to accommodate natural movement; and select fabrics and construction that preserve the garment's shape while permitting a full range of motion.
Support these directions with neutral photographs, measured movement tests, and a basted fitting, which permits pinning solutions such as eased armholes, gussets, or placement of low elastane content at the points that actually relieve tension. A basted fitting lets the cutter assess movement and trial adjustments before final stitching. When preparing for a fitting, follow the three steps in the headings: note your posture and bring reference garments, request targeted shoulder and sleeve reshaping, and favour half-canvas or articulated construction rather than a broadly loose cut. This approach preserves a more streamlined shape that moves with you, allowing you to sit, reach, and drive with confidence without compromising fit or function.