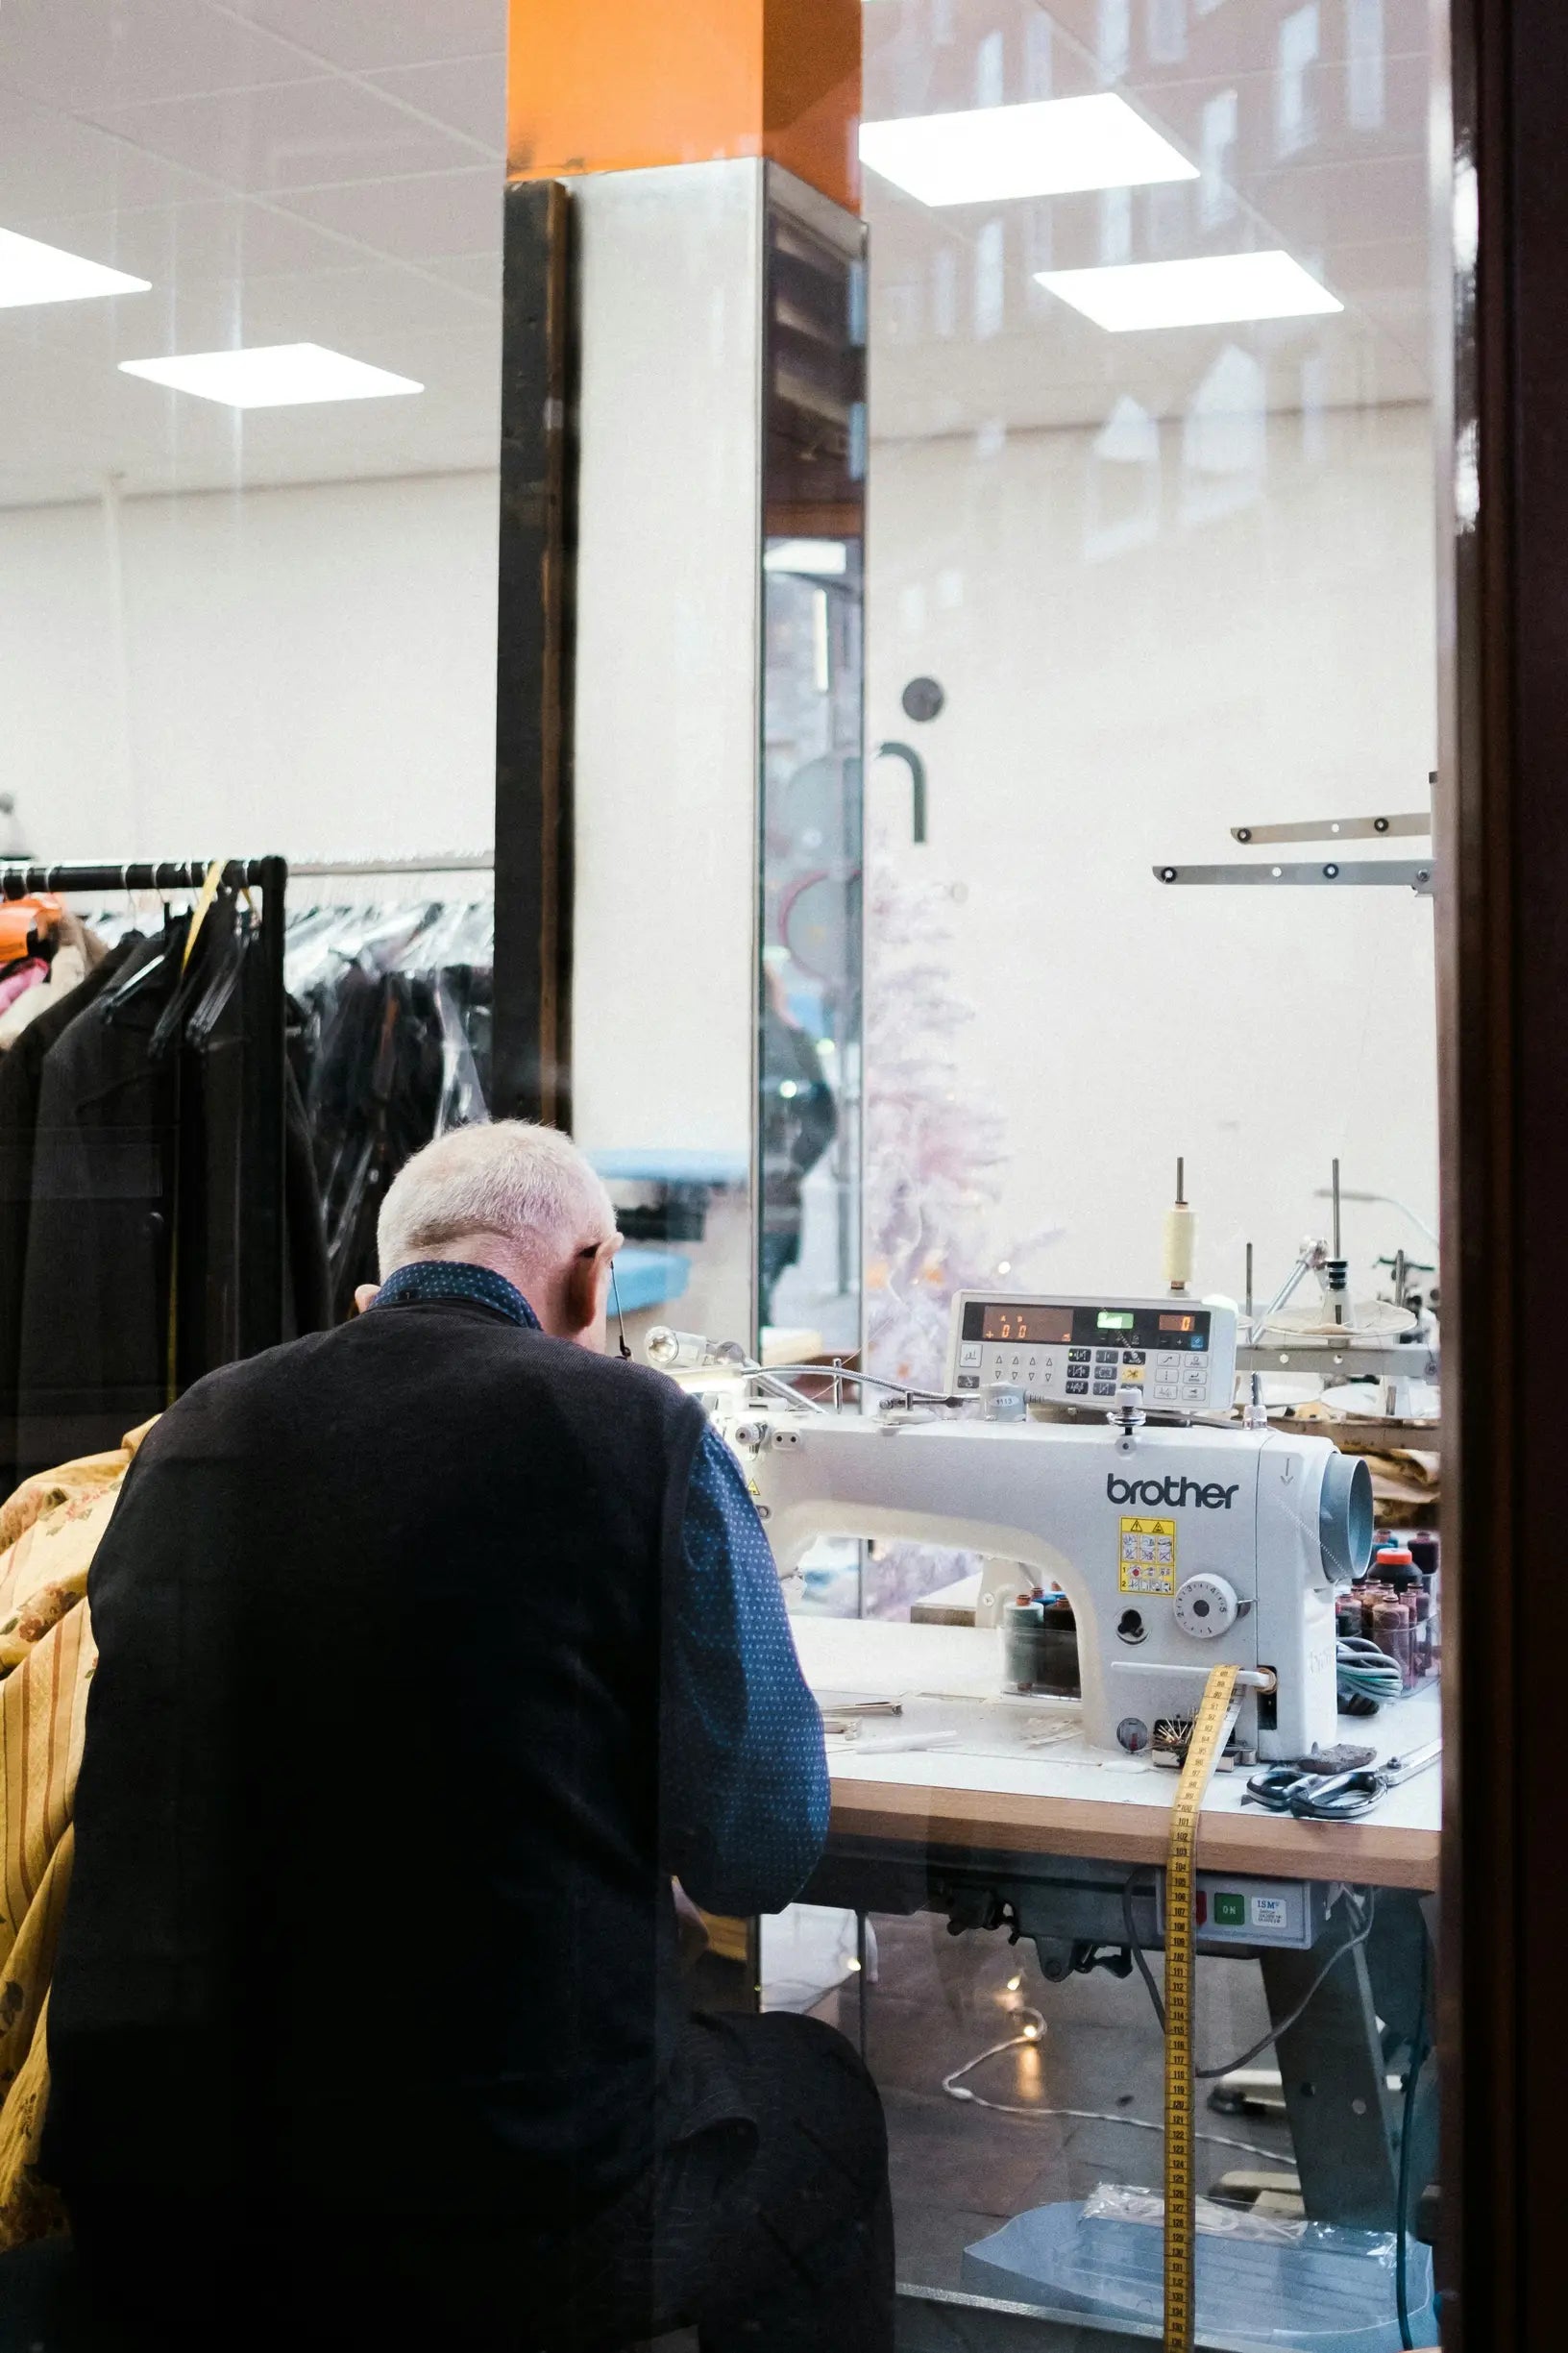
A small tear in a favourite jumper need not spell its end. Choosing garments designed for easy repair, with features such as reinforced seams, plain-knit panels, and accessible stitches, makes mending straightforward, prolongs a garment's life, and reduces waste.
When buying, look for five practical details: durable, repairable fabrics; accessible, reinforced seams; simple panel layouts; standard, replaceable fastenings and trims; and generous seam allowances and spare fabric. Noticing these features lets you or a local tailor mend garments quickly, keeping favourites wearable for longer.

1. Opt for durable, repairable fabrics that can be mended
Carry out a few simple checks on a fabric's structure before you buy. Tightly woven plain weaves and stable knits take needles and thread predictably, while open weaves, loose knits, and high-pile cloths are more prone to fray or snag. Pinch the fabric and look for gaps, or gently pull a single yarn from an inside seam to see whether threads ladder or hold. Bear fibre behaviour in mind: cotton and linen accept stitches and dyes readily, wool can be darned or felted, and many man-made fibres are strong but sensitive to heat. Match the repair thread fibre to the garment to prevent differential shrinkage and sheen mismatch. Before attempting a mend, gently stretch a hidden area to reveal how layers sit, and test colourfastness on a tucked edge to see how dyes or coatings will react.
Also inspect finishes and construction details that will affect future mending. Water-repellent coatings, laminated membranes, and heavy resin finishes can blunt needles or split when stitched, so check the fabric interior and gently stretch a hidden area to reveal the layers. Look inside hems, side seams, and cuffs for generous seam allowance, single or double stitching, and tidy selvedges you can unpick for patch material. Unpick a small, discreet section to confirm there is usable fabric and to assess stitch quality for resewing. When judging how visible a repair will be, consider pattern, nap, and texture: small repeats, plain colours, and non-directional textures conceal patches best. Keep a spare swatch or an offcut from a pocket lining or hem for colour and texture matching.
Choose stable needlecord for easy, durable repairs

2. Prioritise reinforced seams to enable easy repair and greater longevity
Identify the seam type and finish. Flat-felled, felled, and French seams enclose raw edges, which prevents fraying but leaves little fabric to work with, whereas overlocked (serged) finishes typically have narrow, trimmed allowances. Where possible, gently open a section of the seam allowance to see how many fabric layers you would need to re-stitch; enclosed finishes protect the fabric, but they make access harder. Exposed finishes and simpler seam constructions are easier to restitch or patch and reveal spare fabric you can use. Finally, check the seam allowance width: moderate to wide allowances let you trim and resew, alter stitch lines, or add reinforcing tape, while very narrow allowances restrict repair options.
When assessing a garment for repairability, inspect reinforcements at stress points, such as bar tacks, rivets, and double topstitching at pocket corners, belt loops, and sleeve heads. Note whether those reinforcements are visible and accessible for restitching. Examine the stitch type, stitch length, and thread: a lockstitch with a medium-length stitch and a common all-purpose thread will be robust, yet straightforward to unpick and replace, whereas chain stitching or very dense stitching may unravel or prove difficult to replace cleanly. Also look for design features that ease internal access, such as removable linings, hand-tacked hems, bound seam finishes, gussets, and plackets. Where possible, test repairability by gently undoing a small hand tack or inspecting where linings join to confirm seams can be neatly resewn.
Opt for heavy canvas with reinforced, repair-friendly seams

3. Opt for simple panel construction to ease repairs
Lay the garment flat and trace a panel map to count the distinct pieces. Garments made from a few large panels, for example a single front, a single back, and separate sleeves, have fewer seams that can give way and allow whole-panel replacement or large patches. Look for continuous, full-width panels of consistent colour and wear; these let you cut matching repair pieces from the garment itself, preserving the original fade and fibre ageing for an invisible mend. Check that adjoining panels run on the same grain and that printed or woven patterns align, as matched grain prevents patches from twisting and aligned patterns make visible repairs much easier to blend.
Avoid garments made from many small, shaped pieces, such as princess seams, multiple darts, or inset panels, because curved seams require exacting sewing and complicate repair. Choose simpler silhouettes with straight or gently curved seams, which make patching or replacing sections more straightforward. When examining construction, check the inside seam allowances and favour flat, accessible seams with generous allowances you can restitch into or open to insert a patch. Note where panels meet at high-stress points, such as the elbows, underarms, and the crotch, so you can prioritise garments whose panel layout allows targeted reinforcement or panel replacement. Generous seam allowances and flat construction give a repairer the room to restitch, apply a patch, or replace a panel with minimal disruption to the garment's lines.
Choose a durable denim jacket for easier repairs.

4. Choose standard, replaceable fastenings and trims for easier repairs
Opt for common zips with full tape, such as metal or coil, and ensure the tape is stitched into a seam allowance that can be unpicked. Confirm the stops and pull are sewn rather than bonded, and note the teeth style so you can source a matching replacement from a haberdashery. Prefer sew-on buttons with visible shanks or thread paths, and ensure a spare button is included or can be salvaged from a hem, because flat, glued, or moulded buttons are difficult to resew.
Choose press-studs and poppers that are sewn or screw-fixed rather than crimped or riveted; sewn or screw-fixed fastenings can be removed and refitted without damaging the surrounding fabric. Avoid bonded, glued, or heat-fused trims, and favour topstitched or tacked attachments that can be released cleanly with a seam ripper. Ensure trims sit within a usable seam allowance, or behind a lining that can be opened, and favour visible topstitching, bartacks, and accessible hems, which leave sufficient material to restitch or replace fastenings.
Choose a crafted jacket built for easy repairs.

5. Allow generous seam allowances and extra fabric for future repairs
Turn the garment inside out and measure seam allowances at several points. Allowances under about 6 mm leave almost no room to let seams out, whereas allowances of around 12 mm or more give a tailor clear room to release and re-stitch without weakening the join. Inspect hems, cuffs, and waistbands for an extra fold or a second, loose line of stitching. An additional turn of fabric, or a basting line, provides material you can shorten or let out when altering. Check side seams, centre-back seams, and shoulder seams for trimmed or overlocked edges, and for taped finishes, because heavily trimmed or fully overlocked allowances reduce usable fabric and make restitching more difficult. Finally, look inside pockets and linings for tucked spare fabric or generous facing lengths that can serve as patches or rebuild a seam without sourcing matching material.
Choose plain, untrimmed seam allowances, or ask your maker to leave extra margin when ordering. Keeping the original allowance speeds alterations and repairs, reduces bulk from patches, and preserves the garment's drape and fit. When pockets, facings, or hems reveal hidden fabric tails, note their length and position so a tailor can use them for small repairs instead of sourcing new cloth. A quick check at purchase saves time later and shows whether the maker built the garment with future mending in mind.
Choosing garments built for repair keeps favourites wearable and reduces waste by making mending straightforward. Inspect garments for stable weaves, accessible seams, simple panel layouts, standard fastenings, and generous seam allowances, as these features indicate how easily an item can be repaired or altered.
In particular, inspect hems and seams for surplus fabric, and tuck a section to reveal any coatings or fragile finishes. Favour visible stitching and sew-on trims so you or a tailor can mend them cleanly. These five checks will help you buy with quiet confidence, keep garments in rotation for longer, and reduce the time and materials required for each repair.