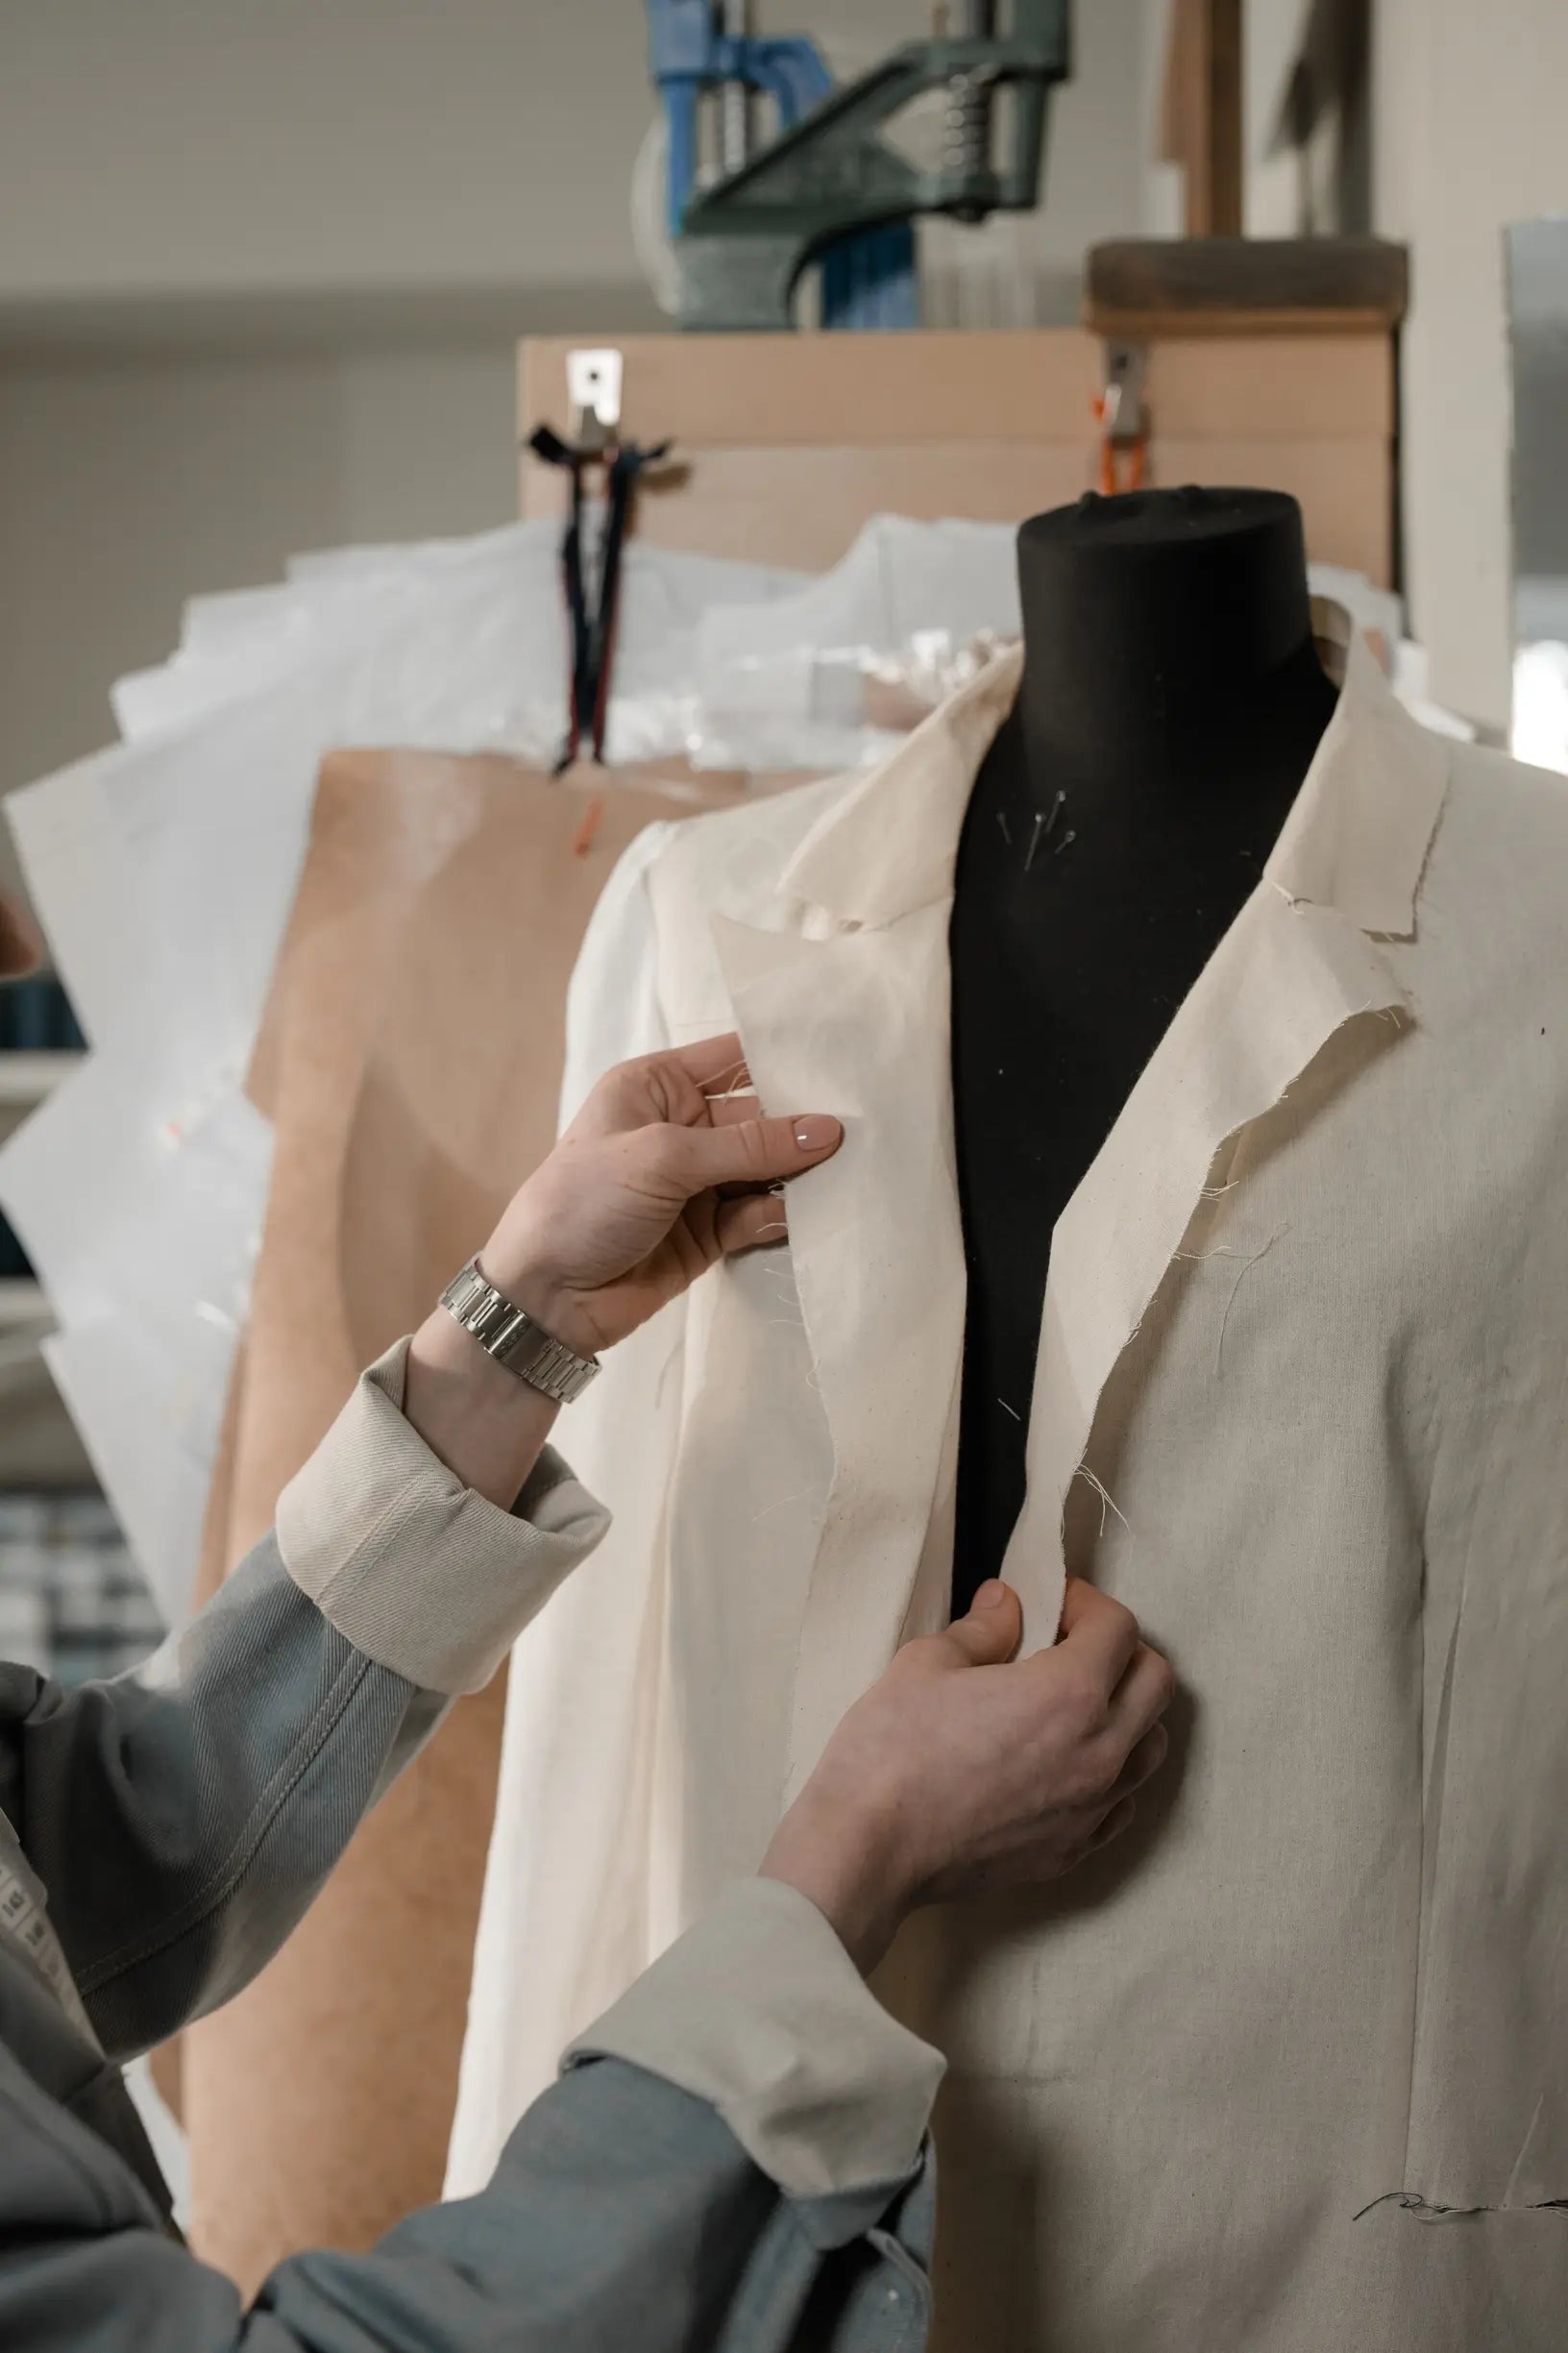
A single popped seam can turn a favourite jumper into an item you avoid wearing. How a garment is sewn, from seam placement to stitch length, often decides whether you can mend it quickly or consign it to the bin.
This post outlines how to prioritise reparability: choose fabrics and threads that mend well, position seams for durability and easy access, and set stitch lengths and techniques to simplify future repairs. It presents practical design choices for accessible reinforcement and discreet repairs that extend a garment's serviceable life and reduce material waste.

Make reparability central to timeless menswear design
Provide generous, untrimmed seam allowances and clearly labelled access points, specifying a minimum of 12 to 15 mm so a repairer can open and resew without encroaching on the garment's structure. Prefer single-needle straight, felled, or bound seams over relying solely on overlocked finishes, as these produce clear stitch lines and stable edges that are easier to pick open by hand or machine. Standardise machine stitch lengths and thread specifications across ranges — for example, 2.5 to 3.0 mm for typical woven fabrics and 3.5 to 4.0 mm for heavier cloth — and record compatible thread types and tensions so repairs match both appearance and performance. Avoid overtrimming, and include an overlapping lining or access opening to preserve the original grain and shape during repair.
Prefer replaceable sewn reinforcements at high-stress points, such as bar tacks, extra rows of topstitching, or sewn-in panels, rather than fused interfacings. Sewn reinforcements can be removed and replaced without exposing surrounding fabric to heat or adhesive, which preserves the original material and construction. Provide clear repair paths and discreet markings, for example hidden notches, small pattern marks, or a sewn-in repair guide specifying seam type and preferred stitch length, so repairers and owners can work efficiently and retain the original construction. Consistent specifications and visible access points reduce trial and error, speed restoration, and limit visible inconsistency after repair.
Stands up to repair and daily wear.

Select fabrics and threads that mend with ease
Match fibre families, and always test on scraps before committing to a repair. Stitch a small sample into a scrap of the garment, launder or gently stretch it, and inspect for puckering or seam failure; these signs reveal incompatible shrinkage or stretch. Choose a thread diameter to suit the fabric weight: fine, smooth thread prevents creating holes in lightweight cloth, while thicker, stronger thread resists abrasion on heavier materials. Sew a short seam on a scrap and apply tension to see whether the thread or the fabric gives first, then adjust your thread and needle choices accordingly. For areas that flex frequently, favour threads with a degree of elongation to absorb repeated stress and prolong the repair.
Choose thread to match the fabric’s structure. For dense, slippery weaves, use filament or low-fuzz threads; their smooth surface slips between fibres and keeps repairs slim. For knits, prefer spun or textured thread so the repair can catch loops and better conceal joins. Pay attention to stitch length: shorter stitches help prevent laddering in tight weaves, while slightly longer, more elastic stitches suit open knits and patches. Match the garment’s colour for an unobtrusive mend, or pick a deliberate contrast if you intend the repair as a visible detail. Condition hand-sewing thread by running it briefly through beeswax to reduce fraying and improve grip. Finally, pre-wash and press the area before repairing so the mend sits correctly and endures normal care.
Opt for lightweight gabardine when repairing summer trousers.

Position seams to enhance durability and ease access
Identify likely stress lines by simulating typical movements and loads, then place seams so they run along or across those lines to distribute load across panels and localise repairs to a single seam. Reserve larger seam allowances where repairs are likely: at least 10 mm for light fabrics and 12 to 15 mm for heavier fabrics, and mark these allowances so future restitching can follow the original guide without weakening the garment. Choose seam constructions with repair access in mind. Flat-felled seams provide an external, re-stitchable line and robust durability; French or bound seams produce a neat interior but must be opened to reach the raw edges for repair.
Integrate discreet access and reinforcement features such as a second stitching line, bartacks at pocket mouths and other stress points, or purpose-made replaceable panels so you can target repairs without dismantling surrounding structure. Plan stitch length to balance strength and removability: aim for about 2.5 to 3 mm for permanent seams, and 3.5 to 4 mm where easier unpicking is desirable. Use backstitching or reinforced bartacks at seam ends rather than very short stitches, which make later restitching awkward. Longer stitches reduce perforation density, making unpicking quicker and less damaging, and keeping seam allowances generous preserves fabric for future restitching.
Seam placement and repairability: practical rules
- Map likely stress lines by simulating typical movements and loads for the garment or bag, mark high-strain zones, and place seams to either run with those lines to carry load, or across them to localise tears to a single seam; for example, reinforce shoulder and underarm seams on jackets, crotch and seat seams on trousers, and strap bases and lid folds on backpacks, and reserve larger seam allowances at those points for future repairs.
- Select seams that permit repairs: prefer flat-felled seams for an external, re-stitchable line, use French or bound seams when a clean interior is more important but accept that you will need to open them to reach raw edges, and avoid permanently sealed or taped seams where routine repairability is required.
- Adopt a clear marking, allowance, and reinforcement checklist to aid future work: give at least 10 mm allowance for light fabrics and 12 to 15 mm for heavier fabrics, and mark them with tailor's tacks or chalk; plan stitch lengths of about 2.5 to 3 mm for permanent seams and 3.5 to 4 mm where later unpicking should be easier; add secondary stitching lines or bartacks at pocket mouths and stress points, use backstitching or bartacks at ends to provide a more secure finish than minimal-length stitches, and design replaceable panels so repairs target only the damaged area.

How to set stitch length and use simple techniques for easier mending
Choose a stitch length that balances strength with ease of removal. Shorter stitches distribute load across more threads, while longer stitches make unpicking simpler. For everyday woven garments, aim for about 2.5 to 3 mm; for very fine fabrics, 1.5 to 2 mm; and for heavy fabrics, 3.5 to 4 mm. For visible stitching, set machine topstitching slightly longer, around 3 to 4 mm, and keep hand pick-stitching at roughly 2 to 3 mm so resewing remains neat and accurate.
When planning repairs, increase seam allowances at repair-prone areas, such as side seams, crotches, and sleeve heads. Extra allowance provides the fabric needed for trimming, restitching, or inserting patches. Choose seam types with future repairs in mind: plain seams with neatly finished raw edges are easiest to open, French seams prevent fraying on delicate cloth, and flat-felled seams offer the greatest durability, though they require more work. Reinforce stress points with bartacks or small box stitches, and mark seam lines with removable basting or tailor's tacks so you can reproduce the original lines. Avoid permanent fusible finishes where alterations are likely; reversible finishes keep repairs localised and simpler to execute.
Opt for hard-wearing, double-stitched construction ready for repairs.

How to reinforce garments discreetly and make repairs straightforward
Match seam construction to the way a garment is likely to fail. For straightforward repairs, use a plain seam with a 1.5 to 2 centimetre allowance; it gives easy access for resewing. A French seam encloses raw edges and produces a tidy interior, but repairing it means unpicking two seam lines. A flat-felled seam resists abrasion and repeated wear, though it is harder to open by hand if you plan to repair it yourself. Specify stitch length by location. Use about 2.5 millimetres for general seams, shorten to 1.8 to 2.0 millimetres at high-stress points for extra durability, and lengthen to 3.0 to 3.5 millimetres where you want seams that are easy to open for alterations. Always leave at least 15 millimetres of allowance, and avoid trimming stitches to closer than 3 millimetres from the stitch line. Press seams open or flat so a seam ripper follows the thread rather than the fabric.
Make reinforcements accessible and discreet by stitching a second parallel row 3 to 4 millimetres from the main seam rather than relying on backtacking. Place bar tacks or small patch reinforcements on the seam allowance, the folded fabric hidden beneath the garment face, so the outer surface remains clean. Use matching thread or concealed hand stitches to keep repairs unobtrusive, and leave 3 to 5 centimetre thread tails tucked into the allowance instead of locking off the ends. Mark stress points with tailor tacks, temporary thread markers that guide future work, and consider removable reinforcement patches or interfacing that can be swapped without cutting the original material. These measures preserve fabric for future repairs, and make unpicking and re-stitching faster and neater for a repairer.
Design garments for reparability by specifying generous seam allowances, standardised stitch lengths, and sewn, replaceable reinforcements. Choose allowances of 12 to 15 mm and stitch lengths of 2.5 to 4 mm to reduce perforation density; unpicking then removes less fabric and preserves the original grain, so resewing sits neater. Position sewn reinforcements at high‑stress points so they can be replaced without guessing at the original construction, making repairs quicker and using less material.
When specifying patterns and labels, refer to the headings Prioritise reparability, Choose fabrics and threads, Position seams, Set stitch length, and Enable accessible reinforcement so each decision supports quick, discreet repairs. Check and clearly mark seam allowances, record stitch specifications, and incorporate discrete access points, enabling makers or wearers to carry out prompt, unobtrusive repairs and keep garments in use.