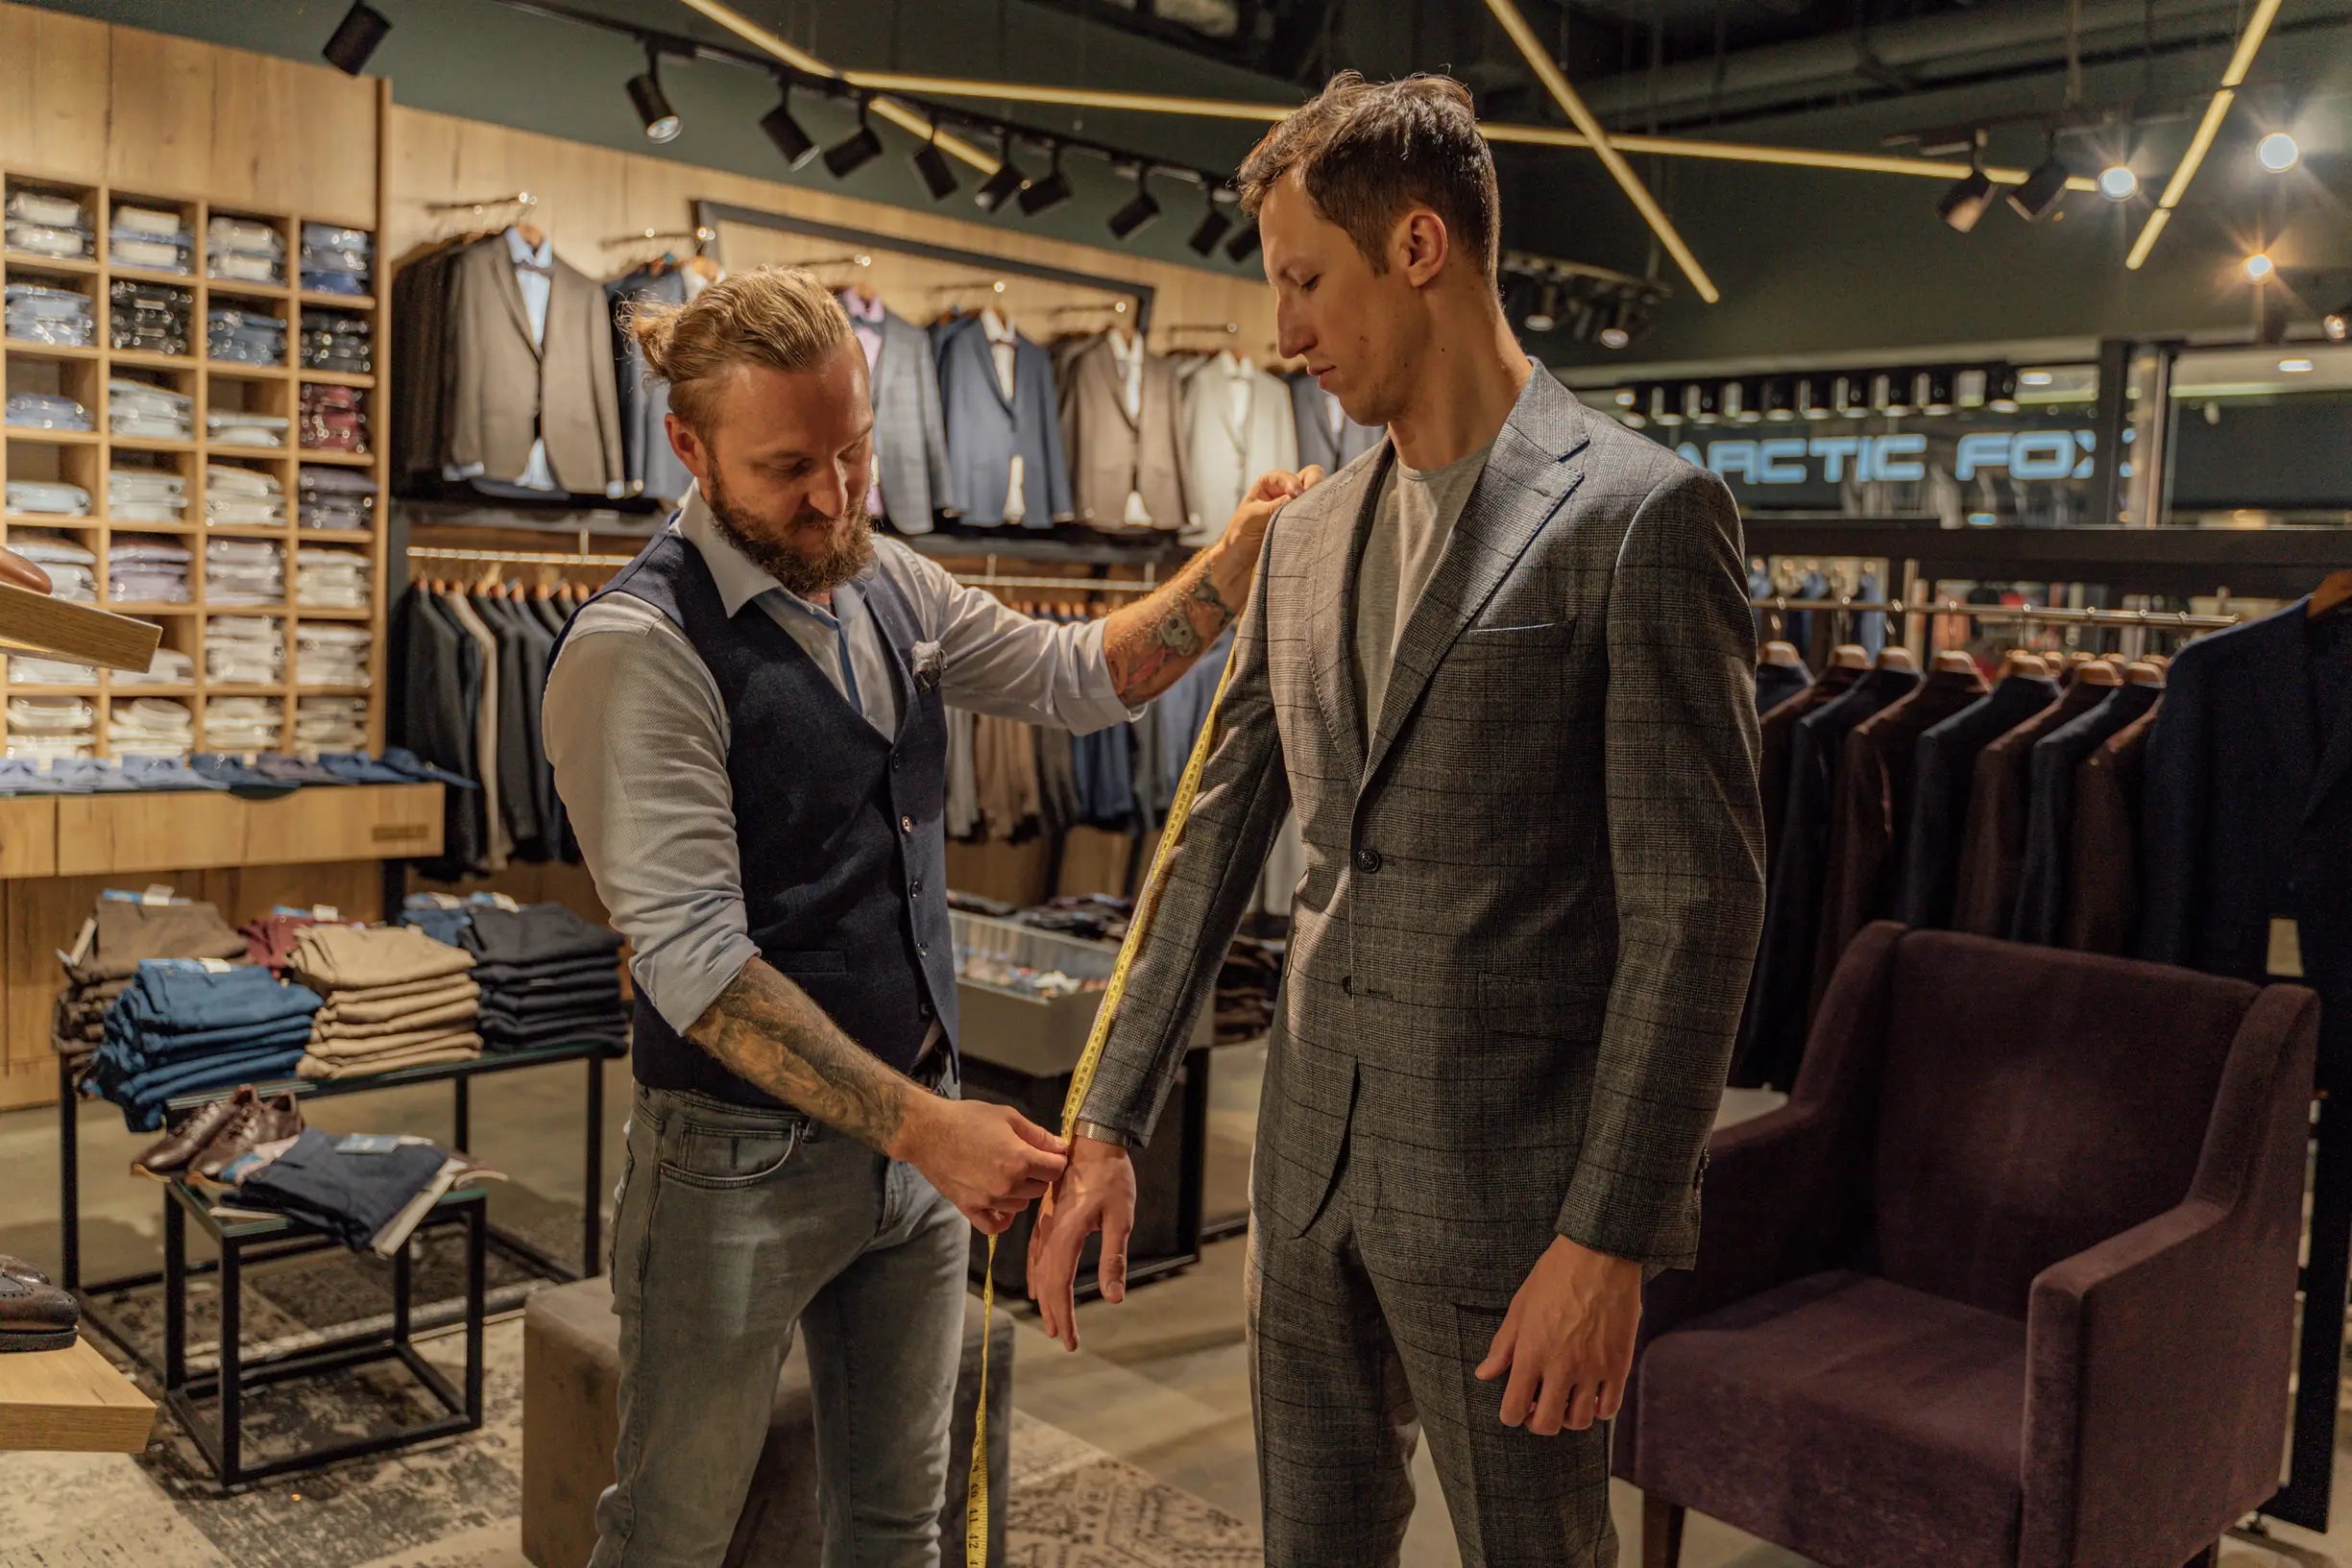
You may fall for a garment in a shop, only to find it fits awkwardly at home. Asking a fitter the right questions replaces guesswork with alterations that enhance comfort, silhouette, and longevity.
This guide explains how to prepare for a fitting, which measurements and alterations matter, and how to style the finished garment for everyday wear. Ask these three focused questions to leave the fitting with clear expectations, accurate adjustments, and practical styling ideas suited to your life.

1. How should I prepare for my tailoring appointment?
For the best results at a fitting, bring the complete outfit, including the shoes and any accessories you will wear. Heel height and bag placement alter hem length and drape, so trying everything on together reveals the true fit. Wear the undergarments and base layers you intend to use, and bring alternative shapewear where relevant; different underwear affects the waistline, bust shape, and seam tension, allowing the fitter to pin to the actual silhouette. Prepare a few short movement tests — walk, sit, raise your arms, bend, and cross your legs — to reveal strain points, riding up, or restriction; these show where practical alterations are needed.
Include clear visual references and a short list of priorities, for example photographs of the look you want and three alterations you do or do not want. Visuals reduce miscommunication and help the fitter translate style preferences into technical adjustments. Tell the fitter about your everyday posture, where you carry bags or a phone, and any previous alterations or recurring fitting issues, and make a quick note or take a photograph to record those details. Pointing out habitual factors, such as carrying a satchel high on one shoulder or an anterior pelvic tilt, lets the fitter adjust seam placement, waist shaping, and hem balance to suit how you actually wear the garment. Clear preparation and concise communication keep the fitting focused on practical, wearable results, not merely cosmetic tweaks.

2. Which measurements will you take, and what alterations do you recommend?
When you consult a fitter, ask them to take precise measurements: chest (or bust), waist, high hip, low hip, shoulder width, back length, sleeve length, rise, inseam, and hem circumference, and ask them to explain why each measurement matters for silhouette and movement. Request that they measure you wearing the undergarments and shoes you plan to pair with the garment, and take both standing and seated measurements where relevant so you can judge fit in real-life positions. Agree a simple movement test — raise both arms, sit down, walk, and cross your legs — while the fitter marks pulling, gaping, and fabric drag with pins or chalk and photographs any issues so you can review functional concerns later. Before committing, have them open a hidden seam or demonstrate with pins how much seam allowance and remaining fabric exists, and record those numbers in centimetres.
Ask your fitter to list the specific alterations they recommend, ranked by impact and by reversibility, so you can weigh permanent changes against reversible fixes. For example, moving a shoulder seam will reshape a jacket, while shortening a hem is often reversible. Request clear alternatives when an alteration changes the garment’s construction, such as adding darts or taking in side seams, and ask to see pinned or draped mockups so you can compare how each option affects fit, shape, and drape. Discuss how fabric and construction elements, such as knit versus woven fabrics, linings, or shoulder pads, limit or enable particular changes. Finally, ask the fitter to explain how each alteration will shift proportions, influence posture, and alter the garment’s intended style to suit the way you move.

3. How should I style this garment after alterations?
After alterations, reassess the garment’s proportions by trying it on with the shoes and undergarments you will wear. Take eye-level photographs while standing naturally, and adjust hem length and tuck until the silhouette reads as intended. Observe how the fabric behaves: heavier, structured textiles hold their shape and flatter slim, streamlined cuts, while more fluid fabrics drape and respond well to structured outer layers. Finish by steaming or pressing the garment to see how seams and hems settle. This hands-on check reveals whether the alteration has achieved the balance you want or requires further, minor tweaks.
Match an altered piece to complementary silhouettes and layers to preserve a clean line. For example, pair a cropped, tailored jacket with high-waisted trousers, use a half-tuck or a narrow belt to raise the waist visually, and balance volume by combining fitted elements with fuller ones. Create multiple occasion-specific outfits from the same alteration: a smart option with polished shoes and a neat coat, a smart-casual look with low-profile footwear and a fine knit, and a relaxed ensemble by unbuttoning, rolling the sleeves, or adding a casual jacket. Ensure any removed fabric is saved, and opt for temporary finishes such as basting or a blind hem so you can trial different lengths. Keep spare fabric and notes on seam allowances to allow easy restyling or later tweaks.
A focused fitting replaces guesswork with reliable results. It combines careful preparation, precise measurements, and movement tests to reveal where a garment truly needs altering. Asking targeted questions ensures alterations honour the garment's construction, preserve options for future adjustments, and produce a silhouette you will wear with ease.
Use a checklist organised under three headings: preparation, measurements and recommended alterations, and styling after alterations. This ensures you will leave your appointment with clear decisions, recorded allowances, and pinned mock-ups, enabling a single fitting to translate into multiple wearable looks.