Frayed elbows, worn seams, and thinning hems are clear signs a favourite garment is nearing the end of its useful life. With a few thoughtful choices and some simple repairs, a jumper or jacket can remain in regular rotation for years rather than months.
One effective approach is targeted reinforcement: place tougher fabrics at points of greatest strain such as elbows, cuffs, the seat, and the inner thighs to prevent damage before it starts. Concealed repair patches or access points make later mending quick and tidy. Combined with considered fabric choices and routine maintenance, these measures reduce waste, extend a garment's serviceable life, and spare the frustration of premature disposal.

Select durable fabrics for high-wear areas in utility garments
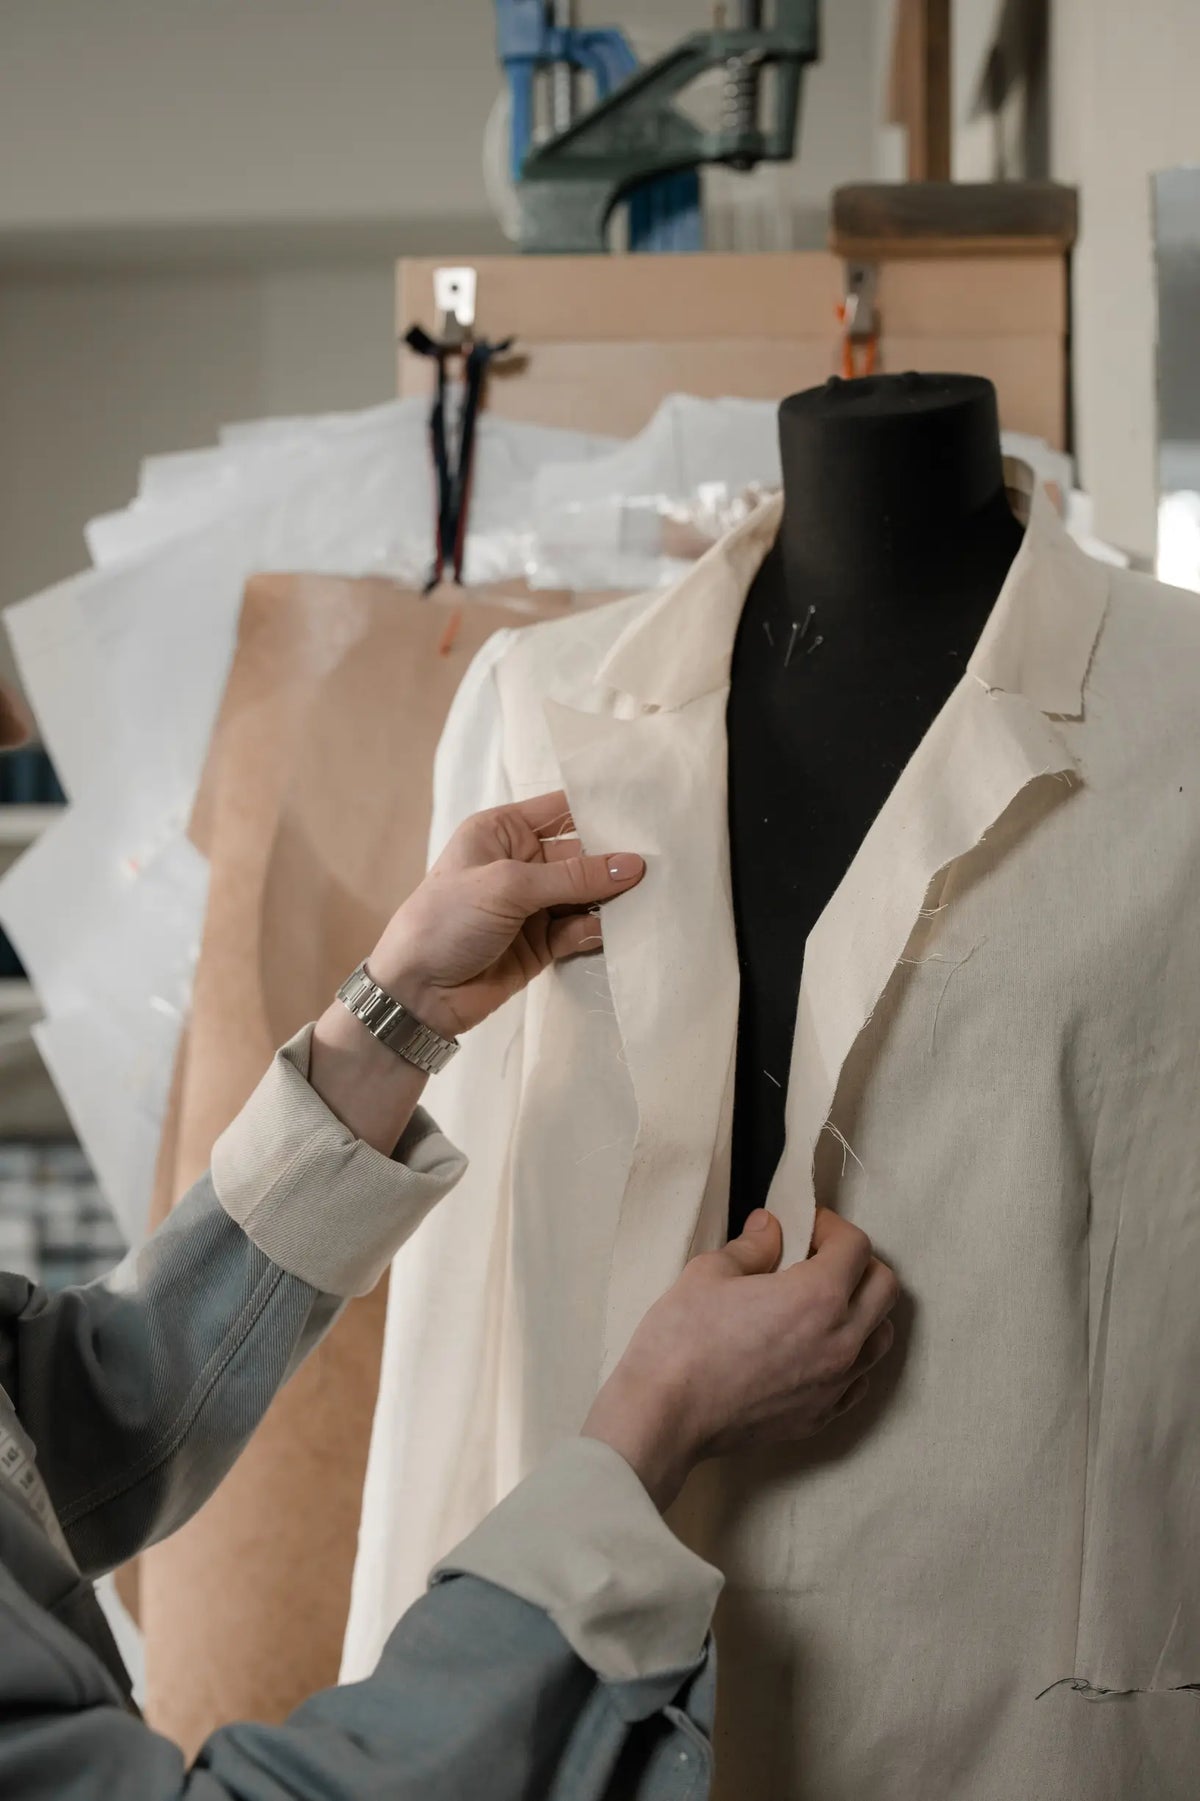
Begin by mapping high-stress zones such as the elbows, cuffs, inner thighs, the seat, and the collar, then match the reinforcement fabric to the load: tightly woven cottons like twill or canvas for abrasion resistance, wool melton for warmth and structure, and stretch knits with similar recovery for elastic areas. Cut reinforcement patches from the same, or a slightly heavier-weight, fabric, making them a centimetre or two larger all round with rounded corners so they lie flat and preserve the garment's drape. Baste the patches on the wrong side, and stitch them within the seam allowance so the added strength concentrates where it is needed without altering the exterior appearance.
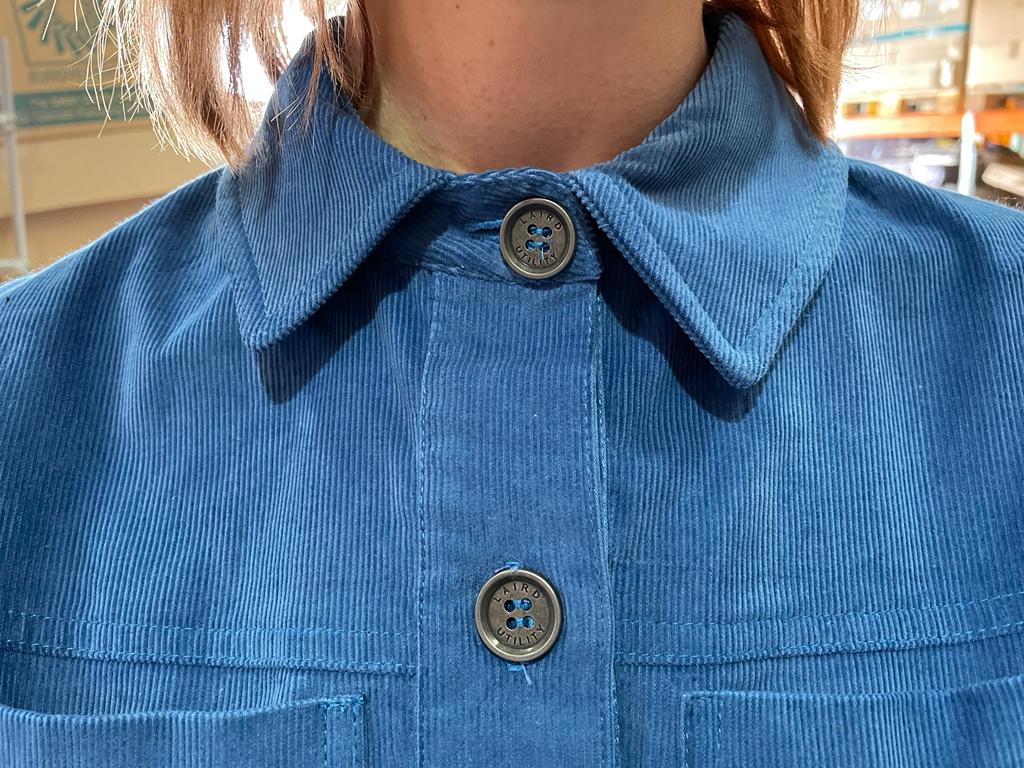
Use sew-in or fusible interfacing, and apply stay-stitching to shape-critical areas such as collars, plackets, and pocket bags. These measures stabilise seams and buttonholes and help prevent future distortion. Reinforce stress points by backstitching at seam starts and ends, adding a second row of parallel stitching to distribute load, and using bartacks or small box-and-cross stitches at strap ends and pocket corners. For elastic fabrics, choose a narrow zigzag or a stretch stitch so the garment retains give. Where possible, salvage suitable material from underused garments, matching grain and nap to maintain consistent colour, texture, and wear characteristics. Cut patches on the same grain, or on the bias for curved areas, to reduce puckering and ensure the repair moves with the garment.

How to add hidden reinforcements with discreet access for repairs
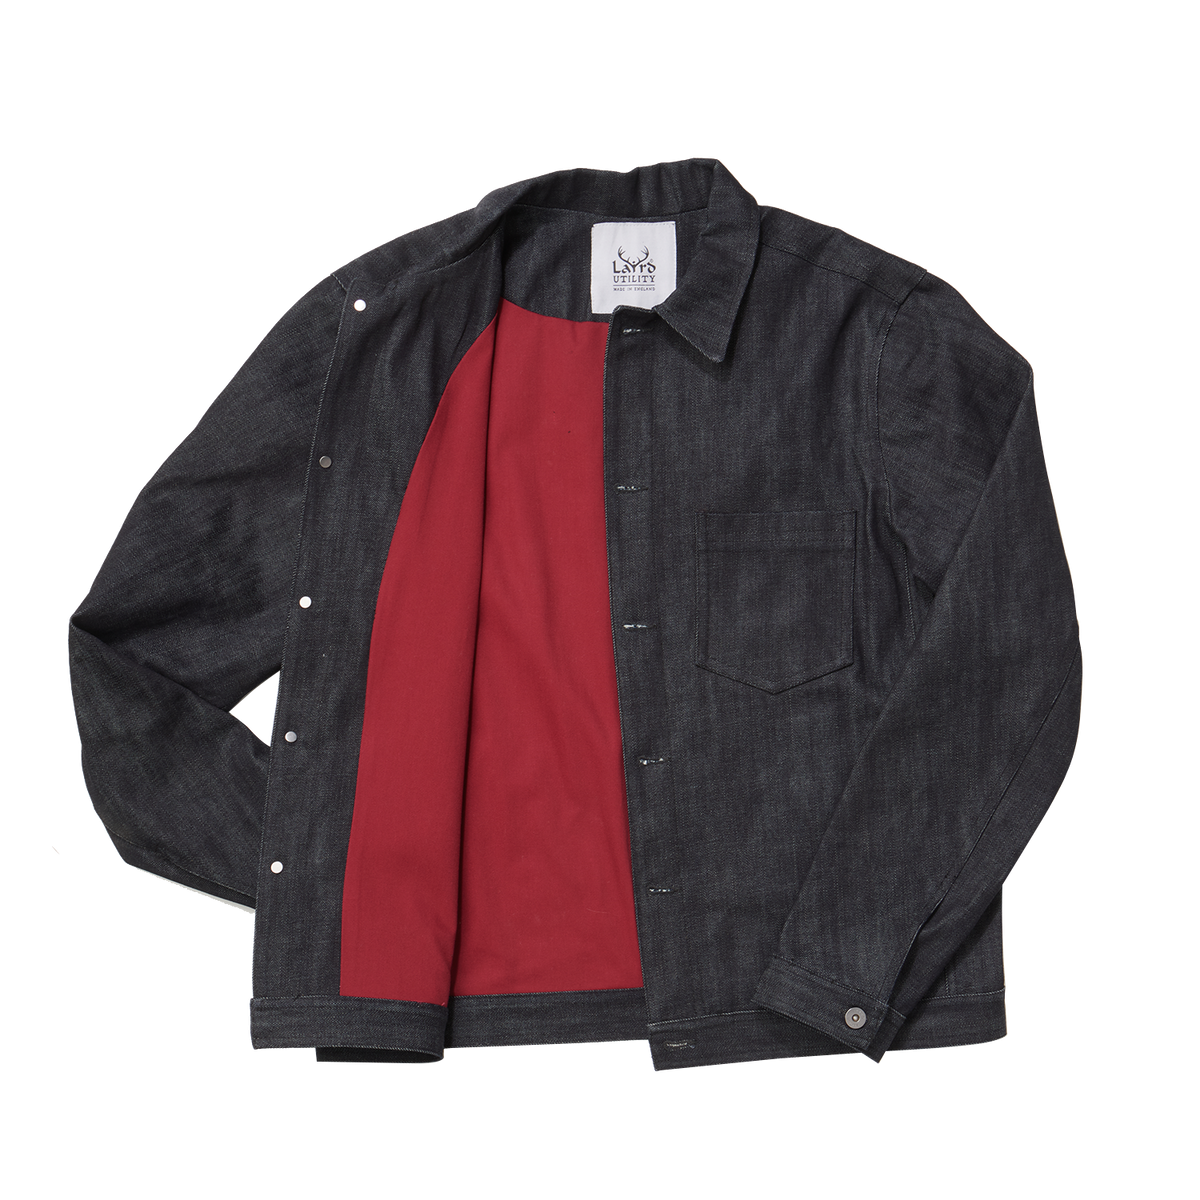
Plan reinforcements at high-stress points — knees, elbows, inner thighs, underarm seams, and pocket corners. Cut a small opening in the lining or seam allowance and slip in a thin patch, then close the access with an invisible hand stitch so the repair remains discreet yet serviceable. Match the patch fabric and any stabiliser to the garment’s fibre and drape: use a lightweight woven for shirts, a bias-cut piece to preserve stretch, or a firmer twill for heavy-use zones. Trim bulk at the patch corners to avoid lumps, and choose materials with similar shrinkage and weave to reduce puckering. Finish the work with a slip stitch or ladder stitch so the reinforcement stays hidden but durable.
Secure patches with dense edge stitching, and add bar tacks at points of extreme stress. Use small zigzag or stretch stitches on knit or elastic fabrics so the repair moves with the garment. Design discreet access within the lining by incorporating a bound opening, a small concealed zip in a seam, or a fabric tunnel that unfastens with press studs or a single button. Mark the access point on the inside with a spare thread colour or a tiny stitch to make it quick to locate. Stabilise damage before repairing: tack down frayed edges, sandwich holes between two patches, or fuse a backing to spread the load across a larger area. Inspect repaired areas regularly, refresh stitch density, or replace the inner patch when stitches begin to show wear, so the garment continues to perform without visible alteration.

Caring for garments: routine maintenance and minor repairs
Reinforce high-stress points with small internal patches or lightweight interfacing at the elbows, underarms, crotch, and shoulder seams. Trim any frayed edges, press or stabilise the patch on the inside, then hand-sew a neat backstitch around the perimeter to redistribute stress and prevent holes from growing. Rely on a handful of reliable stitches for most repairs: a backstitch for seam repairs, a ladder stitch to close hems invisibly, a whipstitch for raw edges, and a bartack to strengthen belt loops and button areas. Take small, even stitches and match the thread weight to the fabric for the best durability. For quick fixes, replace buttons neatly, re-hem with a blind hem or tiny running stitch, darn small holes in knitwear with matching yarn, or apply an interior patch to conceal a hole while preserving the garment's outward appearance.
Beyond those stitches, a modest routine of careful handling and prompt mending reduces the need for larger repairs. Turn garments inside out before washing to limit surface abrasion; launder delicate fibres on a gentle or cold cycle, or by hand, and avoid tumble drying for stretch or knitted items to prevent distortion and excess wear. Fold jumpers instead of hanging them to prevent shoulder stretch, rotate similar pieces to distribute wear, and inspect garments every few wears for pulls, loose threads, or thinning so you can reinforce them while the damage is small. Keep a compact repair kit at home containing needles, assorted thread, spare buttons, small scissors, a darning needle, and fabric scraps so most jobs can be tackled straight away. A short post-wear ritual, together with timely minor repairs, prevents small faults from becoming larger problems and helps garments retain their shape and appearance.
Small, targeted repairs and carefully chosen fabrics prolong a garment's life: they stop fraying at the elbows, reinforce seams, and stabilise commonly stressed areas. Discreet patches, accessible repair points, and routine maintenance let you mend without attracting attention, keeping a well-cared-for item in circulation rather than consigning it to the bin.
Choose durable fabrics, add discreet reinforcement at stress points, employ a few dependable stitches, and follow gentle care routines to catch wear early. Taken together, these steps preserve a garment's appearance and allow small repairs to extend its life by years, so you can mend rather than replace.