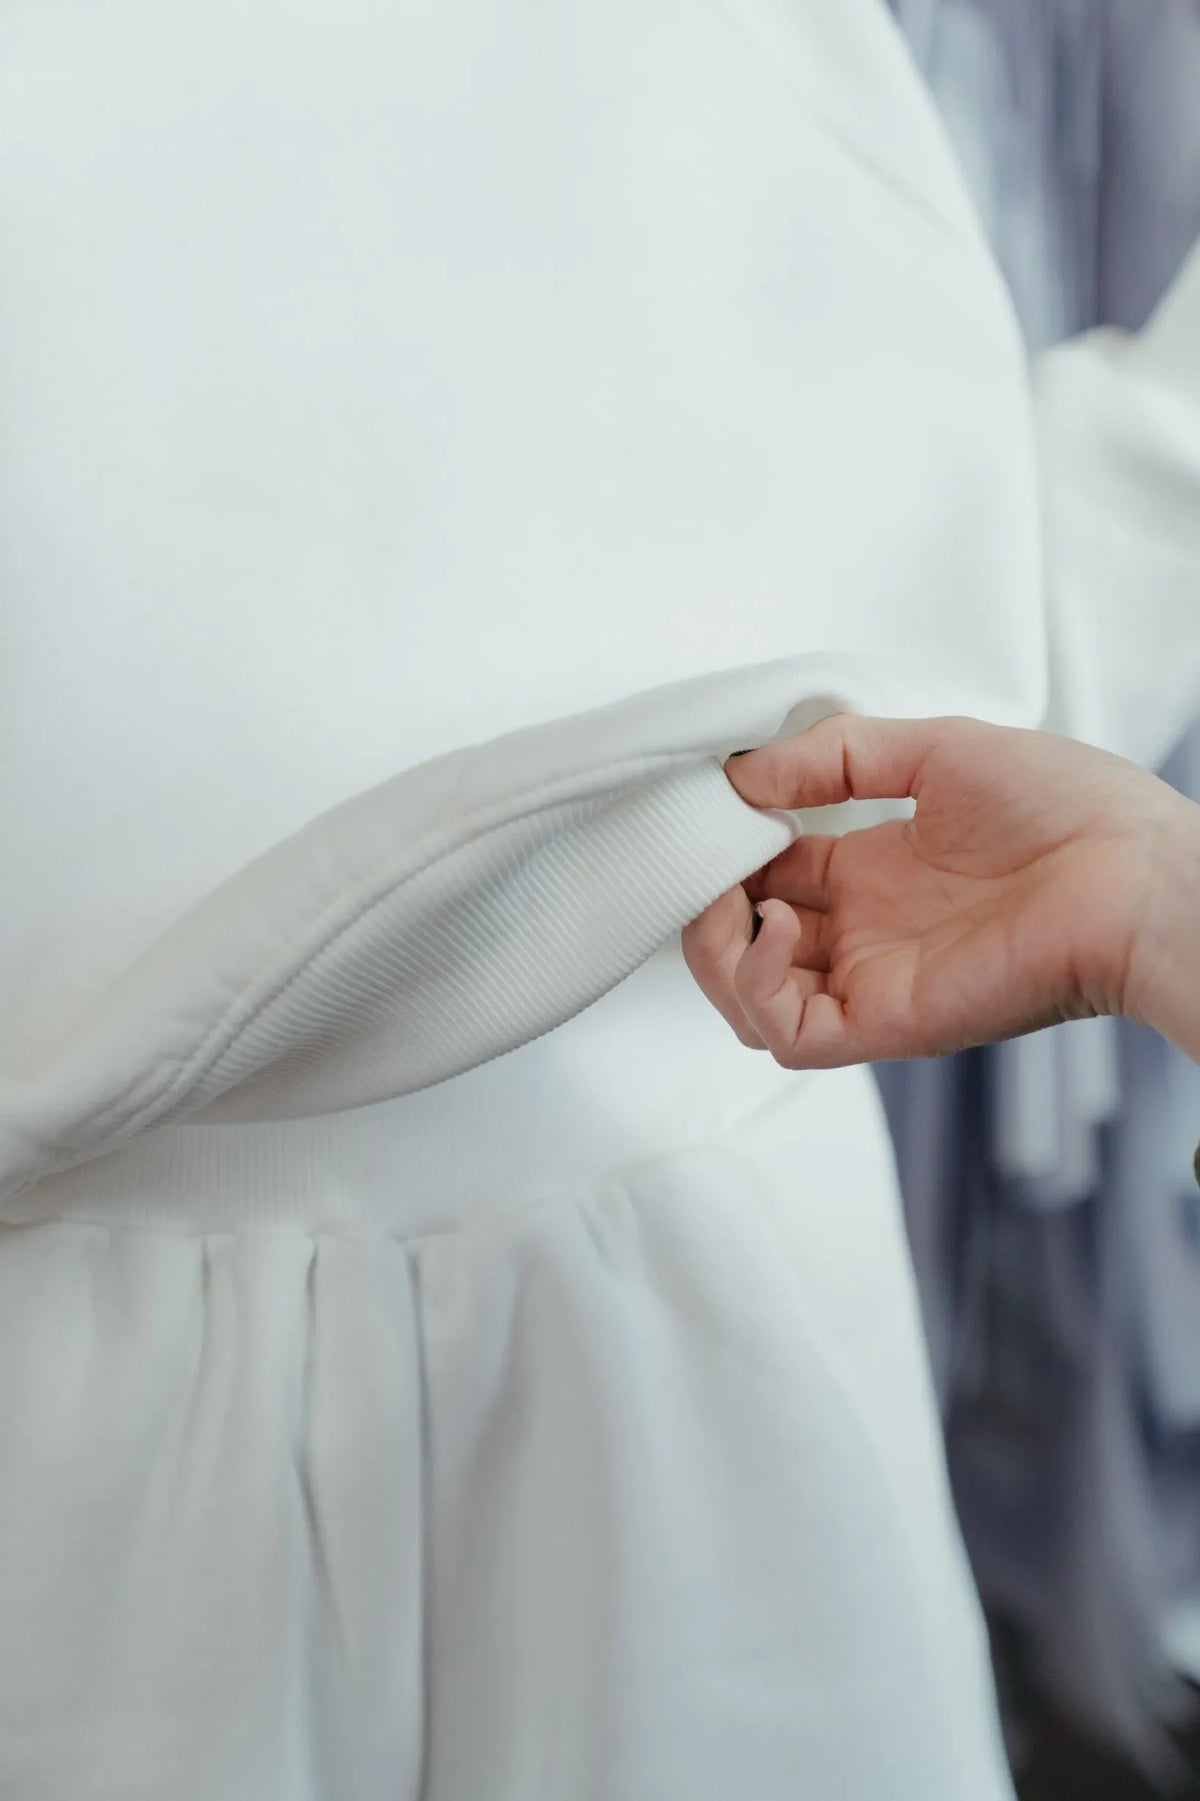
Have you ever wondered whether your favourite jumper or coat is bound for the landfill or can be repaired and worn for years? Small signs in the fabric, stitch types, seam construction, and reinforcements indicate whether a garment was made to be mended rather than discarded.
This post decodes the clues, identifying which fabrics accept patches, which stitch types withstand stress, and which seam constructions resist wear. You will learn to recognise visible and hidden repair-ready features, enabling you to buy, mend, and keep garments that endure.

1. Decipher design cues that invite mending
Begin by examining seam construction and allowances. French seams, flat-felled seams, and visible topstitching indicate that raw edges have been contained; opening an inside seam will show whether there is a generous allowance to re-stitch into, rather than having to reconstruct the entire seam. Check for stress-point reinforcement, such as dense bar tacks at pocket corners, reinforced belt loops, and boxed stitching at the crotch. When mending, restore that original strength with back-stitching or a bar tack. Read the stitch type and density as well. Lockstitch machines produce interlocking stitches that hold under tension, while long, loose stitches or visible looping on the underside may unravel. Match stitch length and thread weight to the original to preserve durability, and appearance.
When assessing edge finishing and weave, look for selvedge edges, the self-finished margin that prevents unravelling, tight twill weaves, and overlocked hems. These features resist fraying and make patching straightforward. By contrast, loosely woven or raw-cut edges shed fibres and typically require seam binding or internal patching. Test a small edge with a gentle tug to judge how readily it will fray. Also note repair-friendly and modular details: removable linings, extra fabric panels under high-wear zones, visible topstitch guides, and pre-stitched button shanks that simplify replacement. Favour garments with accessible internal seams and clear stitch lines, as they reduce the labour and skill needed for neat, long-lasting repairs.

2. Choose fabrics that mend well and stand up to repeated wear
Choose tightly spun natural fibres, such as long-staple cotton and worsted wool. Their longer fibres form stronger yarns with fewer weak points, resist abrasion, and accept patches and darning without excessive bulk. For high-wear areas, favour twill, herringbone, or ripstop weaves. Twill’s diagonal ribs distribute stress across the threads, while ripstop’s cross-grain reinforcement prevents small tears from running, keeping repairs local and simpler. Where you expect to darn, use plain-weave linen or stable, medium-gauge knits: their regular thread spacing makes needlework predictable and helps visible mends sit flat and integrate with the original fabric. These material and weave choices reduce future repair work and bulk, and make the cloth more tolerant of local reinforcement.
Alongside fabric and weave choices, use flat-felled or bound seams to protect raw edges and leave extra fabric for re-stitching. Reinforce stress points with dense bartacks. Prefer lockstitch on seams that must not unravel, and reserve chainstitch where controlled unpicking may be useful. Match thread to the cloth by choosing high-tenacity, core-spun, or cotton-wrapped polyester, and select a thread weight proportionate to the fabric. Allow generous seam allowances to permit re-sewing, and prewash pieces to stabilise shrinkage before final stitching. Taken together, these fabric, weave, seam, and thread choices increase durability, make small tears easier to contain, and leave sufficient material and access for straightforward mending.

3. Inspect seams and stitch types for lasting wear
Inspect a garment's interior to identify the seam construction. Flat-felled, French, or bound seams reveal what the maker prioritised. Flat-felled seams enclose raw edges and resist abrasion, which simplifies future repairs. French seams encase raw edges within the seam and keep them invisible, signalling a preference for neat assembly rather than pronounced reinforcement. Bound seams protect raw edges with a separate strip of fabric, a detail that balances durability with a clean finish. Next, check the stitch type, such as lockstitch, chain stitch, or overlock, and assess stitch length and regularity. Tight, even stitches with no skipped threads indicate durable construction, while irregular or widely spaced stitches point to potential weak points.
Inspect high-stress areas such as pocket corners, the crotch, underarms, and belt loops for bartacks, backstitching, double rows, or gussets. Dense reinforcement creates clear anchor points for future repairs. Ease back any linings to check seam allowance and accessibility; generous allowances allow you to restitch or let out seams, whereas narrow, serged-only edges limit repair options and can force replacement. Finally, examine topstitching and twin-needle rows, and assess the thread: multiple parallel rows spread the load, and smooth, tightly spun thread resists abrasion and takes repair stitches more readily.

4. Inspect reinforcement points and patch panels for straightforward repairs
Begin by scanning high-stress points, such as pocket corners, belt loops, crotch, underarm, knees, and elbows, for dense stitch clusters like bartacks or a box X. Those concentrated stitches and extra folded fabric layers show the maker anticipated wear and provide anchor points you can restitch rather than having to cut new patches. Check for sewn-on patch panels with turned edges and visible topstitching rather than bonded or heat-welded repairs. Turned edges leave a seam allowance you can follow with a needle, so lift a corner to confirm a separate patch and you will know whether replacement or enlargement will be straightforward. Finally, run your fingers across wear panels to feel weave density and look for heavier weaves such as twill, canvas, or ripstop, or a visible ripstop grid, which indicate abrasion resistance and predictable wear patterns you can mirror when mending.
Also, examine seam construction and the width of seam allowances within hems and linings. Flat-felled seams, felled seams, and double rows of stitching enclose raw edges and leave room for alterations; generous seam allowances let you undo and re-stitch along the original line without creating weak points. Check how panels are attached and how accessible they are for mending: stitched panels, bartacks at stress points, and access openings in linings make neat repairs straightforward because you can follow existing thread lines. By contrast, bonded joins, welded seams, or glued reinforcements provide no stitch path and complicate repairs, so favour garments whose reinforcements are machine-stitched and visibly traceable.

5. Spot visible and concealed repair-ready details and maintenance cues
Examine the hems and side seams to assess seam construction and stitch type. Felled seams, including flat-felled varieties, enclose raw edges and show topstitching lines, while chain-stitch loops on the underside signal a hem that can be unpicked and restitched without exposing frayed edges. Lift the hem and feel the seam allowance to judge how much fabric remains; generous allowances and untrimmed selvedges provide material for shortening, letting out, or restitching without altering the garment's silhouette. These visible clues indicate whether a garment can be readily resewn while preserving its original finish.
Beyond hems and side seams, inspect pocket corners, belt loops, and sleeve bases for bar tacks, gussets, or triangular reinforcements. These concentrated stitches strengthen the points where fabric and thread most often fail and provide durable anchor points for future repairs. Look inside pockets, along plackets, and on care labels for spare buttons, short lengths of matching thread, or printed repair instructions; they reveal the intended repair path and remove the need to guess the original colour or stitch type. Open lining seams and lift hem edges to see whether edges are bound, overlocked, or left as selvedge, since bound edges and selvedge resist fraying and offer clean lines when shortening. Finally, consider fibre and weave: tightly woven natural fibres such as wool, linen, and dense twill take darning and patching more cleanly than loosely woven fabrics, which tend to ladder or distort when mended.
Taken together, a few clear design cues, such as fabric type, stitch choice, and seam construction, reveal whether a garment was made to be repaired and to last. Examining selvedges, weave density, seam allowances, and reinforcement details allows you to anticipate where wear will occur and how straightforward repairs will be.
Refer to the five fabric and stitch features outlined in the headings when choosing or mending garments. They reveal straightforward repair options and lead to more durable results. Heeding these cues reduces wasted effort, extends a garment’s serviceable life, and makes repair the sensible first choice.