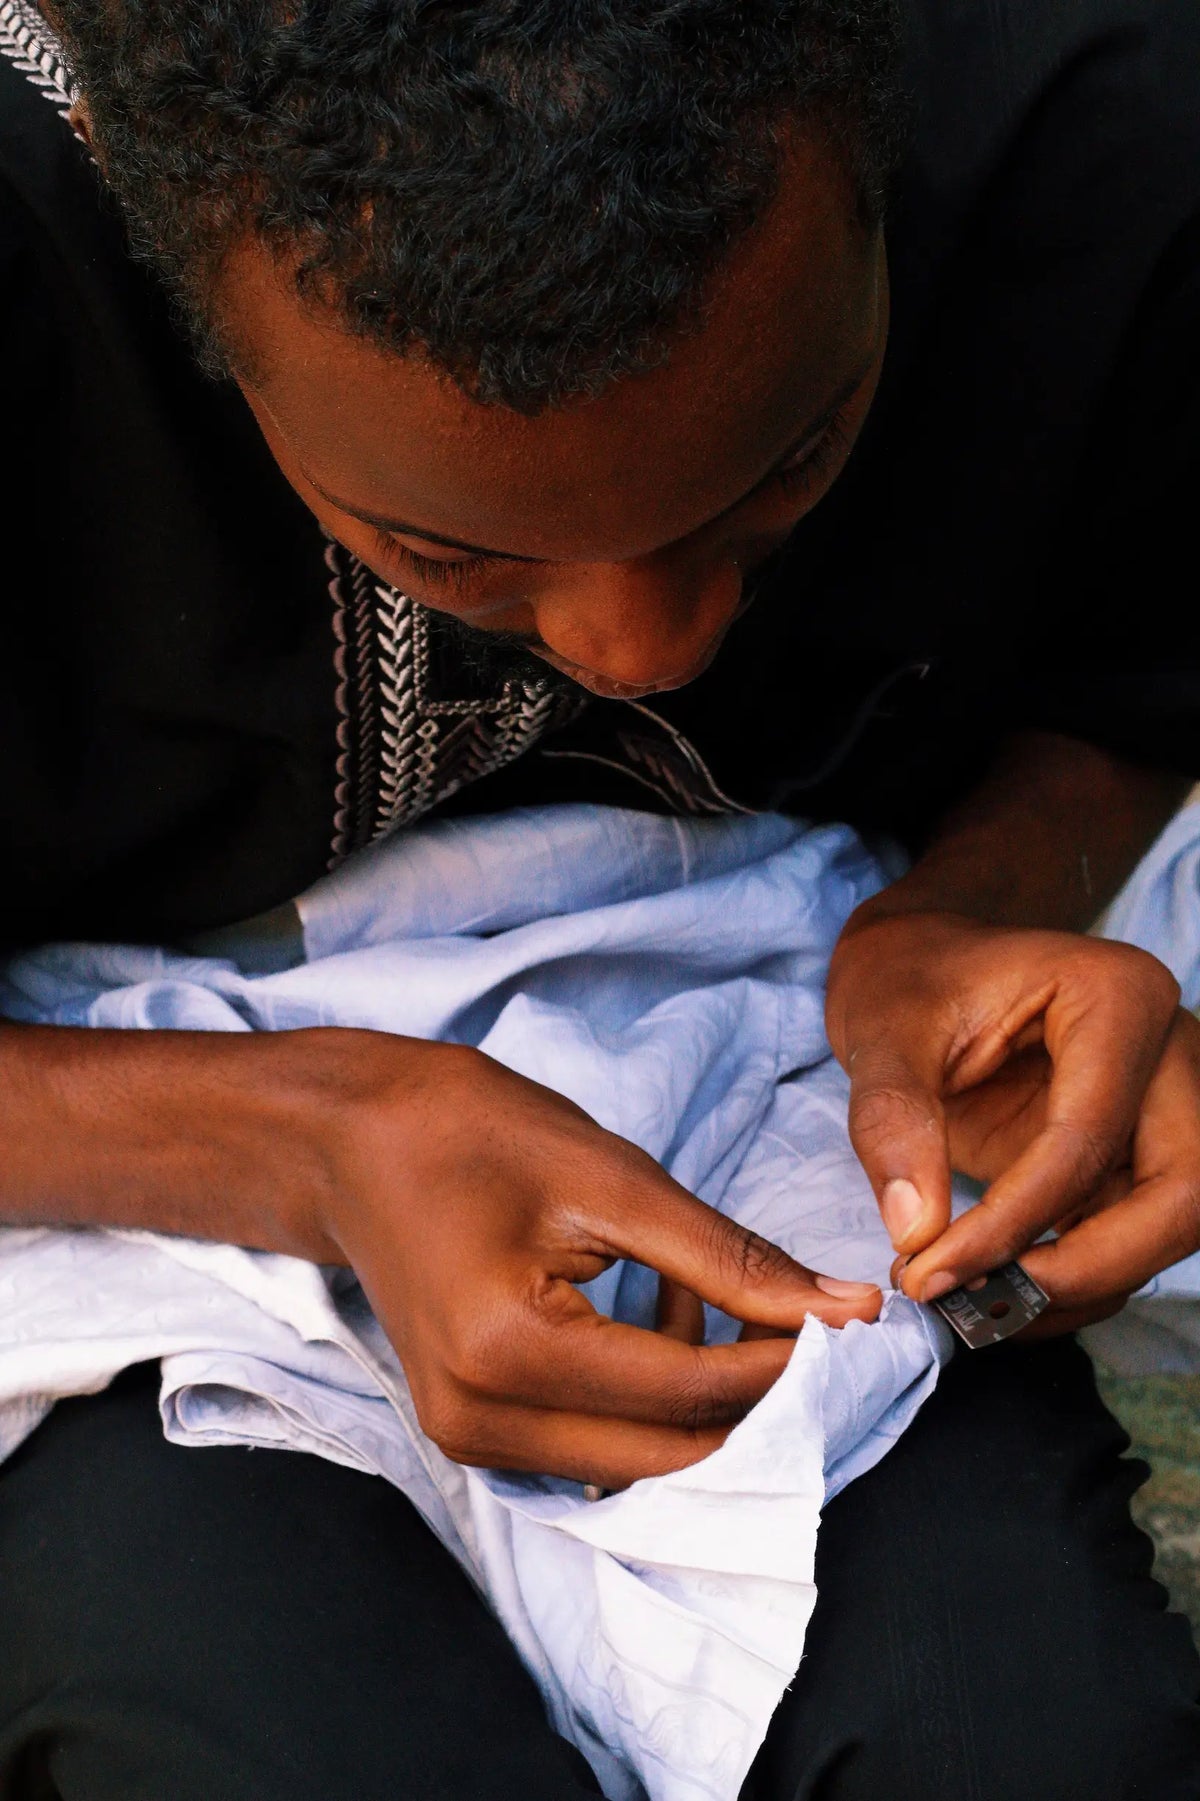
Have you noticed a small symbol stitched into your jumper and wondered what it signifies? Many garments carry a discreet repair map — stitch codes, patch locations, and recommended materials — yet few owners know how to interpret them.
This guide decodes those symbols, explains how to assemble a compact repair kit, and demonstrates simple repairs you can carry out at home. It also shows how to recognise damage that requires specialist attention, helping you save time and extend the life of your favourite garments.

How to decode a garment's repair map and symbols
A garment repair map uses a straightforward legend: a solid dot marks a stitch anchor, a dashed line indicates a seam to be restitched, and a circle denotes a hole to mend. Confirm each symbol against the garment detail before you begin; following the wrong symbol alters the construction and can produce puckering or a weak repair. Orient the map by aligning the grainline or up arrow with the garment edges, photograph the marked area, and transfer the markings with removable tailor's chalk or tacking thread. Misalignment between map and garment typically results in distorted hems or mismatched patterns.
Colours on a repair map commonly indicate repair order or material type, and numbers usually show stitch length or the number of reinforcement layers. Reproduce the colour sequence and stitch density on a scrap of the same fabric prior to tackling the garment to confirm stretch and drape behaviour. Fabric-specific symbols denote knit stretch, fragile fibres, or reinforced panels, and point to methods such as using stretch stitches for knits or applying interfacing to delicate fabrics, because the wrong technique often causes seam failure or visible tension lines. Treat map symbols as direct instructions: a circle indicates darning or visible mending, an arrow along a seam means restitch and secure with a backstitch at the ends, and a triangle at a stress point calls for a patch or a bartack. Photograph the area, test the chosen stitch on the scrap, and preserve the original construction lines to maintain fit and function.
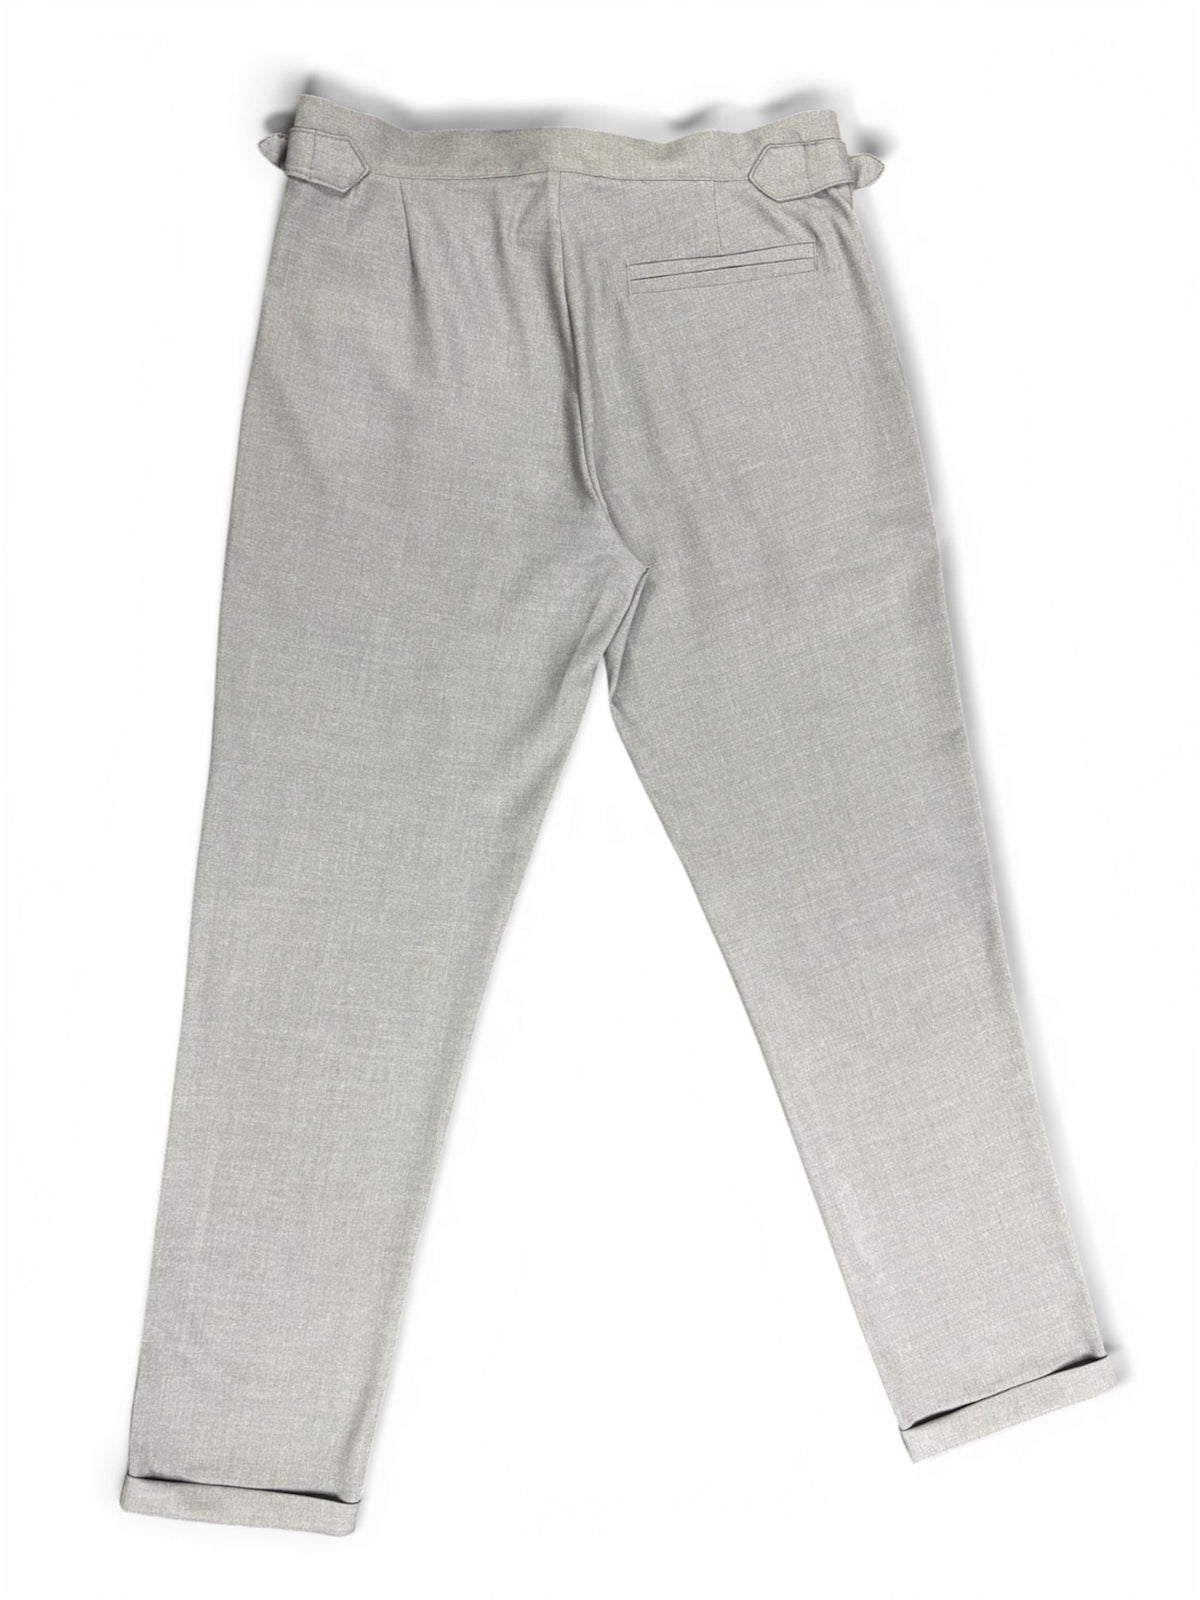
Preserve pleats and drape—choose a lightweight tailored trouser

How to assemble a repair kit and choose the right materials
Begin by consulting the garment's repair map and match the indicated stitch types, stress points, and any symbols denoting waterproof or coated areas to the repair techniques you intend to use. Select needle sizes and thread fibre to suit those signals; when the fibre content is unknown, favour polyester or a polyester blend for its strength and stretch compatibility. Choose backing and patch fabrics that mirror the garment's weight and weave: lightweight, breathable fabric for shirts and jumpers, medium-weight woven or knitted patches for trousers and outer layers, and a compatible coated patch for weatherproof garments. Cut a test patch and assess drape and adhesion before completing the repair.
Gather a compact repair kit: small and medium hand needles, a fine sewing-machine needle if you intend to sew by machine, small sharp scissors or snips, a seam ripper, fine tweezers, and a thimble. Keep these tools in a shallow tray so you can track tiny parts. Select fastening and reinforcement materials according to the repair map: spare buttons or poppers of similar thickness, short lengths of narrow webbing or interfacing for high-stress anchor points, and thread suitable for bar tacks and reinforcing stitches. Choose mechanical fixes or sewn reinforcements rather than permanent adhesives for areas subject to repeated stress, and label identical pieces to keep the workflow clear. Lay out materials beside the repair map, use a magnifier or strong task light to inspect the fibres, and always test a stitch, adhesive, or heat-activated product on a hidden seam or scrap of fabric to confirm compatibility and appearance.
Choose a heavy canvas for durable outer-layer repairs.

Tackle simple repairs and recognise when to consult a specialist
With your kit and materials ready, begin by decoding the garment's repair map, the manufacturer's diagram that marks high-stress areas. Identify symbols, colour codes, and orientation so you can translate marks to the left, right, front, or back of the item. Mark the mapped spot on the fabric with tailor's chalk or pins, then place any tests where the manufacturer indicates stress concentrates. Compare the map with the actual damage and photograph the area. Note whether function as well as appearance is affected. Small holes, loose buttons, and minor seam frays can often be repaired at home, while punctured membranes, loss of core insulation, delamination between layers, or distorted structural seams usually require specialist attention. Record your findings in a clear, organised manner: photographs, annotated notes, and measurements. Share these with a specialist if a repair alters the fit or fails to restore function.
Translate your repair map into specific techniques. Reinforce stressed seams with a backstitch or a zigzag stitch to spread load evenly. Darn small holes or apply a matching sew-on patch, and resew detached trims along the original stitch lines to preserve tension and appearance. Gather the right tools and materials. Choose a needle and thread weight suited to the fabric, and use interfacing or a patch cut from a hidden scrap to ensure compatibility. Try a few stitches on a concealed area first to check tension, stitch behaviour, and colour fastness. Finish carefully. Secure thread ends, trim and seal frayed edges, and press or set any adhesives according to the manufacturer’s instructions. Finally, simulate normal wear and laundering to confirm the repair’s durability. If the repair changes the garment’s fit or fails these tests, bring your documentation and photos to a specialist for a permanent restoration.
Before finishing, interpret the repair map, matching its symbols and orientation to the garment. Test stitch types and materials on a scrap of the same fabric to reproduce the original stretch and drape. Follow the map's cues for stitch anchors, seam restitches, and reinforcement points to keep repairs strong and avoid distortion, and photograph and annotate each step to preserve the garment's construction history.
Use the decoding, kit and repair steps outlined above to prioritise simple fixes at home, and reserve specialist help for punctured membranes, delamination, or seams that have been permanently altered. Photograph and test each repair, and keep a concise record so you learn what works for particular fabrics, extend the life of favourite pieces, and can provide clear documentation to a specialist should professional attention become necessary.