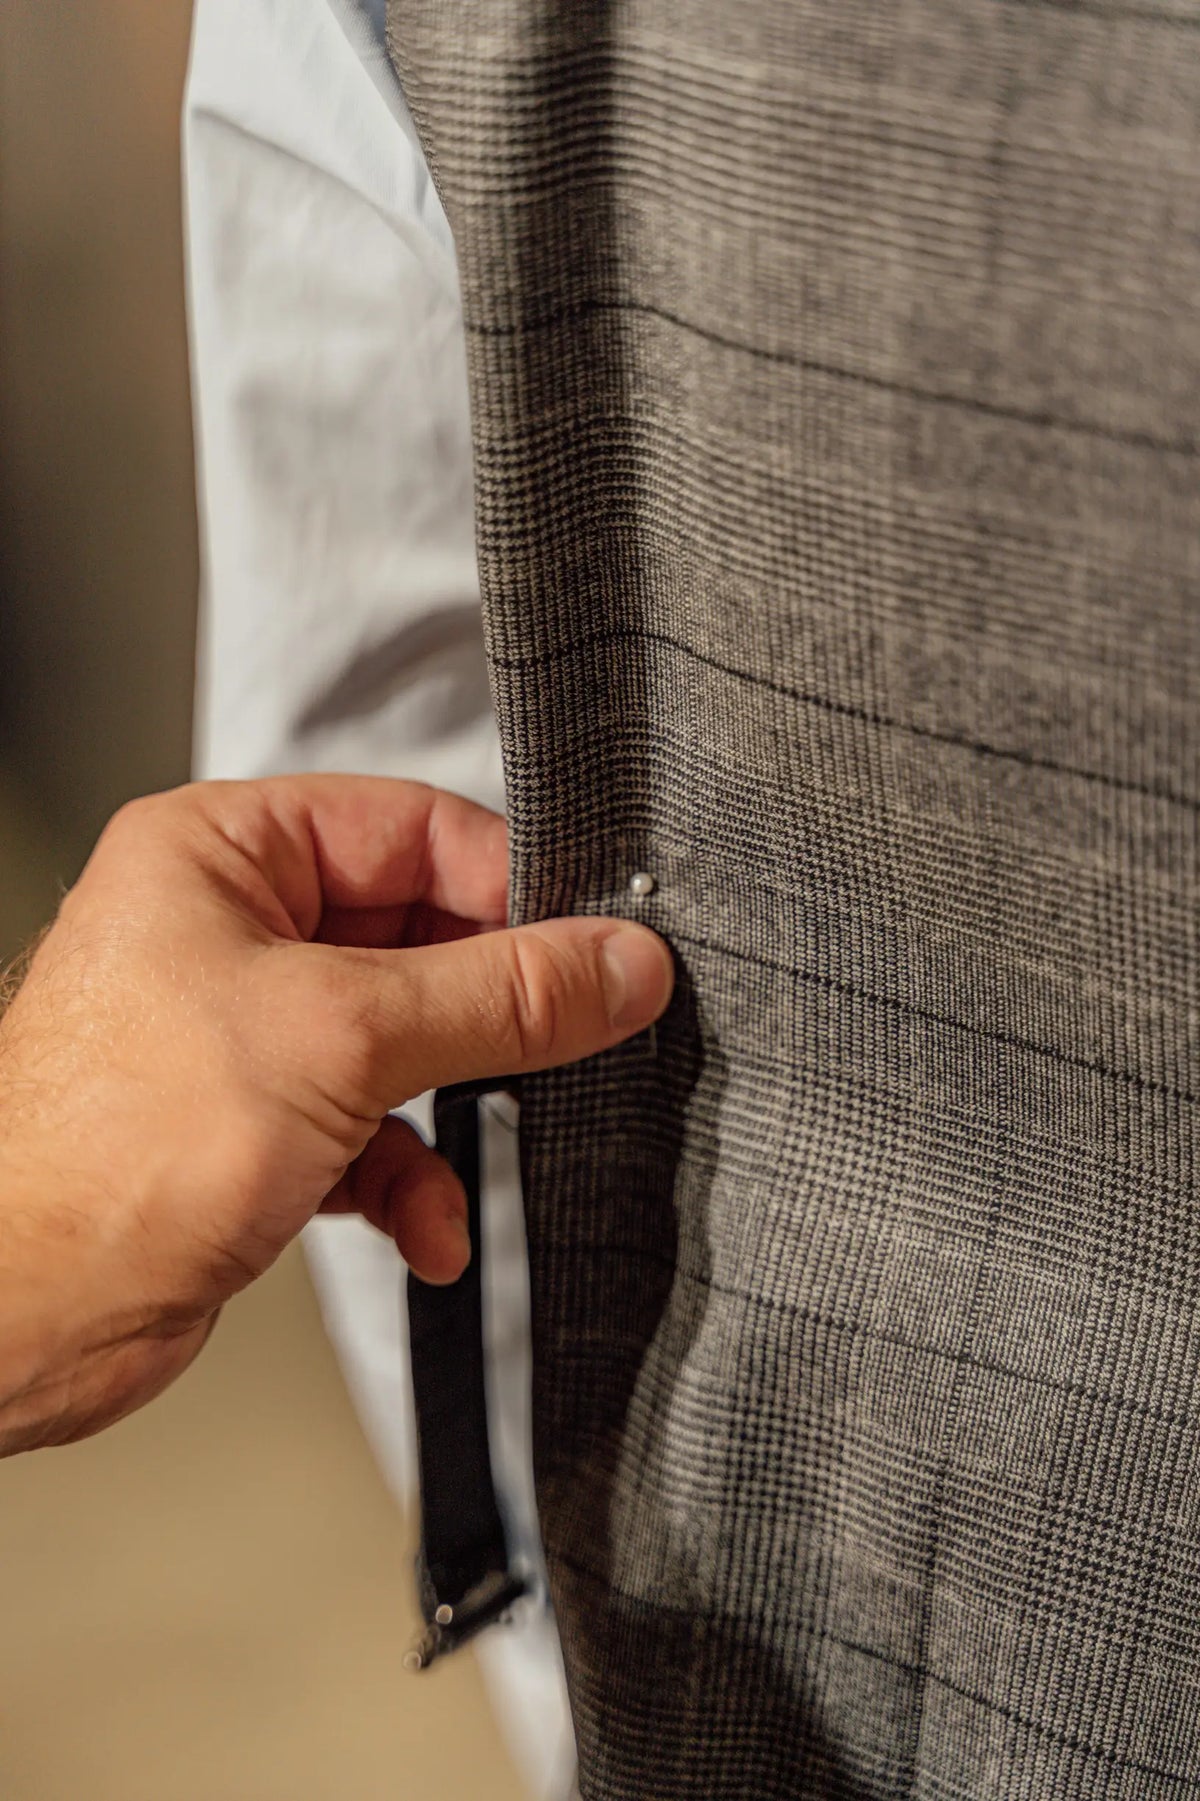
Frayed seams, missing buttons, and distorted shoulders often indicate a garment has lost its intended shape and appearance. Can a tailor, or the wearer, decode built-in repair notes and spare-part codes to restore its original fit and finish?
This guide sets out five clear steps: how to decode repair notes, assess damage, source matching parts and materials, carry out tailoring and reassembly, and complete quality checks and record updates. Follow these steps to make informed choices, achieve consistent results, and extend a garment’s life.

1. Decode built-in repair notes and spare-part codes
Begin by photographing and cataloguing every sewn-in label, repair note, and nearby construction mark. For each item take at least one close-up and one context shot, and include a ruler or scale in the frame so small alphanumeric codes and their exact positions are unambiguous. When you record spare-part codes, split them into meaningful segments: the material or fibre code, the colour or dye-lot identifier, the size or length indicator, and any supplier or factory number. Match each segment to the garment's declared fibre content and to measured dimensions to confirm the correspondence. Read stitch and repair symbols literally. Arrows indicate stitch direction, dots mark anchor points, dashed lines show fold or seam allowances, and line thickness frequently signals stitch density. Where practical, reproduce stitch counts per centimetre; this preserves drape and informs assessments of seam strength.
Before using any spare part, confirm compatibility by comparing fibre content, yarn twist, dye lot, and fastener thread diameter. Test the chosen thread, fastener, or patch on a hidden seam to check colour fastness, hand, and stretch behaviour. If the trial alters the garment’s hand, select a different material or technique. Keep a concise parts and actions log with the garment, recording the spare-part code, exact location, quantities used, repair method, and a brief note on any alterations. This speeds future repairs, assists anyone who subsequently works on the piece, and preserves institutional knowledge for long-lived garments.

2. Inspect damage and determine necessary repairs
Begin with a systematic inspection. Photograph each fault beside a ruler or coin for scale, and record its location and dimensions. Use bright light and an oblique angle to reveal thinning, puckering, and hidden splits, and note any sewn-in repair labels. Separate structural faults from cosmetic issues to set priorities: seam splits, failing linings, and detached hems affect function, whereas surface abrasion, pilling, and minor stains are cosmetic. Consider stitch lines pulled out by several millimetres to be structural. If necessary, open a discreet seam to examine interfacing, stay-stitching, seam allowance width, thread type, and reinforcement patches, and note fabric nap, pattern repeats, and alignment requirements that will affect reassembly.
Following the initial survey, assess the fabric and finish. Perform a gentle tensile test on a concealed seam or hem, check colourfastness by rubbing a white cloth on a hidden edge, and trial the intended repair on an inner flap to confirm colour, texture, and drape match. Read any built-in repair notes to identify symbols for stitch type, reinforcement points, and thread recommendations, and let those directions inform sequence and scope. Prioritise repairs that arrest progressive damage, then draw up a concise plan listing required techniques, materials, and whether specialist help is advisable. Use your inspection findings to organise a stepwise approach that protects the garment's construction and alignment while restoring fit and finish.

3. Source and match the right parts, materials, and tools
Begin by recording the garment’s built-in repair notes, then verify them with clear photographs and precise measurements of the original parts. Note stitch type, seam allowance, pocket placement, and fabric composition. Set objective sourcing targets: measure fabric weight in g/m2, count threads per cm, and record stretch percentage using a simple pull test. Match colour and pattern under consistent lighting. View swatches in natural daylight against a neutral grey backdrop, check for metamerism under at least two light sources, and confirm colourfastness with launder and rub tests. Match trims and hardware by measuring button and zip dimensions, noting finish and plating, and testing fastener strength. Select thread by both colour and tensile class, then sew a short mock seam to assess appearance and performance.
Broaden your sourcing by requesting small cuttings from remnant dealers, garment recyclers, local haberdasheries, and industrial trim suppliers, and log batch numbers and supplier details for traceability. Compare each sample directly with the original garment to determine whether a near match will suffice or an exact match is required, and keep those comparisons with your repair notes. Assemble a simple test kit containing a magnifier, fabric shears, a colour card, measuring tape, and mounting pins. Use the kit to construct a prototype repair on scrap, subject it to the stresses it will face and to a wash cycle, then record the outcomes to refine your materials and method.

4. Restore fit and finish with tailored adjustments and careful reassembly
Begin by carefully opening a seam to expose the stitch type, seam allowance, and the placement of any interfacing. Measure and record these details so you can match stitch length and allowance when you reassemble the garment. Photograph each panel, and mark adjustment lines on a muslin toile or with tailor's chalk; baste the pieces together for a trial fit so you can make small, reversible changes and iterate. When replacing or reshaping interfacings, shoulder pads, and linings, reinstall them in the same layer order and at the same attachment points you noted, using matching stitch placement to restore collar roll and overall silhouette. Match finishing techniques such as grading seams, clipping curves, and understitching facings, and replicate topstitch length and thread colour so the repair sits invisibly within the original finish.
Only remove basting once you have confirmed the fit on the wearer. Press shapes on a tailor's ham or seam roll, using appropriate steam and pressure, and check the alignment of buttons and fastenings. Add discreet reinforcements at stress points with bar tacks or backstitching, then test the garment through its full range of movement to ensure ease has been preserved where required. Record every alteration so future adjustments can replicate the original construction and preserve drape, comfort, and longevity.

5. Conduct quality checks, update records, and advise on garment care
Begin with a careful visual and tactile inspection. Check seam straightness, stitch tension, pattern and stripe alignment, the quality of pressing, how fastenings operate, and the way the lining lies. Photograph any discrepancies beside the original item to record what has changed. Verify the fit on the wearer or on a dress form by reproducing key measurements. Test movement by raising the arms, sitting, and walking to reveal pull lines or restriction, then measure the shoulders, chest, waist, and hem to confirm they return to acceptable tolerances. Where movement or fabric stress is a concern, apply gentle tension to seams, examine bar tacks and reinforcement points, and assess stitch density in relation to fabric weight, noting any additional reinforcement or re-stitching you have applied.
Take clear before and after photographs, and update the repair record with both original and final measurements, materials used, thread colour, stitch type, and a concise note of the exact alterations carried out so future visits reference the same baseline. Attach a labelled tag to the garment and add the same reference to the client file for easy retrieval. Include the photographs alongside your written notes to show what changed and why the repair meets the required standard. Advise the wearer with tailored care guidance covering safe cleaning methods, drying and ironing recommendations, and storage tips to preserve shape. Specify actions to avoid, such as high heat or harsh detergents, and describe clear signs of wear, such as loose seams or distortion, that should prompt an early return for reassessment.
This guide helps tailors and owners decode built-in repair notes, assess damage, source matching materials, and restore a garment's original fit and finish. Using a straightforward, sequential approach, you can recreate the original construction, preserve drape and seam strength, and extend a garment's serviceable life.
Work through: diagnose, assess, source, restore, and check, in that order, to ensure consistent decisions, maintain concise records, and prevent recurring faults. Whether you pop into the shop or tackle repairs at home, a measured, methodical approach preserves a garment's value, reduces waste, and leaves you confident for the next repair.