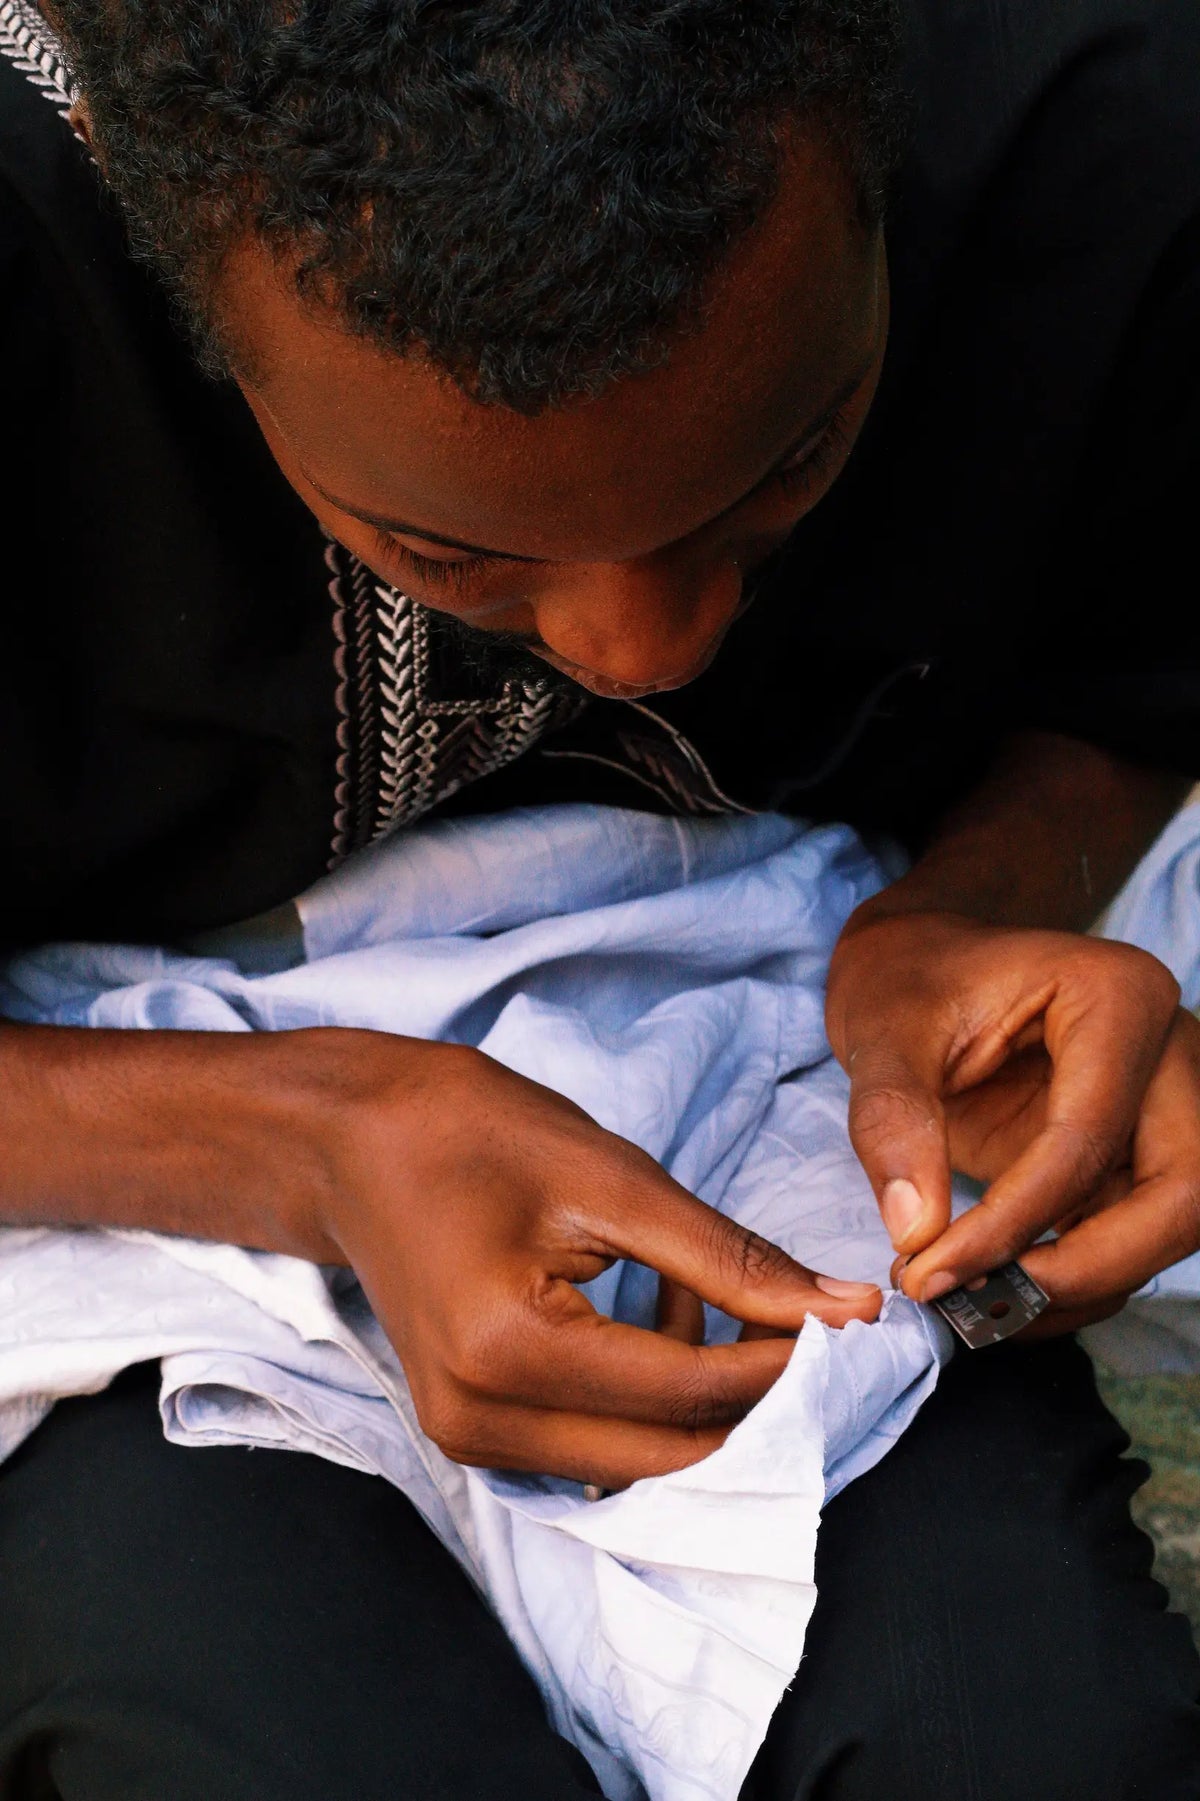
Too often a single broken zip, worn cuff, or split seam sends a favourite jumper, coat, or pair of trousers to the back of the wardrobe. Identifying those vulnerable, replaceable areas and preparing them for repair keeps garments in use and avoids unnecessary replacement.
Below, we outline practical steps to extend a garment’s serviceable life: prioritise replaceable parts, map high-wear zones, choose durable fabrics and modular components, design seams and access points for straightforward repair, and establish regular inspection and maintenance routines. Taken together, these measures help you identify what to replace first, plan targeted repairs efficiently, and keep garments performing for longer.

Prioritise replaceable components to prolong a garment's life
Begin by cataloguing a garment's most replaceable elements: buttons, zips, hems, cuffs, collars, linings, straps, and high-contact trims. These parts concentrate stress and movement, so attending to them restores function far more quickly than replacing the whole piece. Inspect each item with simple tests: run your fingers along seams, tug gently at likely stress points, and look for thinning or snagging. Mark weak spots with tailor's chalk or pins, and photograph them to monitor progressive wear. Focusing on these areas lets you stage repairs that preserve fit and appearance while minimising intervention.
Once you've marked weak spots and photographed them, assemble a swap-ready repair kit tailored to the garment's fabrics, and keep it labelled with the item. Include appropriate needles, sharp for woven cloth, ball-point for knits, thread in weights suited to each fabric, spare fastenings and buttons, compatible zips and replacement sliders, and neutral interfacing or patching material. Add small tools such as scissors and tweezers so routine work is straightforward. Store the kit in a labelled pouch alongside the garment for prompt mending. Use concise, repeatable techniques that preserve the garment's structure and silhouette. Reinforce button sites by forming a thread shank so the button sits clear of the fabric, then secure with neat backstitches. If the zip teeth remain intact but the slider has failed, fit a replacement slider rather than removing the whole zip. For thin areas, apply an invisible patch on the reverse to support the cloth while maintaining drape. Practise on scrap fabric first to match tension, stitch length, and needle choice before working on the garment. Prioritise repairs by impact and repairability: address fit and function first, then visible details. Pre-empt likely failures by reinforcing stress points, for example adding bartacks at pocket corners or backing the cuffs with a small piece of sturdy fabric to extend usable life.
Choose a rugged canvas jacket for durable, repair-friendly wear

How to map high-wear areas and plan targeted replacements
Begin by mapping wear with a visual inspection, gentle feel, and a simple photographic log to identify where the fabric flexes, rubs, or catches. Common hotspots include collars, cuffs, elbows, underarms, inner thighs, knees, pocket corners, and hems. Note and prioritise these areas by rate of wear and visibility so you can focus repairs where they most extend the garment’s serviceable life. A targeted map makes planning repairs easier, helps conserve fabric, and preserves the original fit.
Based on that map, plan repairs so they remain localised and accessible: build generous seam allowances, include unpicking lines, or add removable panels to hems, sleeve ends, and pockets. This lets you replace only the damaged piece rather than the whole garment. Retain original materials and keep a repair record. Cut and set aside spare patches from hems or trims, keep duplicate fastenings in a labelled packet, and note stitch direction and thread type inside the garment so future work matches the original behaviour and appearance. Select fastenings and joinery that are straightforward to undo, for example, stitched-on plackets, top-stitched seams, and bartacks at stress points. Position buttons and zips so they can be replaced without altering the silhouette. Prototype reinforcement options on scrap fabric: test patch shapes, interfacing weights, and stitch types, then perform rub and stretch checks to compare effects on drape and breathability. Choose the least intrusive, longest-lasting solution.
Choose a robust, repairable outer layer for durability.

Prioritise durable fabrics and interchangeable components
To assess fabric longevity, hold the cloth up to the light to judge weave density, feel for long-staple fibres that resist pilling and abrasion, and perform a rub test on an inconspicuous area to reveal loose fibres or rapid wear rather than relying on marketing claims. Prefer garments with modular features such as removable collars, zip-in liners, detachable sleeves, and replaceable cuff or hem panels, because each lets you replace a single worn module instead of discarding the whole piece. Choose standard-sized buttons, accessible zip tapes, and screw or snap fixings that can be removed with common tools, and keep a basic repair kit with spare buttons, appropriate needles, and matching thread.
Alongside assessing fibre quality, inspect inside seams to confirm the construction supports repair and longevity: flat-felled or French seams, bar tacks at pocket corners and other stress points, double-needle hems, and generous seam allowances that permit resewing. When planning or altering a garment, add extra fabric to high-wear panels and position seams so panels can be unpicked and replaced with minimal adjustment. Use colour-blocking or reinforced patches to make visible repairs intentional, turning replacement panels into considered design details. Retain spare cuttings and pattern pieces so any replacement matches the original fit and cloth grain when you or a tailor replace a module.
Buying, kitting and quick fixes for repair-friendly clothes
- Pre-purchase checklist to spot longevity and modularity: hold fabric up to the light to judge weave density, feel for long-staple fibres that resist pilling, and rub a small area to detect loose fibres or rapid abrasion; inspect inside seams for flat-felled or French construction, bar tacks at pocket corners, double-needle hems, and generous seam allowances; favour garments with removable collars, zip-in liners, detachable sleeves, or replaceable cuff and hem panels, and check that buttons, zip tapes, and fixings are standard, accessible, and removable with common tools.
- Essential home repair kit and spares: keep a selection of needles, matching thread, a seam ripper, sharp scissors, spare standard-sized buttons, a small zipper-repair kit, press studs or snap fasteners with a basic setter, a handful of bar tack thread, and any spare cuttings or pattern pieces saved from the garment so replacements match fit and grain.
- Easy repairs and modular swaps anyone can do: sew a bar tack at a stressed corner to stop a tear spreading, replace a detached button with a reinforced stitch, swap a detachable collar or zip-in liner using the existing fixings, unpick and replace a worn hem or panel using the generous seam allowance, and use colour-block patches to turn repairs into design details while matching the original fabric grain where possible.

Design seams and access points to simplify repairs
Plan generous seam allowances, and mark them clearly at cutting with tailor's tacks or contrasting basting thread so future repairs can draw on the extra fabric. Choose seam constructions that balance strength with ease of repair: flat-felled seams encase raw edges and withstand repeated wash cycles, while single-stitched seams with finished allowances open and restitch without creating bulk. Include brief diagrams or photographs showing each seam opened for repair, and mark allowances on production patterns to standardise the extra fabric across sizes.
In addition to generous seam allowances, incorporate access points in linings, hems, and facings. Hidden zips, buttoned plackets, and hook-and-loop openings allow padding, tapes, or worn panels to be replaced without dismantling the outer shell; a short photo sequence can demonstrate opening a lining to swap shoulder padding. Design high-wear areas as modular panels: cut elbows, knees, cuffs, and hems as separate pieces secured with standardised fixings such as small buttons or press studs, so replacements can be detached and refitted without specialist tools. Provide a concise, step-by-step outline for removing and reattaching a replaceable cuff. Reinforce and mark repair points with bartacks and stay-stitching, keep a small swatch of matching fabric and spare fastenings in an inner pocket, and mark likely failure zones on production patterns so wear testing confirms which areas warrant modular treatment.
Provides heavy-duty seams built for easy repairs.

How to establish inspection, maintenance, and repair routines for your garments and gear
To establish a routine, map replaceable zones on each garment first. Typical stress points are the cuffs, collars, underarms, seat, inner thighs, pocket corners, and hems. Perform a rub-and-stretch check to reveal fibre fibrillation and thin spots. Photograph and label any areas of concern, leave extra seam allowance or add underlining to simplify future repairs, and collect items needing attention in a dedicated repair basket to prevent further damage. Use a concise inspection checklist to spot loose threads, thinning, seam puckering, hole formation, fastener failure, and lining detachment. Where possible, standardise seam allowances and fastenings across similar pieces so parts become interchangeable. Store matching thread, spare fastenings, a needle, a seam ripper, small patches, and darning tools together, and practise consistent conventions so repairs remain neat and reliable.
Use fabric-appropriate repair techniques. Patch from the inside for woven garments, darn knits along the stitch direction to restore elasticity, and reinforce high-stress seams with bar tacks, short, dense stitches that lock stress points, or with a backstitch for a strong seam. Test any new technique first on a spare swatch or an unwanted garment before altering the item, and keep a concise repair log with a photograph, the fault, the repair, and the materials used so recurring faults become clear. Use that record to adjust how you wear pieces, rotate similar garments, or convert vulnerable elements into detachable collars, cuffs, or linings to prolong the life of your wardrobe.
Treat garments as systems of replaceable parts, restoring fit, function, and appearance rather than discarding the whole item. Identify high-wear areas, for example elbows, cuffs, collars, hems, and pocket corners, and build generous seam allowances or access panels at those points to make repairs straightforward. Keep a small, ready-to-use repair kit stocked with spare buttons, matching thread, reinforcing patches, a needle, and an awl, so targeted, low-impact fixes return a garment to service quickly and extend its usable life.
Prioritise replaceable parts, map wear, choose durable fabrics, design accessible seams, and set simple inspection routines to direct effort where it will extend a garment's life most. Keep a short repair log, tuck a fabric swatch away, and make a habit of checking known stress points; when combined, these actions make future repairs quicker and neater, and help keep favourites in use for years.