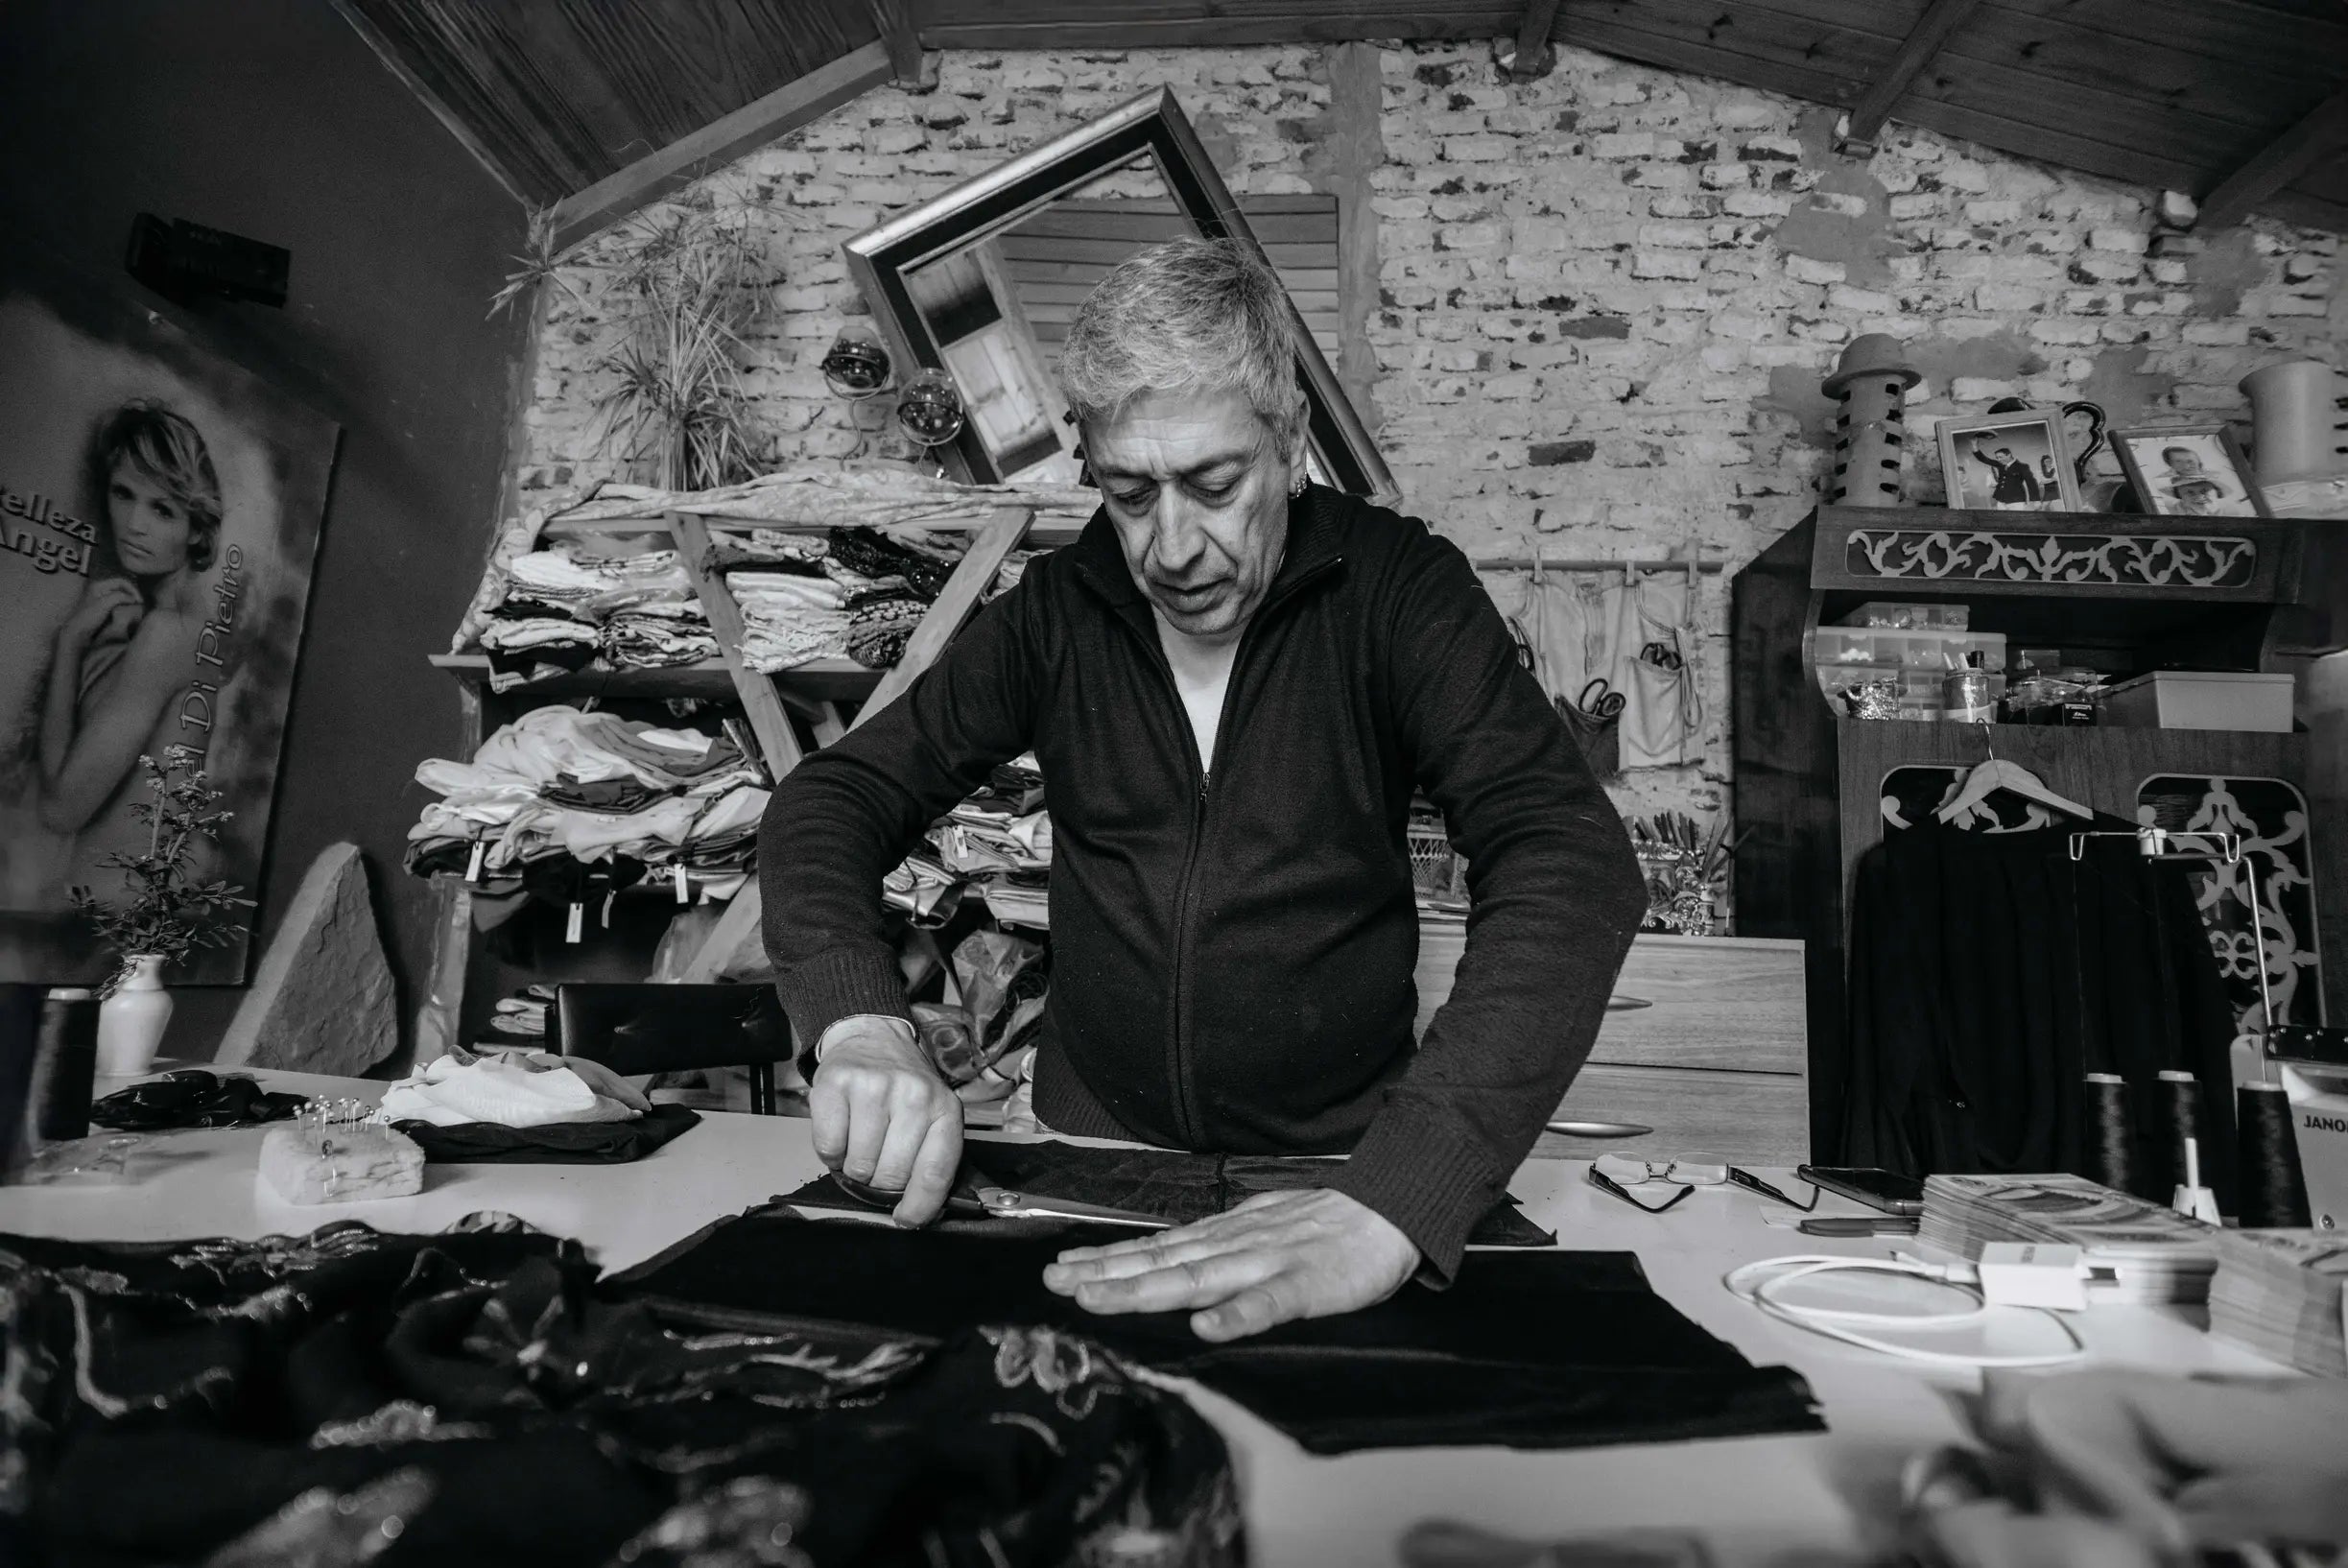
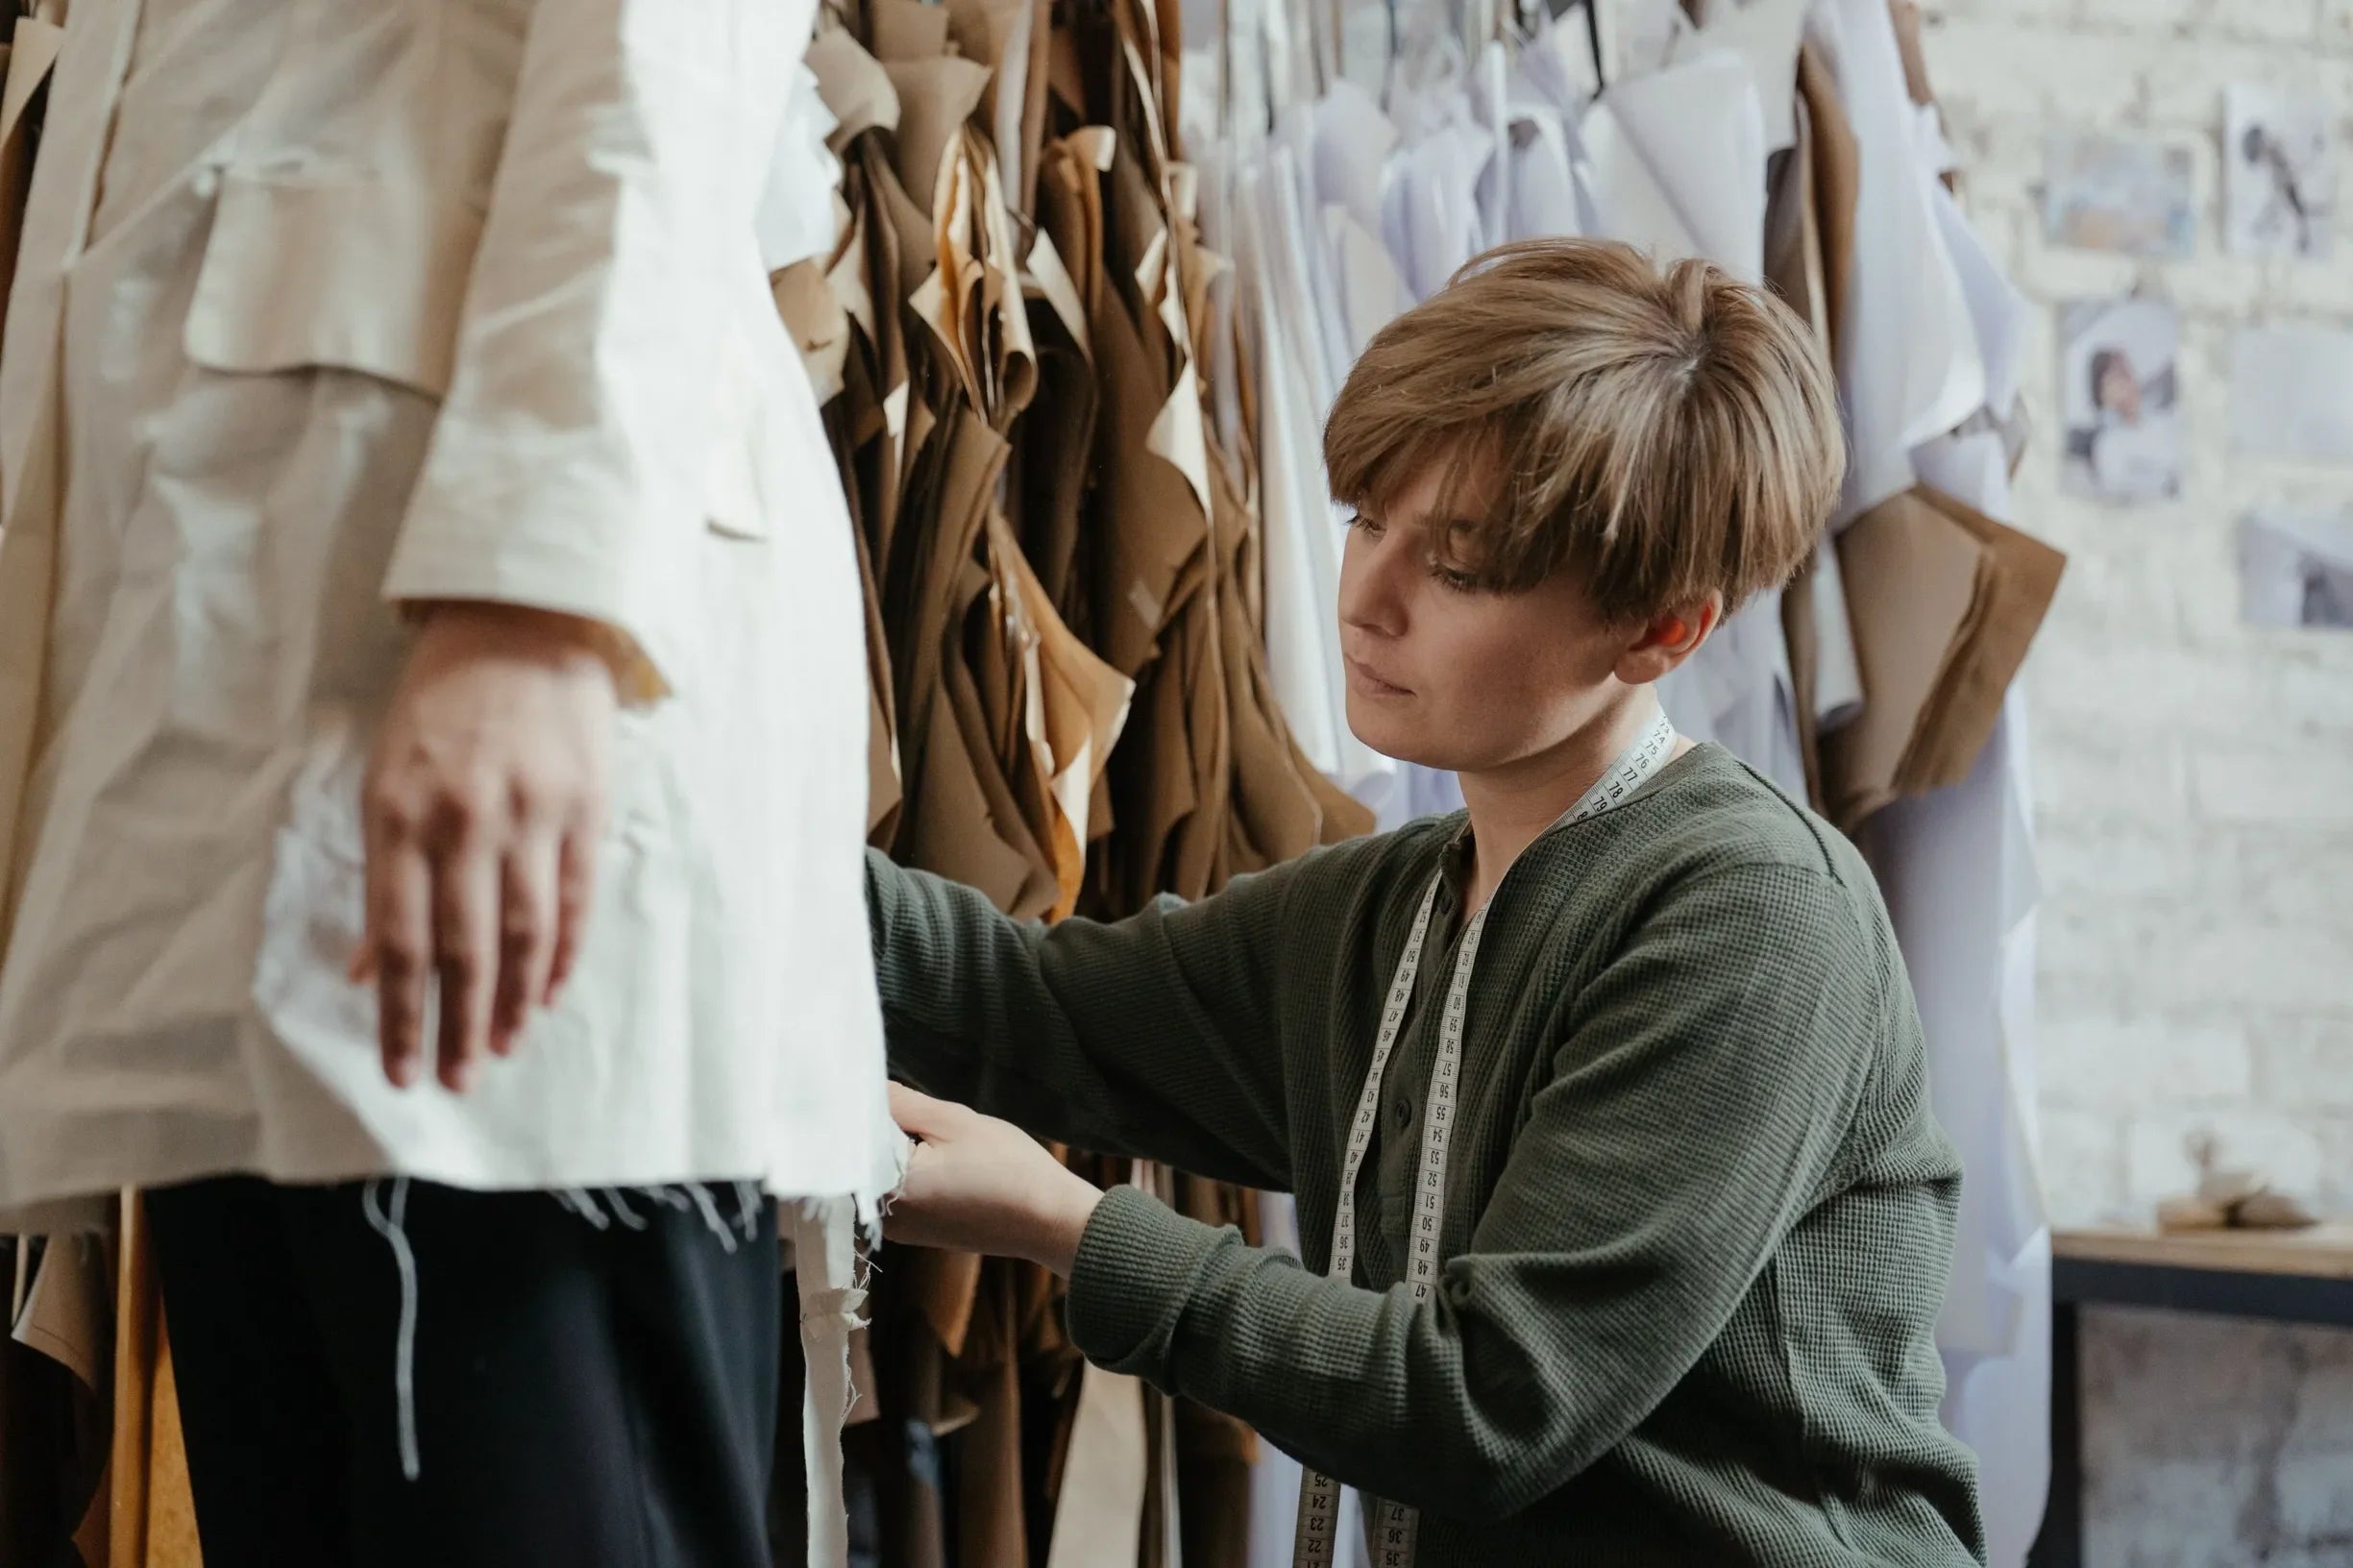
Have you ever purchased a garment that looks perfect on the rail but pulls at the seams, gaps across the chest, or simply feels awkward when worn? That discomfort usually comes down to one matter that cutters and fitters often debate: how much and where to add ease, the small allowance of fabric incorporated to permit movement.
This article outlines the five types of ease that govern comfort, layering, movement, shaping, and concealed construction choices, and includes clear examples to help you decide which to use. It also offers simple, pattern-level adjustments that preserve the intended silhouette while improving freedom of movement.

1. Understand ease of wear and why it matters
Ease is the difference between a finished garment measurement and the body measurement it sits over. Calculate it by subtracting the body measurement from the finished measurement. For example, a 92 centimetre bust with a 96 centimetre finished garment gives 4 centimetres of ease. Wearing ease is the minimal allowance that lets you breathe, sit, and lift your arms, while design ease is the deliberate extra added to create drape, shape, or room for layering. Record the finished minus body measurement, and note whether the extra is functional or stylistic so you can compare across patterns.
Small changes in ease produce measurable results. A few centimetres of positive ease permit comfortable movement, while larger amounts create an intentional drape or extra room for layering. Tweak ease to refine fit lines and proportions. Reveal fit problems with simple movement tests. Make a toile, mark reference points, then raise the arms, sit, and walk while photographing fabric tension lines, gaping, shoulder pull, sleeve rotation, and hem lift. Match ease to fabric by testing stretch and drape: measure how far a fabric stretches over a fixed length, reduce added ease for high-stretch knits, and increase it for stiff wovens. When correcting fit, work iteratively: pin adjustments on the toile or slash and spread the pattern, then repeat the movement tests and photograph the results to confirm the improvement.
Test ease in a roomy, rugged outer layer.

2. Leave deliberate room for comfort, movement, and effortless layering
Plan ease according to the layers you expect. Allow 3 to 5 centimetres at the chest and back for a thin base layer, 8 to 12 centimetres for a medium jumper, and 15 to 25 centimetres when you need room for a heavy coat; each increment shifts the silhouette from close-fitting, to relaxed, to oversized. Test a toile (a muslin mock-up) or a finished garment by raising both arms overhead, reaching forward and across the body, sitting, and twisting. If seams pull or fabric balloons, add targeted ease at the shoulder, upper arm, or back rather than widening the whole garment. Consider how the fabric behaves: low-stretch wovens such as cotton twill feel restrictive without extra centimetres, whereas high-drape or stretch knits, like lightweight wool, need less ease to achieve the same mobility. Use considered construction details, including back vents, shoulder pleats, underarm gussets, graded sleeves and armholes, and shaped hems or side vents, to preserve movement and proportion as you add volume.
Keep layered looks intentional by aligning the shoulder seam with the natural shoulder line to avoid a boxy profile. Balance added chest or sleeve volume with a lightly tapered waist, and choose sleeveless pieces or thin mid-layers when you need warmth without bulk. If mobility feels restricted in a particular area, correct it with targeted pattern tweaks or small design details rather than by increasing overall ease, which tends to upset proportion. These checks and techniques let you adjust volume while preserving fit, comfort, and a coherent silhouette.
Layer with a medium-weight jacket to maintain proportion.

3. Prioritise ease of movement
Allow 2 to 4 cm of wearing ease for fitted garments, and 6 to 12 cm for relaxed silhouettes. Allocate additional ease at joints such as the shoulder, elbow, and knee to prevent restriction when reaching, lifting, or bending. Choose fibres and constructions that recover and breathe; for example, 10 to 20 per cent mechanical stretch in targeted areas, cross-grain or knit stretch for multidirectional mobility, and open weaves or perforated linings to reduce heat and friction against the skin. Position structural details along lines of movement: move seams away from high-stress zones, add gussets at the underarm or crotch, use offset zips or button plackets to avoid pulling across the chest or seat, and introduce vents to increase stride length and reach.
Incorporate adjustable, adaptive features such as elasticated panels, pleats, tabs, and adjustable hems. Validate their performance with sit, crouch, reach, and stair-climb tests, noting where fabric pulls or binds and altering patterns to free those ranges of motion. Control bulk while preserving functional volume by grading seam allowances at joints, using selective interfacing or topstitching to stabilise high-wear areas without restricting stretch, and positioning pockets and closures clear of main movement pathways. These measures help garments accommodate movement, manage heat and friction, and retain a clean silhouette without sacrificing mobility.
Embrace pleated drape for freer, breathable movement.

4. Use shaping techniques to preserve the garment's intended silhouette
Place short, single-line stay-stitches close to necklines, armholes, and shoulder seams to anchor raw edges and prevent distortion while you handle the garment. Baste first so you can compare anchored and unanchored edges on the body before committing. Test interfacing, floating underlining, and shaped canvases on a fabric scrap to observe how each option alters drape, fold, and the garment's intended fall. Where structure is required, pad-stitching builds directional tension in lapels, collars, and chest pieces, helping the roll survive wear and pressing. Press these moulded areas over a tailor's ham or seam roll to set and lock the curve into the fabric.
Grade and trim seam allowances, clip and notch curves, and ease sleeve caps so seams lie flat and the garment's outer line sits cleanly and follows the pattern. Carry out multiple basted fittings to refine the shape, then secure linings and critical joins with stabilising tapes or waist stays in areas prone to movement. These staged steps reduce seam pull and distortion, helping the garment retain its shape through wear and laundering.
Choose a needlecord dress to showcase precise tailoring.

5. Introduce concealed, temporary ease with considered construction
Reserve generous seam allowances at strategic points, such as the side seams, centre back, underarm, and waist. Mark these allowances with tailor's chalk or tacks, then baste the seams for an initial fitting so you can release the provisional stitching to expand the fit as required. Press the seams and take close-up photographs to show precisely how much fabric sits within the seam. Use temporary stitching and contrasting thread to protect shaping while keeping alterations reversible. Stay-stitch necklines, shoulders, and armholes to prevent distortion, and baste in coloured thread so provisional stitches stand out. Keep clear, step-by-step notes for basting, unpicking, and re-stitching to ensure adjustments proceed without damaging the garment.
Plan for adjustment from the outset. Include removable or concealed panels, gussets and wedges as planned allowances, and show diagrams that explain, for example, how an underarm gusset increases reach or how a hidden side panel alters circumference. Leave generous hem allowances, under-stitched facings, and untrimmed seam allowances so hems can be let down or facings re-cut. Use before-and-after images to demonstrate how letting a hem down affects drape and balance before the garment is finished. Organise the fitting sequence: carry out basted fittings first, mark the chosen lines with tailor tacks or pins, and keep a simple checklist that records which seams are provisional and which are final. Use different coloured threads or tags and a concise worksheet to document alterations, so the cutter or machinist can reproduce any hidden ease reliably.
Fit depends on five distinct kinds of ease: wearing ease for everyday comfort, design ease for silhouette and drape, movement ease for joint mobility, shaping ease for structure, and hidden ease for adjustability. Knowing where to add centimetres for each type, and validating those choices with toiles (test garments) and movement trials, produces consistent, repeatable results.
Return to the headings to select targeted adjustments: add selective chest or shoulder ease for layering, introduce gussets to increase reach, or retain extra seam allowance for later alterations. Use basted fittings (temporary tacking), mark clearly, and make small, iterative pattern changes to confirm the fit, retain the garment's shape, and leave room to adapt as needs change.