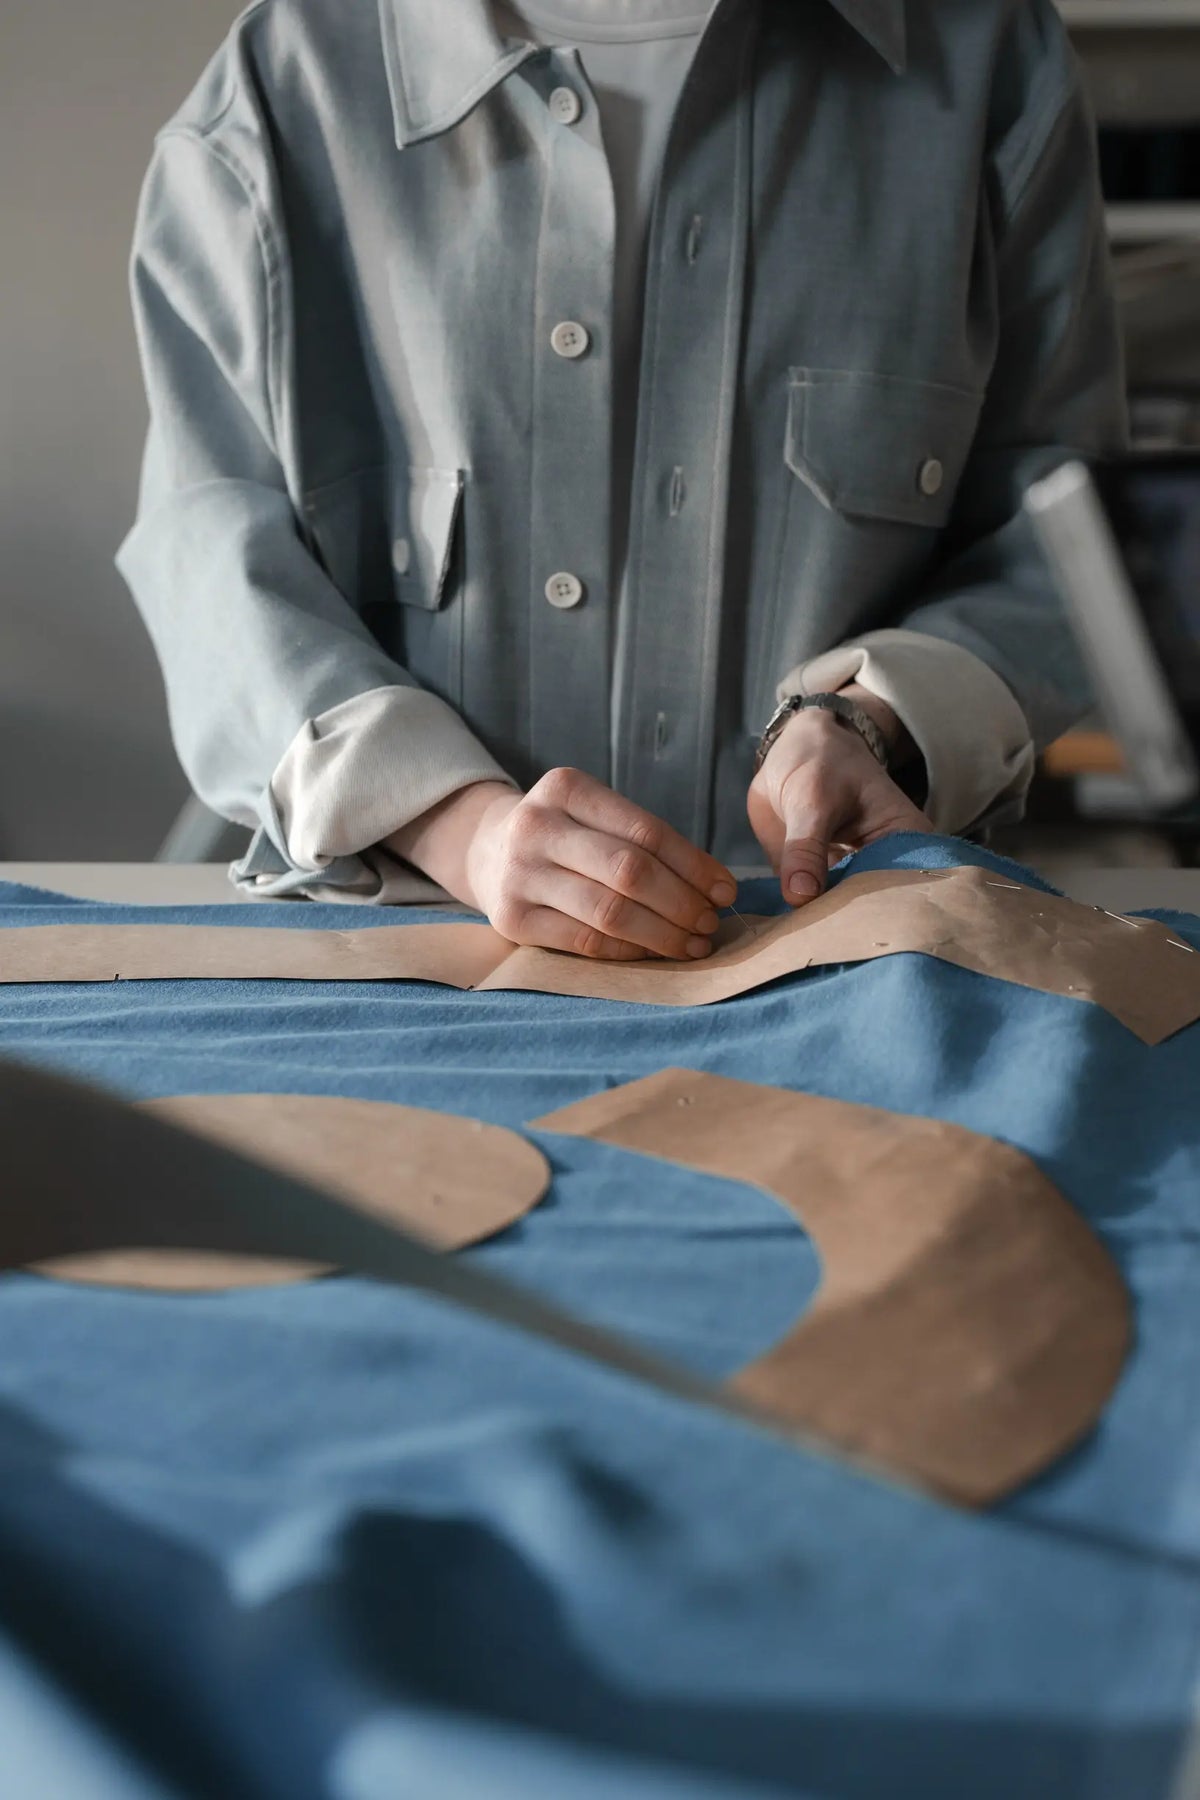
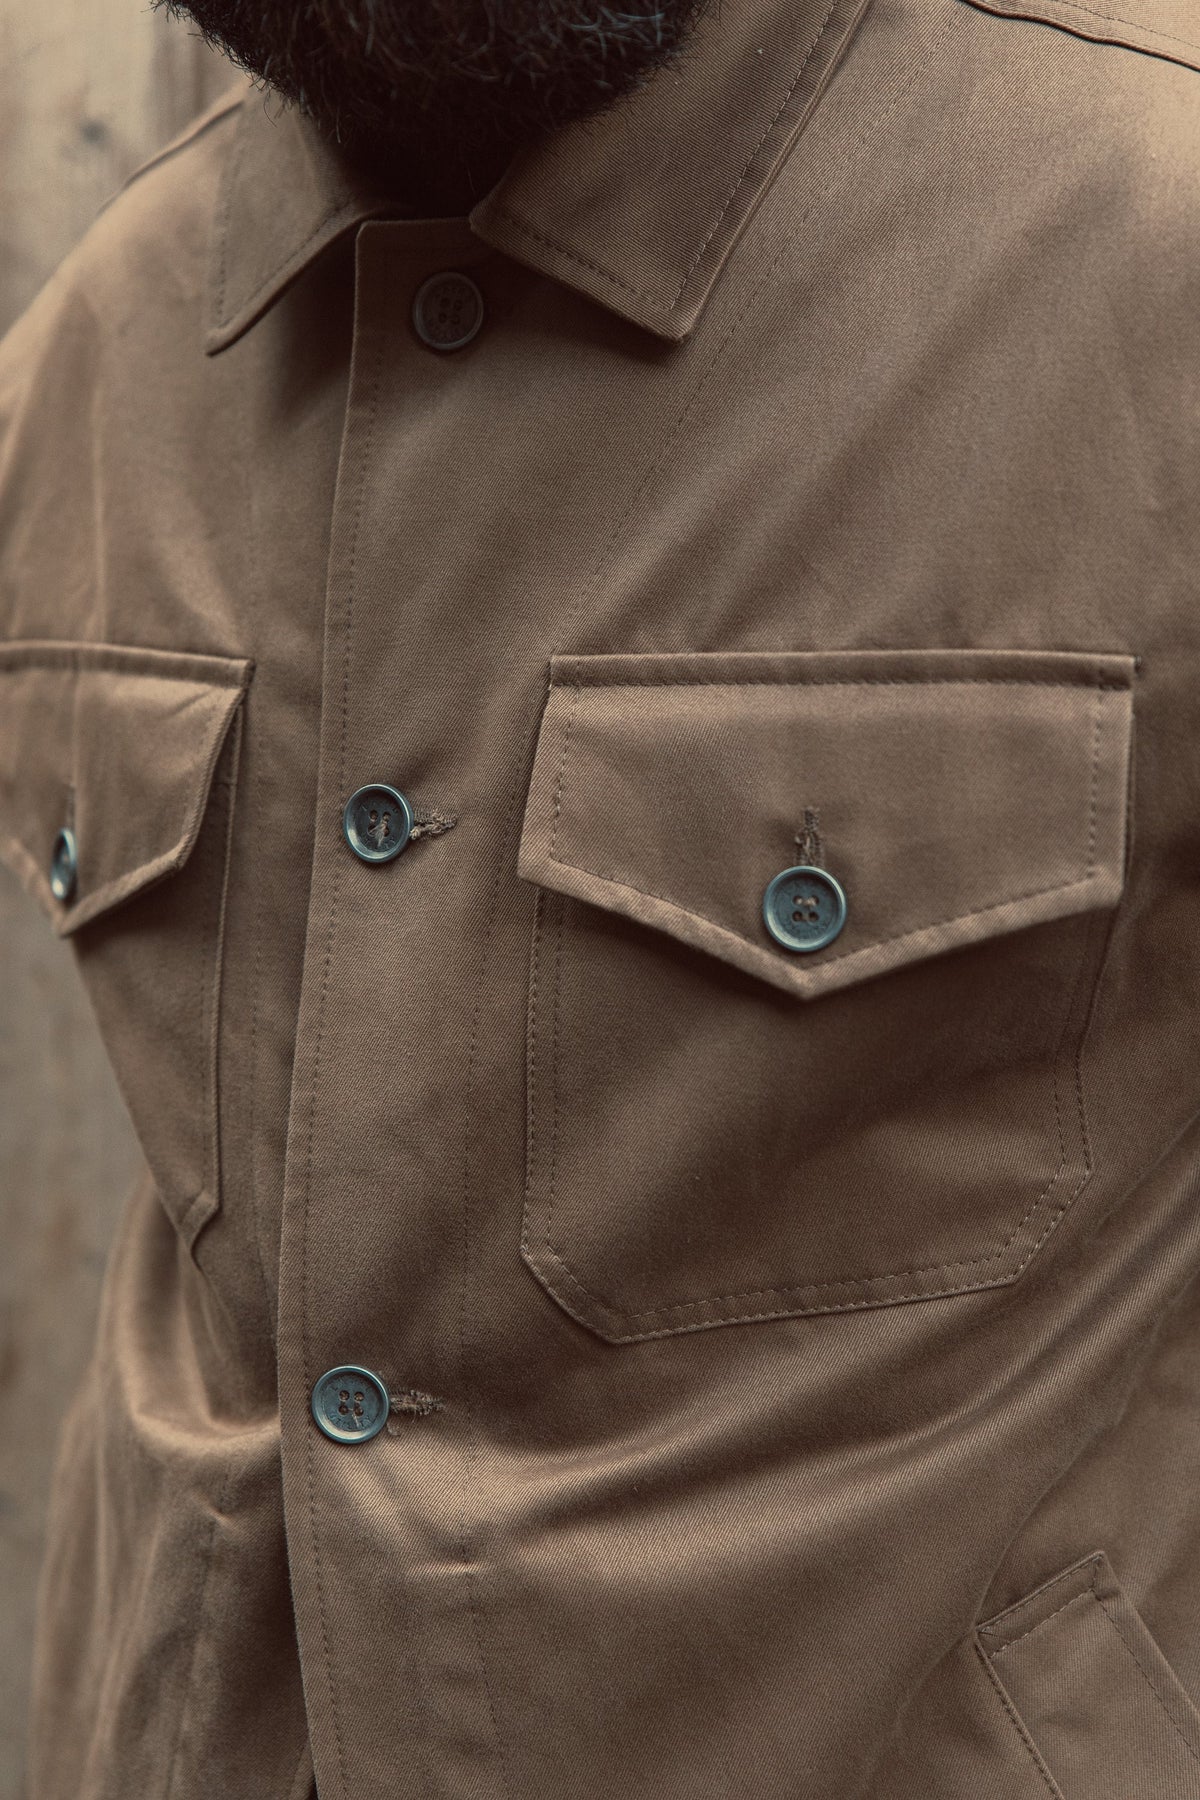
Even well-loved garments need the occasional repair. Most fixes, whether adding access points or applying patches, change a garment's original lines or loosen its fit, creating a tension between durability and appearance that forces designers to choose between visible repairs and garments that are hard to maintain.
This post explains practical methods to pinpoint stress zones, from cuffs to seat seams, select reinforcements that preserve drape, and conceal repair access with discreet closures. It also sets out construction techniques that retain silhouette and fit, and practical ways to organise repair workflows and documentation so repairs remain straightforward and sympathetic to the original design.

How to identify stress zones and wear patterns in garments
Begin by surveying garments in use. Photograph and tag items exhibiting holes, thinning, or seam separation, and record wear patterns and laundering frequency. Overlay each image on the garment pattern to map recurring stress zones, such as the underarm, inseam, pocket corners, collar, and hem. Carry out simple mechanical checks: gentle tensile pulls along seam lines, abrasion rubs on suspected areas, and stretch-recovery trials on small fabric samples to reveal failure modes and the predominant force directions. Analyse fabric and construction by noting weight, weave or knit structure, directional nap, fray tendency, and the ways interfacing, linings, and topstitching concentrate stress. Use these observations to plan repair access and select internal reinforcements that match the garment's hand, so silhouette and drape remain intact.
Locate access points along existing lines: inside pockets, beneath facings, within seam allowances, or under hems. Make openings large enough for a hand and small tools to pass without altering the garment's external silhouette. Specify overlapping closures and low-profile fastenings to avoid visible bulges, and choose patch shapes and stitching that run parallel to the principal stress directions. Build a discreet feedback loop with unobtrusive inspection markers, removable inner gussets, or replaceable reinforcing strips, and give wearers simple checks so they can record repaired areas across successive wear cycles to confirm that access placement and reinforcement restore the original fit.

Choose fabrics and reinforce seams while preserving drape
Choose interfacing according to garment construction and fabric weight. Always test a scrap to ensure the silhouette and the fabric's hand remain unchanged. For drapey fabrics, favour lightweight woven interfacings or sheer organza. Use woven fusibles for medium-weight cloth, and select hair canvas or tailored crinoline for structured pieces. Reinforce only at stress points: place small sew-in or fused patches at pocket bags, the crotch, and buttonholes. Align patches on the fabric grain to avoid distortion, and keep coverage to the minimum required.
Preserve movement by choosing flexible reinforcement techniques. Use a narrow zigzag or stretch stitch to allow give along seams, tack rather than fully fuse very soft fibres to retain loft, and add bartacks or short rows of reinforced stitching at load points to concentrate strength without stiffening the surface. Turn a lining or internal panel into structural support by introducing a concealed support strip, a floating lining, or an internal mesh to spread loads across panels and prevent localised pulling. Verify each choice by draping reinforced samples on a dress form or wearer, then laundering and handling them to assess adhesion and hand, and mark successful reinforcement locations on a repair map for future replication.

How to conceal repair access with invisible fastenings
Place repair openings on existing lines — for example, seamlines, beneath facings, inside hems, or behind plackets — so the outer silhouette and pattern alignment remain undisturbed. Mark and test the openings on a toile (a simple test garment) to confirm shoulder, waist, and hem positions are unchanged. Specify low-bulk, concealed closures set into the seam allowance, such as invisible zips, concealed press-studs, or narrow tape. Stitch the closure into the seam so the teeth or fastenings face the lining, and minimise topstitching to keep the garment face clean. Prototype the solution on a sample panel, and practise the repair to check tool access and retention of fit. Record the seam allowance, stitch type, and alignment marks for future work.
Provide a bound access within the lining by incorporating a bagged section with a neatly bound slit or welt so repairs can be carried out entirely from the inside. Finish raw edges with narrow binding or overlocked seams to protect drape. Stabilise and reinforce the repair edge without adding visible bulk by inserting narrow interfacing or stay tape within the seam allowance, and place short bar tacks in discreet locations where extra strength is required. Choose stitches that allow the seam to be resewn and that will lie flat after repeated repairs, and position closures so reinforcements sit inside the allowance rather than on the garment face. Add a small repair note to the garment and document the tested method so the next technician can repeat the repair without altering fit or visible lines.
Concealed repair access: placement, closures, testing and records
- Choose the least-visible line: place openings along existing seamlines, under facings, inside hems, or behind plackets; mark shoulder, waist and hem positions on a toile to confirm the outer silhouette and pattern match are unchanged, and register pattern matches with alignment notches or thread marks so the face remains undisturbed.
- Fit low-bulk, concealed closures: set invisible zips, concealed press-studs, narrow tape, or a neatly bound slit or welt into the seam allowance, stitch the closure into the seam with teeth or fastenings facing the lining, and minimise topstitching so the garment face stays clean.
- Protect drape with internal reinforcement: finish raw edges with narrow binding or overlocked seams, insert narrow interfacing or stay tape inside the allowance to stabilise the repair edge, and use short, discreet bar tacks where concentrated strength is required so reinforcements do not add visible bulk.
- Prototype and record a repeatable method: build a sample panel, practise a complete repair to check tool access and fit retention, record seam allowance, stitch type, placement marks and any special techniques, and include a small repair note in the garment so the next technician can reproduce the fix without altering fit or visible lines.

Tailoring and construction techniques to preserve silhouette and fit
Conceal repair openings within seam allowances, hems, or linings so the outer seamline remains uninterrupted. Cut a narrow access slit and secure the raw edges with a bound placket or an understitched tape. Test the method on a scrap to confirm the closure lies flat and does not alter the garment's drape. Where larger access is required, construct removable or floating linings and panels that detach using long machine-basting, small slip-stitches, or concealed toggle tabs. This lets you repair the shell without unpicking visible topstitching. When reattaching, follow the original basting lines to restore the garment's original ease and edge behaviour.
Choose interfacing and stay techniques that replicate the original hand and bias behaviour. When a repair replaces a fused area, match the fusible weight or substitute sewn-in stays, and test bending stiffness on a fabric sample to avoid stiffening or sagging the silhouette. Record seam geometry and stitch specifications: mark notches and tailor tacks, note seam allowance width, stitch length, and thread thickness, and use the same needle size when resewing so seam bulk and stretch characteristics remain consistent. Reinforce stress points with hidden methods that do not add visible bulk, such as internal bartacks, buried felled seams, or catch-stitches in the seam allowance. Stay-stitch curves and under-stitch hems before opening access, and trial the whole method on a mock-up or toile to confirm the fit and edge behaviour remain unchanged.

Plan repair access, refine user workflows, and document procedures clearly
Start by mapping likely failure modes and the wearer’s journey. Inspect prototypes to mark strain points, abrasion zones, and areas of frequent handling. Then sketch how a wearer will put the garment on, remove it, and access pockets or closures, ensuring any access points fall on existing seams or pattern lines. Specify concealed closures where appropriate — for example internal zips, press-studs, or hidden plackets integrated into seam allowances or facings so tape and bulk sit behind the original line. Finish adjacent seam allowances and any interfacing so repair sites remain flat, and record how the garment should hang after multiple repairs to preserve the intended silhouette.
Create standard, modular repair elements: removable patches, backing panels, and bar tacks. Keep their shapes and the fabric grain consistent to minimise variation in fit and to speed up repair work. Produce concise, practical documentation for owners and technicians. Include annotated diagrams, step-by-step photographs, and a list of tools and threads that specifies recommended stitch types and seam allowances. Add a simple decision flowchart that shows when to carry out repairs yourself and when to consult a professional. Affix a small fabric swatch or thread sample in the care label area to aid accurate colour and weight matching. Prototype the repair workflow by running several repair cycles on sample garments. Measure and log dimensional change at agreed points, such as chest, waist, and hem, after each cycle. Use those records to iterate pattern or construction details so the garment retains its original fit following a realistic repair history.
Bringing those steps together, create concealed access points and grain-aligned, low-bulk reinforcements so repairs can be made from inside the garment, preserving its original lines and fit. Begin by surveying worn items to map stress zones. Test interfacing, stitch options, and small-scale prototypes on scrap pieces, then trial invisible closures and floating linings to confirm the drape and edge behaviour remain unchanged before committing to the final repair.
Next, identify stress points and select reinforcement materials that match the fabric's weight, weave, and colour. Conceal openings within seams or linings, and standardise repair components, techniques, and documentation so interventions remain repeatable and preserve the garment's character and appearance. Prototype on mock-ups, record repair maps, swatches, and any dimensional changes, and provide concise, practical instructions for technicians or wearers. Taken together, these steps extend a garment's life while preserving its silhouette and the wearer’s quiet confidence.
FAQ
What are the best ways to identify stress zones in a garment?
Survey worn items by photographing and tagging holes or thinning, overlay images on the pattern to map recurring failure points, and run simple tests such as gentle pull tests, abrasion rubs, and stretch-recovery trials to reveal force directions and weak areas.
How can I reinforce areas without changing the garment's drape or fit?
Choose interfacing and reinforcement that match the fabric weight and handle, apply minimal, grain-aligned sew-in or fused patches, use flexible stitches like narrow zigzag or tacking, and validate choices by draping and laundering samples on a form or wearer.
Where should repair access be placed so the outer lines remain unchanged?
Place openings along existing seamlines, under facings, inside hems, within pockets or linings, and fit low-bulk concealed closures such as invisible zips, concealed press-studs, or neatly bound slits set into the seam allowance with fastenings facing the lining.
What construction techniques help retain the original silhouette after repair?
Conceal access within seam allowances or floating linings, reattach using original basting lines to restore ease, match interfacing and stitch specifications to the original structure, and trial the full method on a mock-up before applying to the garment.
How should repair workflows and documentation be organised for repeatable, sympathetic repairs?
Standardise modular patches and reinforcement shapes, prepare concise annotated diagrams, step-by-step photos, and a tool and thread list, attach a small repair note and fabric swatch to the garment, and log prototype repair cycles and dimensional changes for future reference.