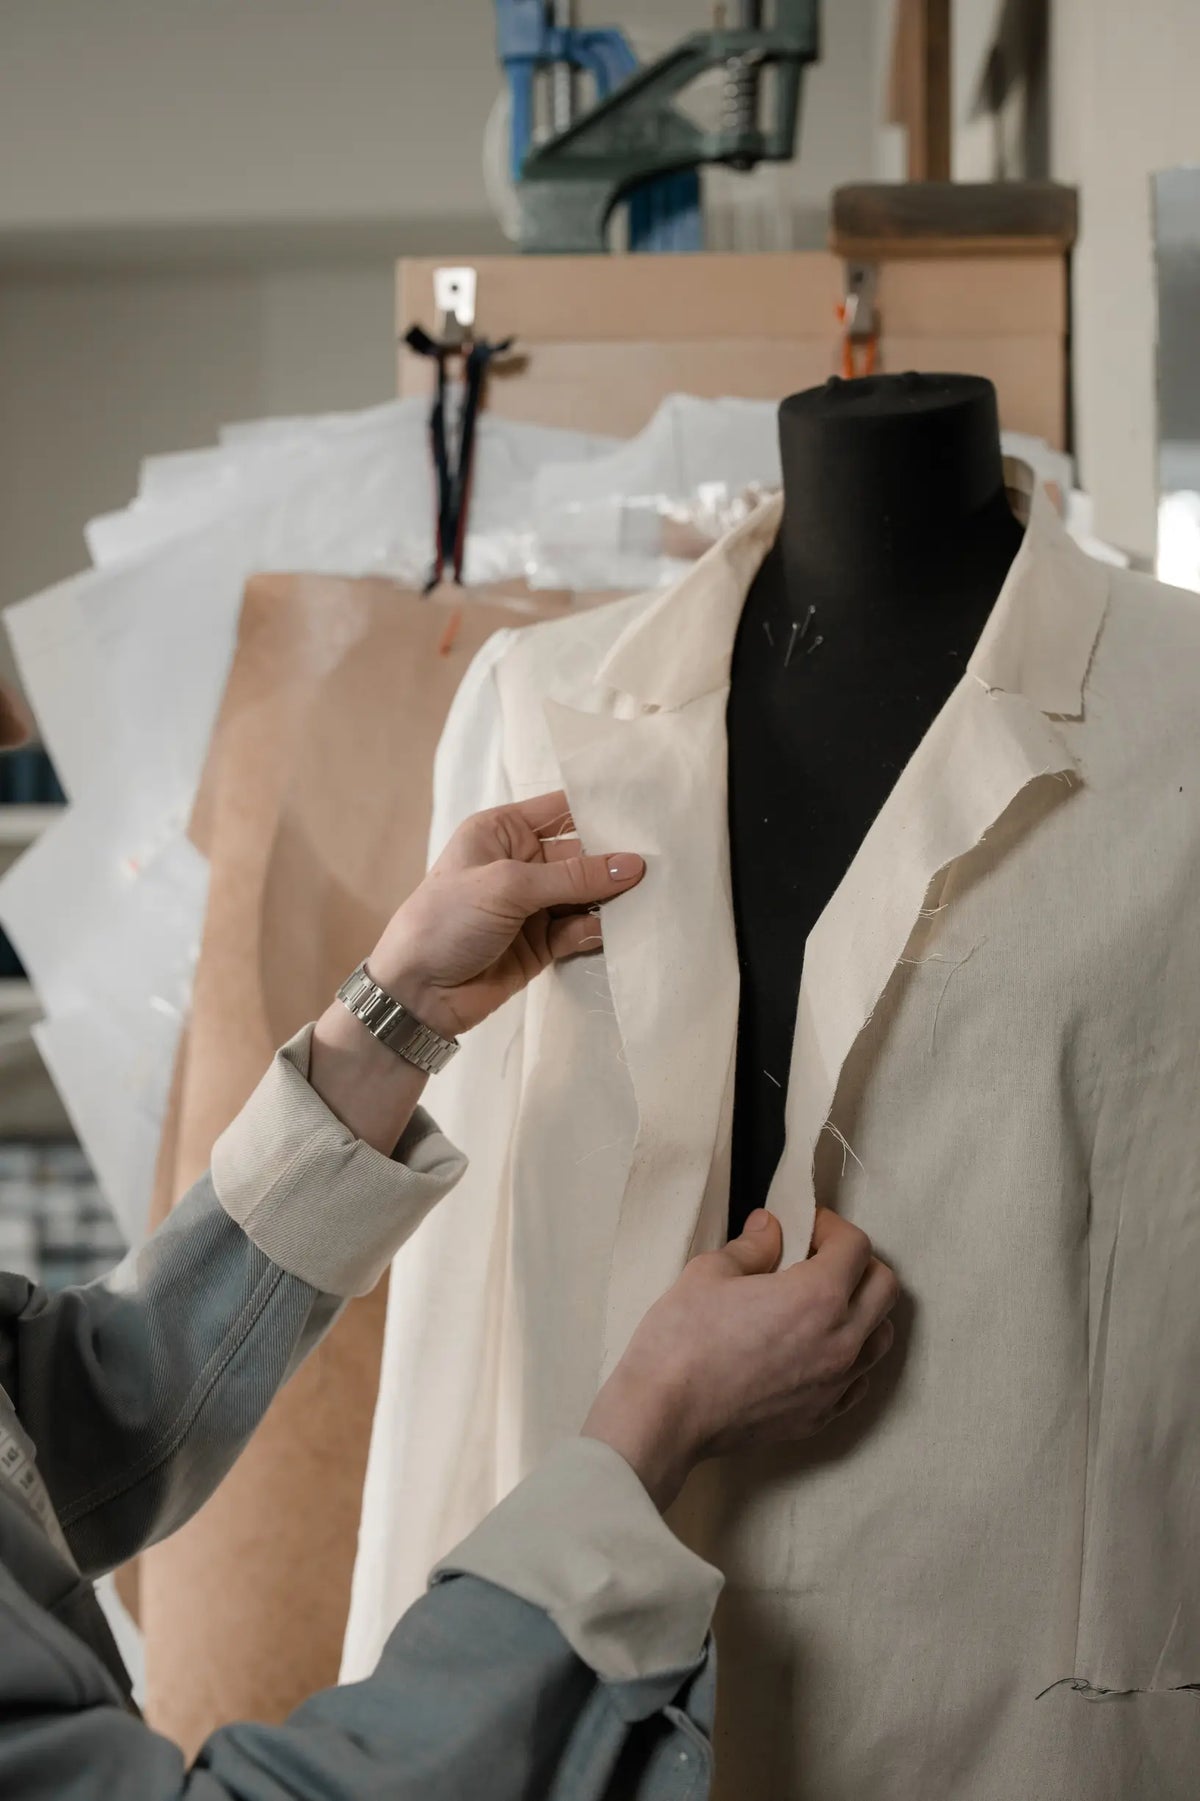
A utility jacket may look straightforward until you try to shorten a sleeve or mend a frayed cuff. If you cannot identify which seam you are working on, the alteration can weaken the garment or change its silhouette.
This guide explains how to recognise common seam types and evaluate their placement, strength, and stitching, so you can plan considered alterations. It then outlines seam-specific strategies and repair techniques, with clear, step-by-step instructions for common tasks such as resizing, reinforcing, and patching.

How to identify common seam types on a utility jacket
Begin by visually classifying each seam on both faces. Count the rows of top-stitching, note whether raw edges are visible, and observe how the layers are folded. These clues help you identify seam types: a flat-felled seam shows two parallel rows of top-stitching on the outside and a neatly enclosed inside, while an overlocked seam reveals overlocking loops trimming the raw edge. Next, inspect reinforcement at stress points, pockets, cuffs, and the yoke for bar tacks, additional stitch rows, or heavier thread. Such details mark structural seams that are harder to let out or that will need reinforcing during repair. Before you unpick, press the seam flat, measure the seam allowance from the stitch line to the raw edge, and photograph both sides to record how much fabric you have to alter. Small allowances limit how much you can let out, whereas generous allowances give scope for adding darts or reshaping.
Once you have identified the seam type, match the repair technique to the seam's construction. Re-stitch flat-fell seams from the garment interior to preserve the enclosed raw edge, add a parallel topstitch to reinforce topstitched joins, and replace or mimic serged edges to prevent fraying after repair. Use simple checks to confirm seam type and thread size: run a fingernail along the join to feel for folded layers, and use a torch and a magnifier to read stitch type and thread thickness. Before committing to a full alteration, make a small test split with a seam ripper to expose the internal layers so you can see how many plies are involved and how the seam was originally assembled.

How to assess seam placement for easier, more precise alterations
Turn the jacket inside out and map out the major seam lines: shoulder seams, side seams, centre back, sleeve head, and yoke. Note which seams continue into the lining or carry interfacing; this distinguishes structural seams from decorative ones. Choose a small, discreet area and, using a seam ripper, open a few stitches to measure the distance between the stitch line and the raw edge. Record the seam allowance, the stitch type, whether single-needle, double-needle, or overlocked, and the stitch length. These measurements indicate how much the garment can be let out and how cleanly it can be resewn. Inspect for reinforcements and potential hardware conflicts, such as bartacks, taped seams, zip teeth, and pocket bags that cross seam lines, and mark any seams that would require removing reinforcements or relocating hardware. Keep a written record of these findings so you can see where structural complexity or extra work will affect the scope of alterations.
After mapping the major seam lines, assess finished edges and access points. Locate hems with blind or topstitch finishes, French or flat-felled seams, and any seams where the lining does not follow. Plan to work at side seams, hem openings, or cuff seams where the seam allowance is exposed and resewing can be concealed. Test seam strength and fabric behaviour by gently tugging and pressing to reveal puckering or distortion. Inspect thread condition and the nap direction to understand how repairs will affect drape, pattern alignment, and colour match. Use these observations to favour alteration points that preserve fit and appearance, and to flag tricky areas so you can remove reinforcements or relocate hardware before you cut or unpick.

Evaluating seam strength and selecting stitch types for repairs
Begin by examining the outside and inside of the jacket to identify visible stitch lines and how raw edges are finished. A flat-fell seam, for example, shows two parallel topstitch lines on the outside and an enclosed fold on the inside, which indicates a seam constructed for strength. Use a ruler and a magnifier to measure stitch density over a 2 centimetre span and count the stitches to determine whether the stitch is a lockstitch, chain stitch, or overlock. Heavy-duty outerwear typically has about 3 to 4 stitches per centimetre; longer stitches permit more give in thick fabrics. Inspect thread thickness, fibre twist, and the size of needle punctures so you can match thread weight and needle type when repairing. Finally, note seam allowance and edge finishing: wider allowances allow you to re-sew or add reinforcing strips, whereas narrow allowances may require binding or replacing the seam type.
Next, check seam strength by pinching and gently pulling the fabric at known stress points. Run a fine pin along the stitch line to reveal skipped stitches, puckering, or fabric weakness. If the fabric remains sound but the stitching has failed, resew the same seam type and add reinforcement, for example a parallel topstitch or a bar tack at high-stress points, to spread the load and extend the garment's life. If the fabric shows signs of weakening, replace the seam with one that encloses raw edges and redistributes strain, matching stitch length, thread, and needle to the original to preserve seam behaviour. Record your observations so you can choose a repair strategy that restores strength, maintains the garment's movement characteristics, and avoids introducing new failure points.
Seam diagnostic and repair checklist
- Start with a close inspection of the seam to identify its type and finish; two parallel topstitch lines on the outer face with an enclosed fold on the inner face indicate a flat fell seam, so note stitch lines, raw edge treatment, and seam allowance, then measure stitch density with a magnifier and ruler over 2 centimetres to count stitches per centimetre. Perform simple strength checks at stress points by pinching and gently pulling the seam, and slide a pin along the stitchline to detect skipped stitches, puckering, or fabric failure; if stitching has failed but the fabric is sound, re-sew the same seam type and add local reinforcement such as a parallel topstitch or bar tack. Match materials and machine setup to the original: compare thread thickness and fibre twist, inspect needle puncture size to choose needle type and size, aim for about 3 to 4 stitches per centimetre in heavy outerwear or lengthen stitches for thick fabrics, and adjust tension and presser foot to prevent puckering. Choose the repair method to suit the failure and allowance: re-sew and reinforce when stitches failed, convert to a flat fell or bound seam or add reinforcing strips or backing patches when the fabric is weakened, and if seam allowance is narrow, plan to bind or replace the seam to enclose raw edges, and always replicate stitch length, thread weight, and needle choice to preserve seam behaviour and avoid new failure points.

How to choose seam techniques for common alterations
Start by exposing a small section of the garment's interior to identify the seam type: single-needle, double-needle topstitched, flat-felled, bound, taped, or welded. Inspect the stitch length, thread thickness, seam allowance width, and any interfacing or stay tape. This brief examination indicates whether the seam can safely be unpicked, whether the original construction should be replicated, or whether specialised repair techniques will be required. Record these measurements and observations before you cut or unpick, so the repair matches the factory finish.
When you restitch a jacket, match the original stitch characteristics: use a similar stitch length, the same thread weight, and the same number of rows. Where multiple layers meet, reduce bulk by grading seam allowances (trimming heavier layers) before you topstitch. If you need to take in side seams or alter shoulders, preserve pocket placement and topstitch alignment. Baste with temporary large stitches and try the jacket on before completing the final seams, and keep the existing seam allowances so the garment can be let out later if required. Treat taped or welded seams with care. Lift tape only as far as necessary and reseal with an appropriate seam sealer or replacement tape. For welded seams, consider an internal patch or a heat-activated repair rather than conventional re-stitching to maintain the factory finish. Reinforce stress points with bar tacks or box-and-cross stitches, and mirror the original topstitch spacing and row count on any visible seams. Reapply binding or edge finishes to conceal raw edges and preserve the jacket's original appearance.

How to repair and reinforce seams: techniques by seam type
Identify the seam construction before beginning repairs. For heavy-duty jackets with flat-felled or felled seams, open the seam only at the damaged area, trim away frayed fabric, refold the edges, and topstitch twice to restore the seam’s original load-bearing geometry with minimal bulk. Reinforce concentrated wear points such as pocket corners, sleeve joins, and the base of zips with bartacks, short, dense stitches, or a small box-and-cross stitch to prevent tears spreading without reworking entire seams. For delicate or loosely woven fabrics, stabilise the seam allowances first by applying narrow stay tape, hand-stitching a lightweight facing, or converting the edge to a French seam. Taped allowances resist distortion and laundering far better than raw cut edges.
Complement those repairs by matching thread weight, needle size, and stitch length to the fabric and seam allowance. Use heavier thread, a larger needle and longer stitches for canvas or denim, and finer thread, a smaller needle and shorter stitches for nylon or lightweight cotton; this reduces skipped stitches and limits perforation damage. Where seams are visible, recreate the exterior topstitch pattern so the repair blends with the garment. For interior seams, trim and grade allowances or overlock raw edges to minimise bulk. Test the chosen finish on a small scrap to check drape, strength and appearance before committing to the full repair. These seam-specific choices restore strength while preserving the jacket's comfort and consistent appearance.
With those seam-specific choices in mind, understanding how seams are constructed, where seam allowances lie, and which stitches and reinforcements are used lets you plan alterations that preserve both fit and structural integrity. Measure the allowance, test a small unpicked section, and match stitch type, thread weight, and topstitching patterns to avoid weakened joins or conspicuous repairs.
Follow the seam identification steps and assessment checks in the headings to map problem areas, note any hardware or taped seams, and select the least disruptive repair approach. Record your findings, test repairs on a scrap of similar fabric, and, where possible, reproduce the original finish so alterations remain durable, unobtrusive, and true to the jacket's intended behaviour.