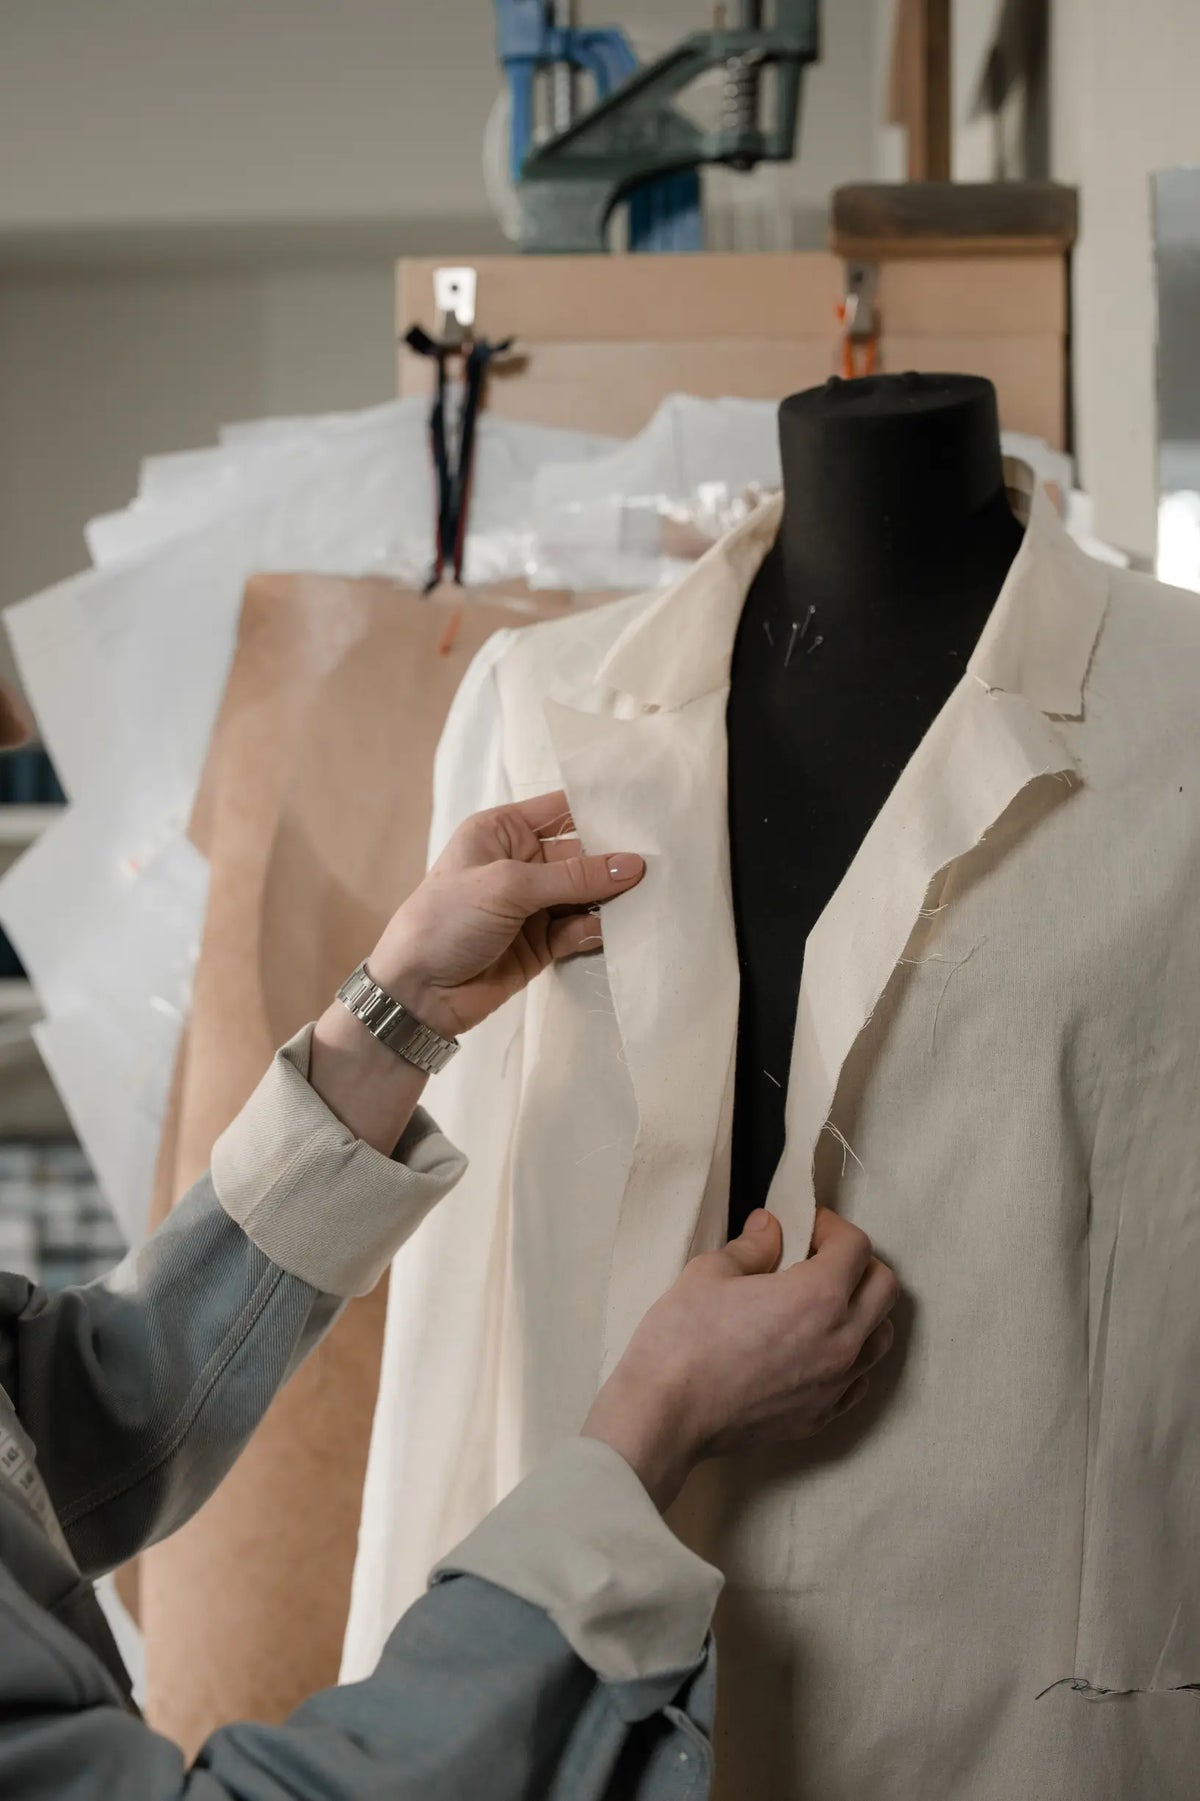
Too many garments sit unworn because seams fail, trims detach, or linings split. A small kit of tools, a handful of reliable stitches, and a few deliberately placed access openings can often restore them to service.
This post sets out ten essentials, from generous seam allowances and strategic mapping to the tools, marking methods, and both machine and hand techniques that produce durable repairs. It offers clear, practical steps to reinforce stress points, patch panels, work through linings, and plan future care so garments last longer and remain useful.

1. Allow generous seam allowances to simplify future repairs
Aim for 15 mm to 25 mm seam allowances rather than 6 mm, which leaves almost no margin for repair. The extra width allows you to open seams, re-stitch lines, or add reinforcing tape when garments need altering. Simple arithmetic: a 20 mm allowance on each side provides 40 mm of potential gain, so widening a waist seam by 20 mm per side can restore roughly 4 cm to the garment's circumference. To keep that spare fabric usable without adding bulk, grade and finish the allowances by trimming the inner layer shorter, working in stages on heavy fabrics, and pressing the allowance so the finished seam lies flat, while still leaving at least 6 mm of raw edge for future restitching.
To make future repairs predictable, mark the original seam with tailor's tacks or long basting. Add a single line of loose machine basting just inside the permanent stitch; it will remove cleanly when you need to rework the seam. Protect high-stress areas by placing a reinforcement row 4 mm to 6 mm from the main stitch, or by understitching facings into the seam allowance so the outer face keeps its shape while the allowance takes the strain. Plan hidden access openings when cutting by leaving a short unstitched section, or a small extension in the seam allowance, that can be folded back to form a neat access flap or later converted to a zip or access panel. When you turn that reserve into a working opening, trim and finish in stages, secure raw edges with neat overcasting or tape, and press carefully so the access reads as intentional and wears well.

2. Map your seams and plan seam allowances
Before cutting, transfer every seam onto a paper diagram or a draped scrap, drawing seamlines, intersecting seams, grainlines, and the points where hidden access openings will meet them. A clear visual map exposes conflicts, for example an access opening that would cross a curved princess seam or interrupt a stripe, and lets you reposition or reconfigure the opening on the toile (muslin mock-up) or mannequin before committing to fabric. Mark the intended opening, confirm it sits on the grain, falls into shadow, and remains easy to reach, so it minimises visual disruption and avoids undue mechanical strain.
Increase seam allowances selectively at access points and stress zones, adding a few extra millimetres, doubling the allowance, or inserting narrow reinforcement strips at the shoulders, waistbands, pocket openings, and crotch seam to spread strain and simplify later restitching. Match the allowance to the intended finish and fabric bulk: choose larger allowances for bound seams and heavy cloth, and smaller allowances for French seams and lightweight fabrics to avoid bulk. Grade and clip allowances at curves and intersections, and always sew a test seam on a scrap to confirm the allowance turns, presses, and finishes neatly. Record seam widths, notches, reinforcement points, and access-centre marks on pattern pieces using tailor's tacks, contrasting thread, or wash-away markers, and keep a simple legend so those assembling the garment can reproduce the details consistently.

3. Assemble essential tools and durable kit
Begin with a compact toolkit: a sharp seam ripper, a selection of hand needles (standard, curved for confined areas, and a heavy or upholstery needle for canvas or leather), small sharp scissors, a point turner, and a narrow bodkin or awl for threading and opening access points. Match needle type to the fabric’s weight and shape — use a curved needle to reach narrow openings, and a stiffer needle for heavy materials to minimise damage and produce neat, concealed repairs. Bring durable notions that will outlast the seam: strong polyester or bonded nylon thread, stay tape or seam binding, fusible interfacing to stabilise openings, heavy-duty snaps or poppers with washers, and small rivets or bar-tacks for reinforcement. Always test any reinforcement on a scrap of the same fabric, and choose a thread with higher tensile strength than the garment. Try the repair under gentle tension to confirm it will bear the expected strain, and match thread colour and stitch placement where possible to keep repairs discreet.
Choose stitches and finishes that pair strength with discretion. Use backstitch or a small machine lockstitch for structural seams, ladder stitch to close access openings by hand, and flat-felled or bound seams in high-wear areas. Finish raw edges with close overcasting or a narrow zigzag to reduce fraying. Prepare hidden openings by marking and stay-stitching the line, and add interfacing to stabilise the fabric. That creates a neat channel for an invisible zip or a welt; reinforce the ends with bartacks or backstitching so the opening endures repeated use. Assemble a compact repair kit: a spare fabric swatch, matching and contrasting threads for basting, a needle threader, pliers or a setter for fastenings, and labelled pockets for buttons, studs, and needles. Practise closures on the scrap and run a quick pull test to confirm strength and adjust tension before you work on the original garment.

4. Mark, unpick, and prepare seams for a neat finish
Mark seamlines, notches, and the extent of any hidden opening from the garment's wrong side where possible. Use tailor's chalk, a removable fabric pen, or tailor's tacks, and add directional arrows and reference marks every 5 cm, and at darts and pocket corners, so edges align when you reassemble them. Unpick seams methodically: begin at the knot, split a thread to release tension, slide a seam ripper along each stitch, lift loose threads with tweezers, and keep the fabric flat to avoid distortion. Removing threads cleanly minimises visible holes and preserves the original seamline for a neater repair.
Prepare seam allowances to suit the fabric and the desired finish. Grade layers on bulky seams, clip outward curves, and notch inward ones, taking care not to cut into the allowance. For flat seams, press allowances open; for lapped seams, press them to one side. Stabilise the area around hidden access openings by stay-stitching curved or bias edges, and reinforce the ends with a few secure stitches or small bar tacks into the seam allowance. Baste the whole opening before final stitching to test fit and movement. Apply a lightweight interfacing or stay tape to fine or stretchy fabrics, and set shapes on a tailor's ham for curves or on a flat board for straight seams to reduce bulk and prevent puckering. Finish with understitching or topstitching as needed, and check alignment after pressing so the concealed opening sits cleanly and resists stress.

5. Combine hand and machine stitching for durable seams
Before you begin sewing, staystitch curved and bias edges to stabilise them. Clip or notch curves, and use pins or clips to keep layers aligned; stabilising edges at this stage prevents distortion during construction, reduces the need for repairs later, and produces straighter topstitching. Match stitch type and length to the fabric and the expected load: use short, dense machine stitches or backstitch by hand where seams will bear heavy stress, longer stitches for lightweight fabrics, and a narrow zigzag or overedge stitch on stretch materials to preserve recovery. The correct stitch concentrates thread where it is needed, lowers the risk of seam failure, and makes the garment easier to handle in subsequent steps.
Trim or grade seam allowances, then press the seams open to reduce bulk and encourage a neat fall. Choose finishes that suit the fabric: French seams for sheers, bias binding for soft or loosely woven materials, and overcasting for knits. Reinforce stress points and any hidden access openings with bartacks, dense backstitches, or a small patch of interfacing or stay tape to spread the load across more fabric. Machine-stitch the structural seam for speed and strength, then close the final gap by hand with a slip stitch, ladder stitch, or catch stitch to conceal raw edges. Take tiny, even stitches with a fine needle and matching thread, bury the thread tails, and press the finished seam to set the shape and keep the opening discreet.

6. Hand-sew discreet access openings into linings or pockets
Plan the opening before you cut. Position it along a seam or panel, align it with the fabric grain, and avoid highly curved sections or edges on the bias unless you add stabilisation. Match the opening style to the fabric and its purpose: an invisible zip suits tailored garments, a bound slit works for lightweight or sheer fabrics, a welt gives a crisp finish, and a row of concealed snaps or hook-and-eye closures provides easy access, with each choice altering bulk, visibility, and how the fabric behaves when worn or handled. Reinforce and prepare the edges with suitable interfacing, staystitch curved sections, secure the ends with small bar tacks or backstitches, trim and grade the seam allowances, and press the opening flat so the final join sits smoothly and resists fraying.
Begin by basting the opening, then stitch with a short stitch length. Understitch the facings, and finish raw edges with neat binding or invisible hand stitches. Close the final edge with a ladder stitch or catch stitch so the join disappears into the fabric. Test the repair by operating the opening repeatedly to simulate intended use, and, where appropriate, launder or wipe the area to assess durability. Reinforce any points that lift or strain, press the seam again to reset the shape, and replace or resecure closures before problems worsen. Small, precise hand finishes and a final press will minimise visibility and extend the life of the repair.

7. Reinforce high-stress points with targeted stitching and reinforcements
For high-stress areas, fit an internal reinforcement patch through the hidden access opening. Cut the patch as a teardrop or oval slightly larger than the stressed zone, slide it inside, and secure it to the seam allowance by fusing or tacking. Topstitch around the perimeter to increase the contact area and reduce concentrated stress at a single point. Choose stitch type and orientation to share the load. Use hand backstitches where precision matters, machine bar tacks or a box-and-cross for strap ends, and two or three parallel rows of straight or zigzag stitches where the fabric flexes. Multiple passes, and stitches placed at right angles to the primary force, measurably increase joint strength. Anchor corners and strap bases with a small triangle of fabric or several converging stitches, then lock the ends with dense backstitching to redirect stress away from one point.
Before closing the access opening, stabilise the seam allowances with stay tape or suitable interfacing. On stretch fabrics, choose flexible, non-woven interfacing, and hand-baste layers to prevent distortion as you finish. Where attachments concentrate force, distribute the load by inserting gussets, washers, or thin internal plates through the opening, or stitch a small gusset into the seam to broaden the load paths. Tuck these reinforcements neatly behind the attachment point via the access, then secure them with firm topstitching or concealed hand-stitching. These measures spread stress over a wider area, reduce cyclic wear, and help prevent the fabric tearing at a single point, thereby extending the garment's service life.

8. Patch panels and replace using available seam allowance
Begin by measuring the seam allowance and inspecting the panel for grain direction and for any stretch. This will determine whether the replacement can sit entirely within the existing seam lines or whether adjacent seams will need shifting. Unpick only the stitches necessary to create the opening, preserve corner and intersection points, and mark the original stitch line with tailor's chalk to ensure precise realignment. Press the seam allowance flat to create a clean working edge; this helps the new panel sit flush and reduces bulk at the join. These preparatory steps limit distortion and make it easier to reproduce the original fit and line when you attach the replacement piece.
Cut the replacement panel to match the fabric grain and pattern placement where possible, leaving a seam allowance that matches the original. Reinforce high-stress areas with lightweight interfacing, and clip or notch curves to reduce bulk. Ease the new panel into the opening, then pin or baste through the seam allowance so the join sits neatly inside. Stitch along the original seam line, by machine or by hand. Trim and grade the allowances to avoid lumps, and finish raw edges to prevent fraying. Understitch or topstitch to stabilise the join, close any remaining gap with an invisible hand stitch, and test the repair through normal movement, adjusting if you observe puckering or strain.

9. Reattach trims through lining access openings
Locate the smallest practical access opening by inspecting side seams, vents, underarm seams, waistband facings, or inside pocket linings. Open only 2 to 4 cm to permit hand work. Trim any loose threads, then press the area flat so the lining and outer fabric sit smoothly for stitching. Use a small curved needle or a long, thin needle with fine, strong polyester or nylon thread matched to the garment's colour. Keep fine tweezers or bent forceps to draw knots and trims into place without puckering the fabric.
Reattach the trim from the garment's interior using an invisible stitch. Make a tiny anchoring stitch into the seam allowance first. Then use a slip stitch, sometimes called a ladder stitch, passing the needle alternately through the lining and the trim edge and taking equally small bites every 3 to 4 mm to prevent puckering. Finish with a concealed knot tucked into the seam allowance so the repair reads as part of the original construction. If the lining has pulled away, release a few easing stitches at adjacent seams to redistribute fullness, then tack the lining to the garment seam allowance with small catch stitches every 5 to 7 cm. Grade the seam allowances by trimming them to slightly different widths behind the trim to avoid lumps where multiple layers meet. Test the garment through its normal range of movement. Add small reinforcement stitches, or a bar tack, at high-stress points. Press the area through a press cloth to set the seams, then close the access opening with the same invisible stitch so the interior looks tidy and the exterior remains unchanged.

10. Schedule repairs and routine care to prolong the life of your garments
Keep a simple inspection routine and a repair log. Photograph each mend and record the garment fibre, seam type, and how many wears passed before the fault appeared; over time, recurring weak points will become obvious. When you spot likely failures, add preventive reinforcements, such as backstitches, bar tacks, or stay-stitching at shoulders, underarms, and pocket openings. Always test stitch length and tension on a scrap of the same fabric to preserve drape and appearance. These small records and trials steer you toward targeted fixes, rather than repeating the same repair.
Create a neat access port in the lining, or widen an existing one, so you can reach the seam allowance. Close the opening with slip-stitching for an invisible finish; this lets you reinforce or mend seams without dismantling the entire garment, and you should note its position during routine inspections. Organise wear and care to reduce strain on seams. Rotate jumpers and outerwear to spread wear, empty pockets before laundering, follow fabric-appropriate wash and storage instructions, and reshape hems and collars while garments are damp so seams settle and lie flat. Prepare a small mending pouch containing matching thread, fine needles, spare buttons, small interfacing patches, and a scrap of fabric for testing colour and stitch. Where practical, standardise materials across garments so repairs blend in. Keep the pouch with the garment to stabilise snags on the spot and to decide whether a temporary patch or a full repair is appropriate.
This guide explains how a handful of deliberate choices, such as generous seam allowances, appropriate tools, and planned access openings, can transform garments that might otherwise be discarded into pieces you can mend reliably. It sets out ten essential techniques, including mapping seams, testing on scraps, reinforcing stress points, and creating discreet access openings, that reduce the risk of repeat failure and make repairs predictable.
Follow the mapping, marking, and stitching techniques described here. Keep a compact repair kit close to hand, and practise mending closures on spare fabric so you can attend to common faults quickly and with tidy repairs. Practising on scraps builds muscle memory and reduces the risk of further damage, preserves a garment’s fit, reduces waste, and lets you strengthen each mend for longer service.