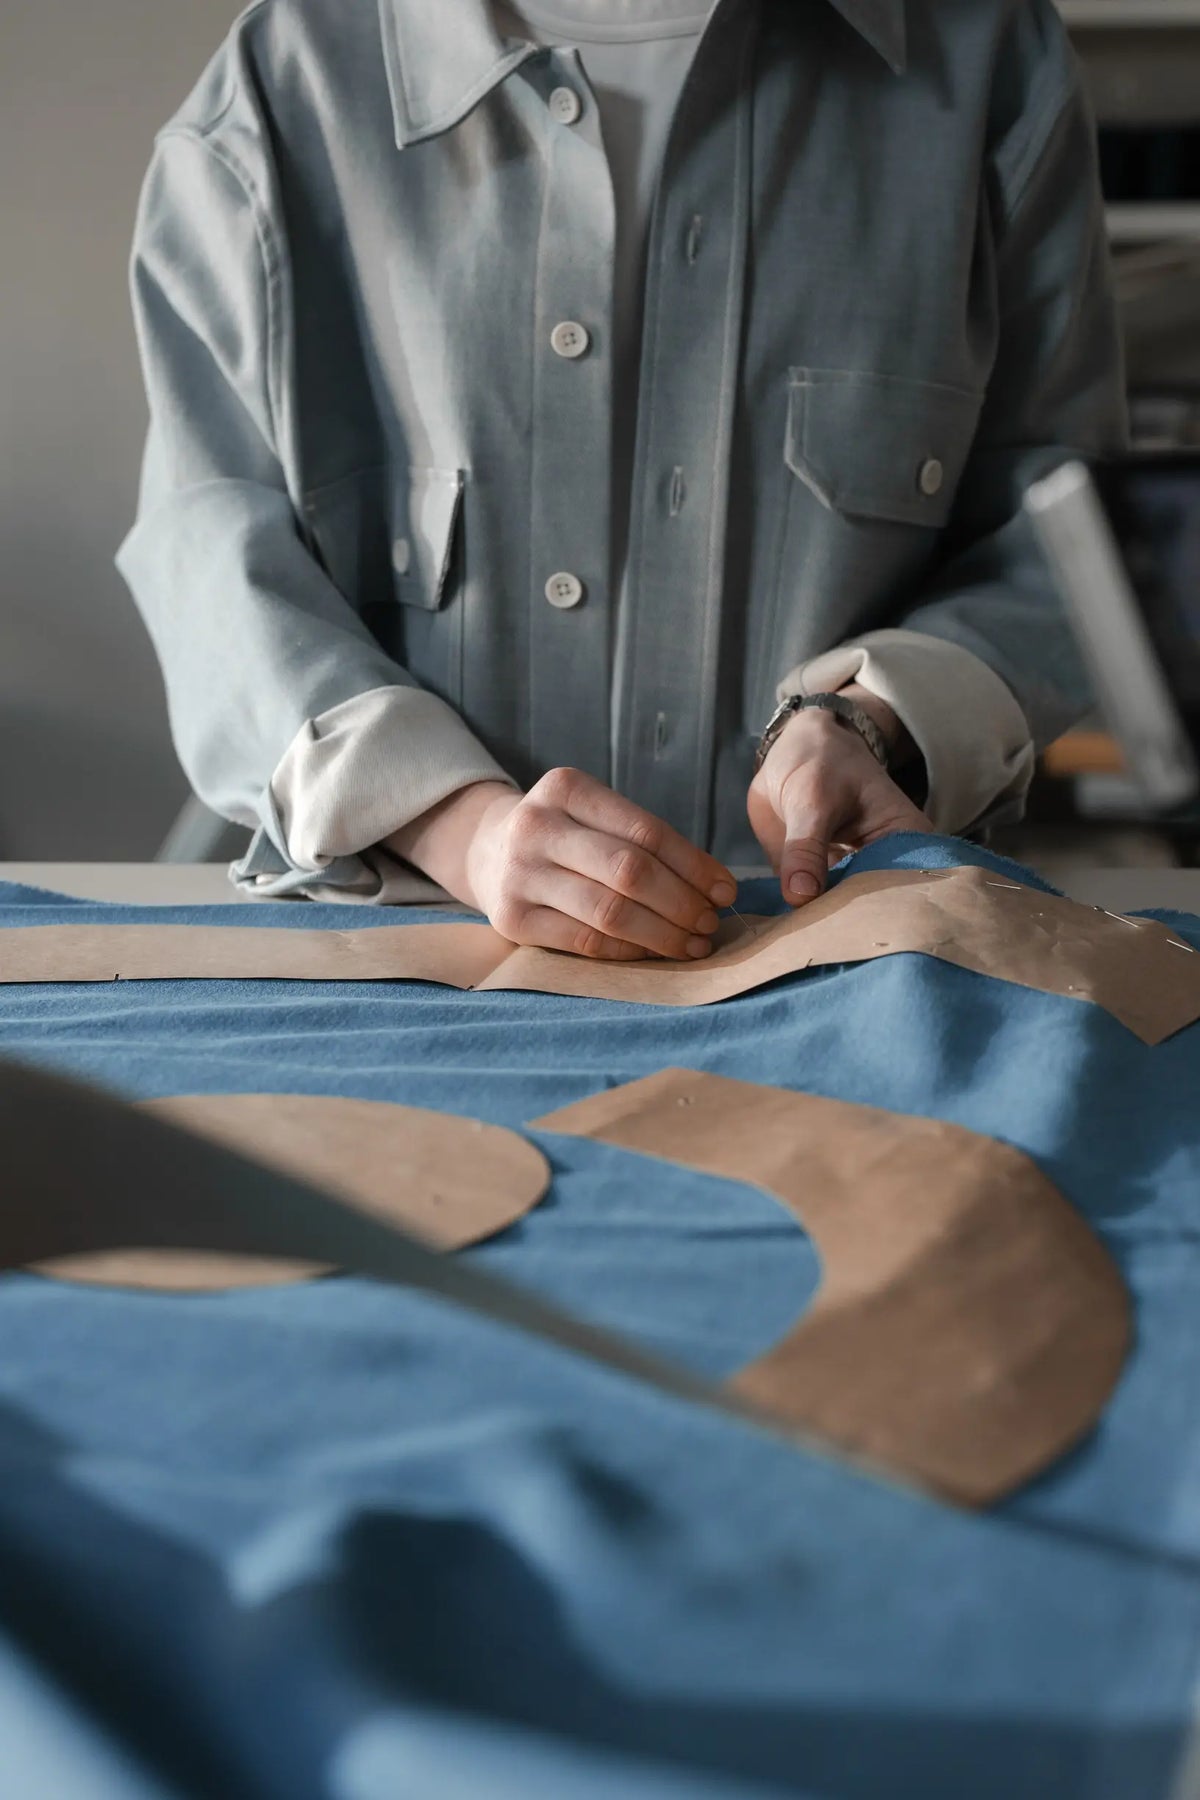
Do your favourite jacket and trousers show wear at the collar, lining, or knees long before the rest of the garment? Incorporating replaceable collars, linings, and panels extends a garment's life and increases its versatility.
This post outlines ten practical approaches to designing garments for seamless interchange. It covers selecting durable fabrics and fastenings, drafting modular patterns, and tailoring for fit and comfort. Use these techniques to switch style and levels of insulation, simplify repairs, and extend a garment's serviceable life without compromising form or function.

1. How to extend a garment's life and broaden its versatility
Replacing worn components, such as collars and linings, extends a garment's life. Collars absorb sweat and linings wear at stress points, so renewing those parts restores appearance and function while preserving the original shell. Designing detachable panels increases versatility; use reliable fastenings, such as buttons, studs, or zipped channels, and position panels along seam lines so the silhouette remains clean. Choose lining fabrics with similar weight and drape to the shell, reinforce attachment points with stay tape or bar tacks, and pre-test wash behaviour on a small swatch to avoid shrinkage or puckering at joins.
Modular panels simplify alterations and fit adjustments. Replace side or underarm panels to add width, insert gussets to improve ease of movement, and mark each component with orientation labels to speed reassembly and reduce errors. Include a short reassembly guide for owners or tailors to preserve the intended fit. Retaining the outer garment and replacing only the damaged parts keeps garments in circulation longer and helps maintain provenance; store spare collars, linings, and panels labelled and ready for future swaps. These measures limit the need for full replacement, clarify repair and restyling options, and make ongoing maintenance straightforward.

2. Design for effortless interchangeability
Define a consistent interface geometry and a clear marking system, establishing fixed widths and positions for attachment channels and placing registration marks at the shoulder and centre back so replacement collars, linings, and panels retain their intended spatial relationship. Prototype the interface on muslin and measure fit tolerance, allowing approximately 3 mm leeway at key notches; iterate until swapped pieces sit without visible strain or folds. Choose concealed yet accessible attachment methods, such as internal plackets, hidden channel zips, recessed snap lines, or low-profile magnetic housings, and test each on your chosen fabrics to identify which preserve drape and which introduce pull or bulk.
Extend panel shapes from existing seam lines to preserve the intended fit, aligning shoulder and collar pivot points and matching grainlines. Add small darts or press-studs where shapes differ to fine-tune pairings. Plan material junctions and finishing with specified interfacings, edge bindings, and seam reinforcements so raw edges remain concealed and fraying is prevented. Ensure fabric weight and stretch match across interfacing boundaries; mismatched weights commonly cause distortion and gaping. Make component swapping intuitive by adding discreet tabs, embroidered dots, or asymmetrical stitching, and include a sewn-in care and assembly label to guide the wearer. Run short wearer trials to log common assembly errors, then adjust visual cues or tolerances to reduce misassembly without altering the garment's silhouette.

3. Select fabrics for interchangeable panels
When selecting fabrics for collars, linings, and panels, compare weight, drape, and hand by holding candidate pieces against the jacket or trouser and hanging them from the shoulder or waistband to observe movement. Choose interchangeable parts with similar drape to avoid pulling at seams, an uneven hang, or gaping when pieces are swapped. At attachment points, favour slightly firmer fabrics to reduce distortion over time. Match parts for care and performance by assembling materials that tolerate the same cleaning methods, and run a quick colourfastness check on a hidden scrap with water and a little mild detergent to reveal any bleeding or shrinkage. Fabrics with differing care requirements can separate or degrade under routine maintenance, so prefer materials that will withstand your intended upkeep routine.
Select fabrics that will accept your intended fastenings and seam finishes. If a material frays, plan for overlocking, binding, or stabiliser tape. Dense woven or coated fabrics often require specialised needles or bar tacks at points where snaps or magnets attach. Construct a small test panel, fit the chosen fastenings, and flex it repeatedly to confirm durability. Assess surface friction by rubbing candidate panels together so they sit without slipping or bunching, and adjust panel orientation or add gripper finishes if required. Factor repairability and end of life into your choice: favour single-fibre panels or clearly labelled blends to simplify recycling, and remove a seam on a prototype to see how easily pieces separate for repair or replacement.

4. Choose robust attachments and fastenings
For each application, specify the fastening: zip, snap fastener (popper), hook-and-loop, press stud, or mechanical quick-release. Set measurable performance targets, for example a minimum pull strength of 50 newtons per attachment point and durability for 1,000 attach-detach cycles in laboratory testing. Reinforce all wear points with backing tape, interfacing, or webbing behind the fastening, and secure load-bearing corners with bar tacks or box-x stitches. Specify a stitch density of roughly 8 to 10 stitches per centimetre, using bonded polyester-core thread for improved abrasion resistance. Require corrosion-resistant materials and plated finishes for metal fittings, and water-repellent or sealed seams at textile attachment points. Verify durability with salt-spray and humidity-cycling tests to confirm no galvanic failure, delamination, or corrosion of the zip under expected service conditions.
Design connectors for intuitive, low-profile operation by favouring indexed or asymmetrical shapes, tactile or colour-coded tabs, and pulls that sit flush with the garment. Validate these choices with simple user trials that include one-handed attachment and consistent alignment during swaps. Make serviceability a requirement: standardise connector types across product ranges, ensure components can be replaced with common tools or by hand, and stitch orientation marks and brief swap instructions into the lining. Require spare parts to meet the same mechanical, cyclic, and corrosion tests as the originals, and reference the measured pull strength and cycle-count acceptance criteria used in initial qualification. Finally, include provisions for spare-part availability and clear maintenance instructions so technicians and wearers can complete replacements to the same standard as factory assemblies.

5. Draft patterns for modular garment construction
Begin by mapping the modular interface and drafting the jacket and trouser mains with clearly defined, replaceable edges. Decide whether collars, linings, and panels will abut or overlap, and set consistent seam allowances and reinforcement widths so replaced modules preserve the garment's balance. Standardise registration by adding matching notches, numbered tabs, and grainline references to both sides of every connection, and mark stitch and fold lines while allowing extra depth where layer bulk or fastenings will affect the lay. Create separate pattern pieces for shell, lining, and interlining so replacing a module does not alter the fit; draft specific ease and seam allowances for each layer, and mark where any fused interfacing ends.
Design patterns to accept hardware and finishes by incorporating channels, plackets, and hems for zips, snaps, buttons, magnetic closures, or hook-and-loop tape, and by drafting interfacing and topstitching lines so closures sit flat and withstand repeated use. Make toiles (muslins) of the base garment and each modular element; fasten and move the parts through their intended range of motion, observing drape, seam alignment, and any interference from darts, pleats, or grain shifts. Record every adjustment, then label and number pattern pieces with concise assembly sequences to ensure reproducibility. Use the prototyping evidence to finalise reinforcement placements and registration marks, so future swaps require fewer iterations.

6. Craft collars for effortless interchange and secure support
Stand, band, notched, shawl, and convertible collars each affect roll and support in distinct ways. Stands and bands provide lift and a crisper roll. Notched collars break at the shoulder and therefore require less undercollar shaping. Shawl and convertible styles benefit from a smoother undercollar curve. When you interchange collar types, alter the undercollar and the shoulder seam to retain balance. Reduce bulk by grading seam allowances and by clipping or notching curves. Trials on a dressmaker's dummy demonstrate that a shaped sew-in canvas preserves roll without adding unwanted bulk. For lighter jackets, consider a medium-weight fusible interlining or narrow channels for removable stays as alternative forms of support.
Choose low-profile attachments concealed beneath the stand, such as concealed snaps, press studs, button-and-loop systems, sew-in tape with hook-and-eye, or small magnetic closures. Reinforce these fastenings with lightweight interfacing and bar tacks to spread the load and prevent fabric distortion. Control the collar edge by understitching the stand, topstitching close to the edge, and grading seam allowances so swapped collars sit consistently. Prototype with a toile, and produce at least two swap collars in different fabrics to test behaviour under layers. Label and store collars with removable stays, and include clear care notes for removal and reattachment to prolong their life. Together, these construction, attachment, and testing steps yield interchangeable collars that remain stable, sit neatly, and are straightforward to maintain.

7. Fit garments with removable linings and adaptable insulation for year-round versatility
Use low-profile, robust fastenings, such as separating zips, snap fastenings, and discreet hook-and-loop tape, positioned around the hem, collar, and inside channels. Reducing bulk and friction in these areas helps linings sit flat and resist twisting during wear. Reinforce stitchlines at stress points and add alignment tabs or printed markers so panels locate consistently, allowing wearers to remove and refit them quickly. Locate fastenings beneath facings or within seams to keep them out of sight and prevent abrasion against outer fabrics. Design detachable collars and panels to engage with a small number of repeatable anchors rather than numerous points; this speeds changes and reduces the number of potential failure points.
Choose insulation to suit the conditions. Quilted synthetic batting tolerates moisture and stands up to machine washing, while down and other high-loft fills deliver superior warmth-to-weight and compressibility. Fleece and brushed knits make effective, breathable midlayers. Zone insulation by placing thicker panels across the torso, upper back, and seat, and keeping underarms, inner thighs, and cuffs lighter or ventilated. Make those zones removable as separate panels so the wearer can fine-tune warmth and freedom of movement. Pair removable fills with breathable, water-repellent slip linings or a membrane, and add pit zips or perforated panels to shed excess heat. Label linings to indicate orientation, include a compression pouch for travel, and recommend simple maintenance, such as a short, low-temperature tumble-dry or gentle patting to restore loft after washing.

8. Design garments with replaceable panels and repairable high-wear areas
Identify and prioritise the garment's wear zones, then select fabrics whose mechanical properties suit each area. Note high-abrasion points, such as the knees, seat, inner collar, cuff edges, and thigh creases, and specify denser weaves, laminated backings, or leather patches for those locations. Construct a prototype, record abrasion and seam failures observed in real-world use, and refine panel shapes and backing so reinforcement follows measured failure rather than assumption.
Standardise panel geometry, seam allowances, and alignment notches so replacement panels become interchangeable across styles. Mark orientation and part numbers on the inside of panels to speed assembly and fitting. Choose fastenings by load, weather, and appearance, testing concealed snap rows, toothed zips, and stitched channels on prototypes to establish which balance durability and convenience. Reinforce anchor points with interfacing, webbing, and continuous lines of stitching, and finish transitions with flaps or binding to protect fastenings from abrasion and moisture. Design panels and adjacent seams for repair rather than full replacement: leave accessible seam allowances, add bar-tacks at high-load terminations, and include care and replacement labels to encourage swapping panels rather than discarding garments.

9. Tailor garments to achieve a modular, comfortable fit
Allow for added bulk by widening sleeve heads, armholes, and seam allowances, and test patterns with the heaviest intended lining to ensure full range of motion and correct collar-to-shoulder alignment. Position fastenings, such as snaps, buttons, or zips, on stable seams and back them with interfacing or stay tape to preserve the garment's drape. Reinforce stress points so weightier panels do not pull the shoulder line, distort the hem, or alter the jacket's silhouette.
Design interchangeable collars to share a common neckline geometry and anchoring point so each option preserves the jacket's roll line and lapel fall. Mount each collar on a toile to compare heights and the resulting lapel tension, and adjust the collar stand until tension remains consistent across options. Incorporate adjustable internal shaping, such as side tabs, waist cinches, or internal drawcords, positioned to allow fit tuning without distorting outer seams. Prototype representative combinations, testing from the lightest to the heaviest panels. During wear tests, record changes in ease, sleeve movement, and collar clearance, then update patterns and document preferred pairings to support reliable tailoring decisions.

10. Plan garment care, repairs, and life cycle
Establish a simple care routine: follow the textile labels, launder detachable collars and linings separately, and use hand-wash or gentle machine cycles for delicate trims to minimise abrasion. Store garments and removable pieces in breathable covers, or lay them flat, to preserve shape and reduce odour build-up. Keep small spares, such as extra fastenings and a fabric swatch, with the garment so you can make immediate repairs.
Design garments for repairability. Ensure accessible seam allowances, standardised fastenings, and visible stay-stitch lines so panels can be removed and reattached without harming surrounding fabric. Include simple repair kits with matching thread, spare fastenings, a patch, and illustrated instructions for reattaching collars and linings. Label collars, linings, and panels with material codes and care symbols, and photograph or log repairs to build a component history that informs future maintenance and recycling decisions. Plan end-of-life pathways by favouring detachable construction and single-fibre, or easily separable, blends, and design panels so they can be repurposed as accessories or patches to retain material value.
Designing garments with interchangeable collars, linings, and panels transforms single-purpose items into enduring pieces by preserving the original shell while allowing targeted renewal and subtle style changes. Wear patterns typically show collars and linings wearing out well before shells, so replacing these elements preserves fit, reduces waste, and safeguards provenance.
Begin by defining consistent interfaces for detachable elements, specifying attachment points and tolerances so replacements sit without strain. Choose compatible fabrics, matching weight, weave, and stretch to avoid puckering or distortion at joins. Specify robust fastenings that endure repeated removal and refitting, and draft modular patterns so components align cleanly. Label spare parts, prototype at least one swap to validate fit and function, and establish simple care and repair routines so owners can maintain and adapt garments rather than discard them.