Finding workwear that holds its shape without restricting movement, or that allows freedom yet resists wear, remains a persistent design challenge. The balance between structural support and flexibility determines comfort, influences safety, and governs the lifespan of a jacket, a pair of trousers, or a mid layer.
This post explains techniques for reconciling mobility with durability, from fabric and weave selection and ergonomic patterning to articulated seams, gussets, pleats, and strategically placed interfacing and overlays. It offers practical guidance on finishes, linings, and care to preserve fit and function, together with concise examples that demonstrate how each choice affects mobility, longevity, and ease of repair.

Selecting fabrics and weaves to balance strength and flexibility
Begin by matching the fibre to the task. Choose high-tenacity synthetic yarns where tensile strength and abrasion resistance matter, long-staple cotton where comfort and breathability matter, or a blend to combine both sets of properties. Compare options using technical data such as denier (fibre thickness), yarn count, or stated tear strength, and choose materials for the most exposed areas on the basis of those figures rather than appearance alone. Select weaves to control movement and wear. Twill’s diagonal structure gives cloth a natural drape and greater resistance to abrasion; plain weaves provide dimensional stability suited to load-bearing panels; and ripstop construction stops small tears from propagating. Use different weaves in different zones — for example, flexible constructions across the torso and at articulated joints, with denser weaves or ripstop at knees and cuffs.
Design targeted stretch and recovery into gussets and articulation panels by using mechanical-stretch constructions or by adding small percentages of stretch yarn. Verify recovery by stretching panels and noting how quickly they return to shape; timed observations give a simple, repeatable benchmark. Balance coatings and finishes against hand and breathability by choosing low-bulk water-repellent finishes, thin laminates, or breathable membranes. Use a bead test — place a few drops of water on the surface and watch whether droplets bead and roll off — and consult breathability ratings when they are available to compare performance objectively. Validate final selections with objective tests and physical swatches. Request abrasion and tensile test results, and run practical checks such as repeated fold-and-stretch cycles, fingertip abrasion to assess pilling, and simulated knee bends to judge stiffness and recovery. If a panel shows excessive wear or loss of shape, consider reinforcement through layered weaves, a backing, or targeted paneling to extend durability while preserving hand and comfort.

How to draft ergonomic patterns that enable natural movement
Draft patterns with articulated lines that follow natural bends. Introduce a forward sleeve pitch and add extra length along the elbow and knee bend lines. Mark the centre of each bend on the block, then build a toile (a test garment) to observe how the fabric behaves when the joint is flexed. Add gussets and expansion panels, such as diamond underarm inserts, crotch gussets, and bi-swing back pleats, and position seams to avoid rubbing under load while widening reach and rotation without adding bulk. Integrate knit or elastomerised woven inserts at the inner elbow, inner thigh, and centre back, and align the fabric grain with typical motion corridors to reduce resistance while retaining the visual structure of adjacent woven panels. Adjust the panels and test through simulated movement until the material lies smoothly, with no pulling or excessive bagging.
Shape knee and seat overlays so they follow natural bend lines, reinforce high-wear areas with layered constructions or bartacks at recognised stress points, and place seams away from pivot points to reduce chafing and seam failure. Conduct task-based fit sessions, note any movement restrictions on the toile (a prototype garment), and make targeted adjustments to ease, pitch, and darting informed by observed movement. Record each alteration against the pattern block to build a reproducible library of ergonomic patterns.

Add articulated seams, gussets, and pleats for effortless movement
Position articulated seams behind joints, for example the elbow, knee, and shoulder blade. Use curved pattern lines that mirror joint arcs so the fabric follows the limb rather than pulling. Add gussets in high-stress zones such as the crotch, underarm, and side panels. Choose diamond or drop gussets for multi-directional reach, or longer rectangular gussets for deep crouching, and reinforce gusset corners with bartacks to prevent seam failure. Use box or inverted pleats at the centre back or behind the knee to allow controlled expansion, and lock their position with partial top-stitching or bartacks to stop flapping while walking. Combine woven, abrasion-resistant panels on the seat, knees, and shoulders with elastane or knitted stretch inserts behind the knee, in the inner thigh, and in underarm zones, and finish joins with flatlock or felled seams to reduce chafing.
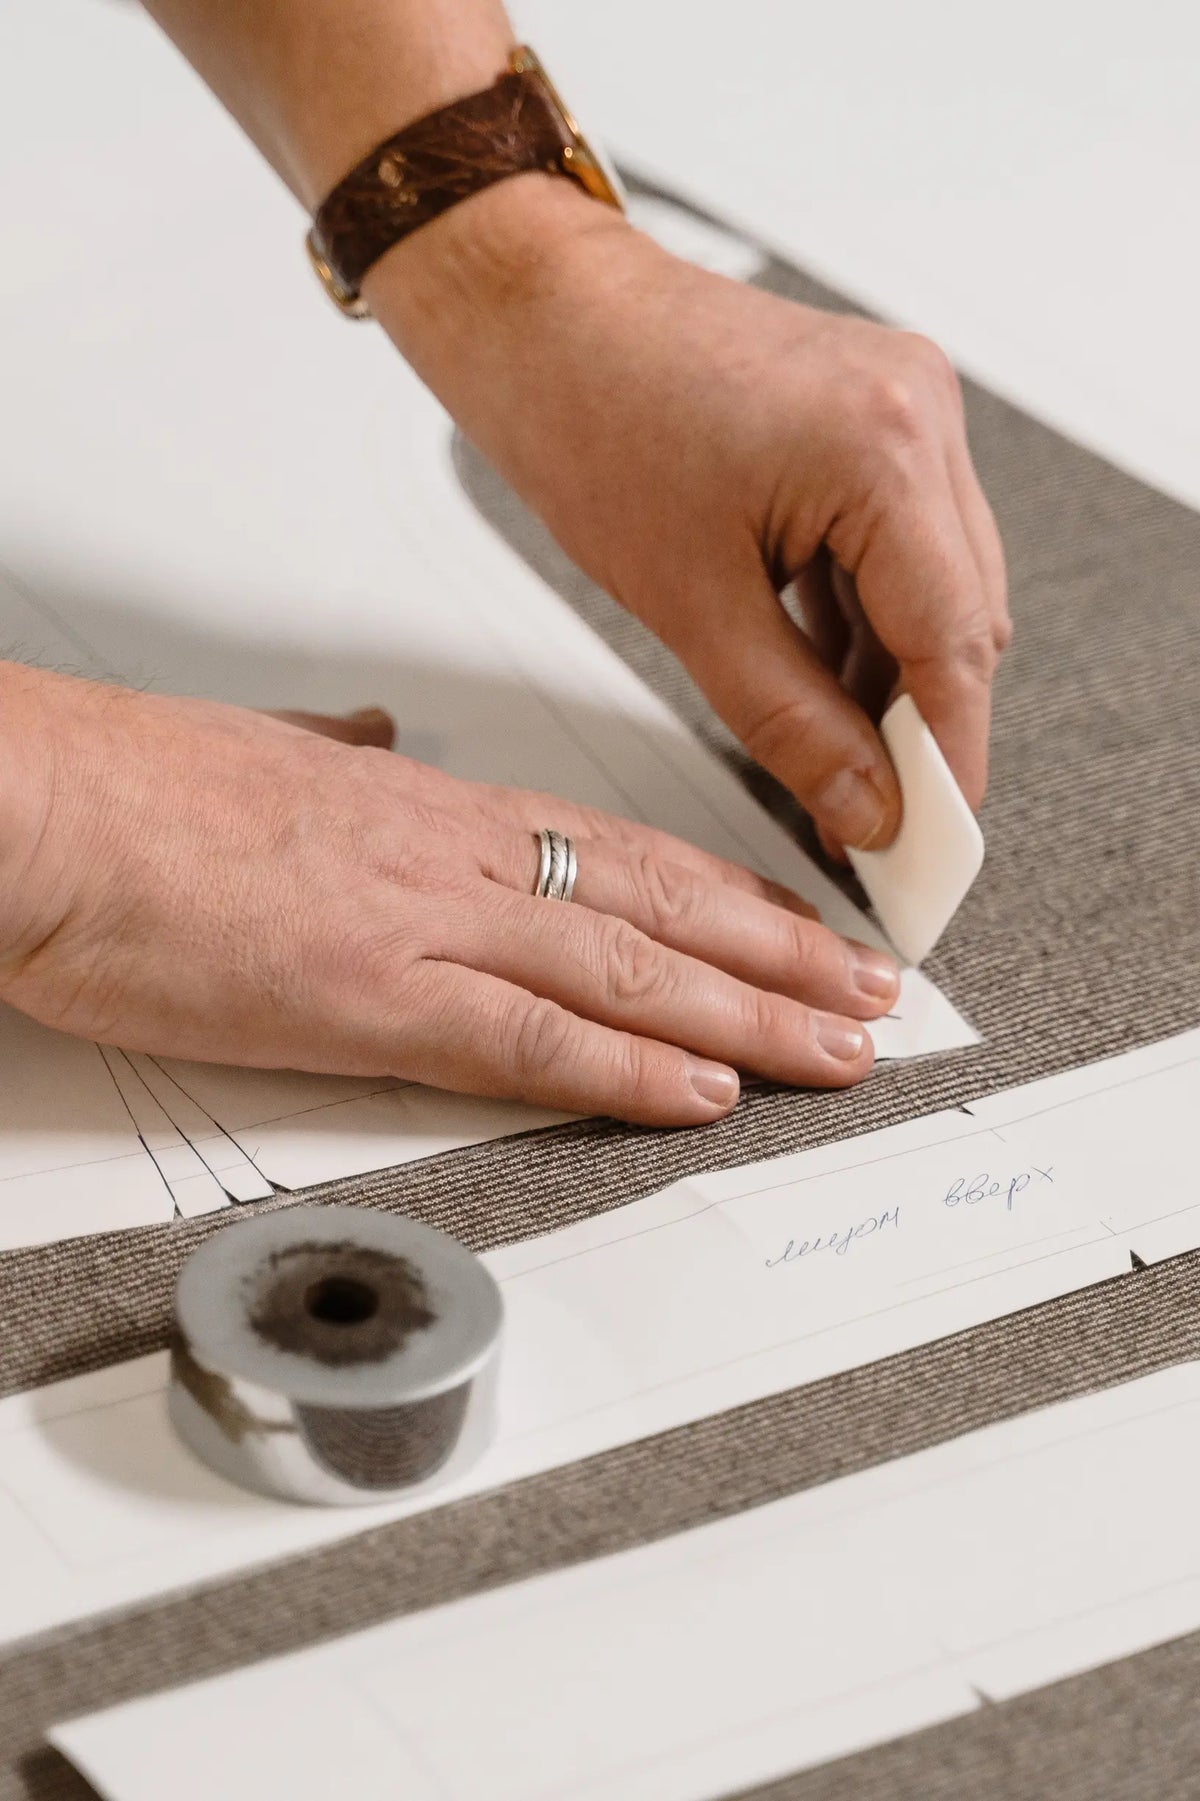
Prototype garments on real tasks. While testers adopt representative working positions, mark fabric with tailor's chalk and record where seams pull, gape, or restrict movement. Use those observations to adjust gusset size, pleat depth, and seam placement. Document every alteration and carry it through grading, so the benefits to mobility remain consistent across sizes and when protective layers are added. The result is a workwear architecture that concentrates reinforcement on repeated-stress zones while preserving freedom of movement through targeted stretch and controlled volume.
Practical drafting, construction and prototyping checklist for articulated movement
- Draft articulated seams from live pivots: have the wearer bend the joint to a representative angle, trace the joint arc, and draft a curved seam line 10–20 mm behind that arc to provide clearance for joint movement. Add alignment notches at the apex and ends, and allow 6–8 mm seam allowance for flatlock, or 10–12 mm for felled seams, to preserve strength through assembly and grading.
- Select gusset shapes and dimensions by intended motion: use diamond or drop gussets for multi-directional reach, and long rectangular gussets for deep crouching. Start with a crotch/underarm depth of 80–120 mm and a width across of 100–180 mm for average adult sizes, then scale proportionally. Reinforce all gusset corners with two or three bar tacks, and finish joins using low-bulk seam techniques to reduce bulk and chafe.
- Use controlled pleats for temporary volume: place box or inverted pleats at centre back or behind the knee, set pleat depths between 15–40 mm to allow expansion without billowing, and secure pleat mouths with partial top‑stitching or bar tacks to stop flapping while keeping the fold active when needed.
- Prototype with a repeatable workflow: construct a toile or muslin, mark pivot points and high‑stress zones with chalk, have users perform representative tasks while you photograph and note seam tension, gaping, and stitch failure. Adjust gusset size or pleat depth in measured increments, record each change in a pattern log, then carry those deltas through grading so the same motion allowance and reinforcement map across sizes and over protective layers.

Reinforce high-wear areas with interfacings and overlays
Begin by mapping expected high-wear zones on the pattern, such as the knees, seat, crotch, inner thighs, cuffs, and pocket mouths. Produce a prototype and run abrasion and flex tests to quantify surface wear and repeated-bend loads, then use those results to pinpoint where internal structure or external overlays are genuinely required. Bond a low-bulk woven or non-woven interfacing to internal panels to preserve shape and distribute stresses, then add external abrasion panels that extend beyond the immediate wear area so load transfers across fabric, seams, and facings. Stagger seams between overlays and the base garment to avoid a single line of failure, and limit reinforcement to the areas shown by testing to need it—preserving flexibility and keeping unnecessary bulk to a minimum.
Match reinforcement materials and attachment methods to function. Use stretch-knit interfacings in articulated zones where recovery matters — they regain shape after movement and reduce seam strain. Specify stable woven interfacings for load-bearing panels, and apply tough textile overlays where abrasion resistance is required. Where a waterproof membrane is present, favour welded or adhesive bonding rather than sewing through the membrane, and always check hand-feel and stretch after bonding to avoid brittleness. Place reinforcement stitching so overlays lock to structural seams; favour flat-felled or bound seams to reduce bulk at joins, and use bartacks or box stitches at high-load points instead of continuous heavy stitching across joints. Design overlays to be modular or replaceable, orient weave and stitch direction to follow expected abrasion paths, and record reinforcement placement on technical drawings so field repairs or upgrades can reproduce the original balance of strength and flexibility.

Preserve a garment's shape with finishes, linings, and care instructions
Choose thin, durable water-repellent finishes that make moisture bead and preserve the fabric hand, rather than heavy solvent coatings that add stiffness. Prefer finishes that can be reproofed without altering the garment's shape. Use layered linings strategically: bond waterproof membranes or scrims to the outer where you need stability and weatherproofing, and fit stretch-woven or mesh linings into high-movement areas such as the elbows, crotch, and underarms to retain freedom of movement without bulk. Stabilise collars, cuffs, and hems with low-profile knitted or fusible interfacings to prevent sagging while maintaining flexibility, and place reinforcing patches or bartacks aligned with the fabric grain at pockets and other high-wear points to resist distortion.
Follow care routines that protect a garment's shape. Wash gently, or hand wash in cool water (around 30°C); avoid fabric softeners and bleach. Reshape items while damp, and dry flat or on a shaped form to preserve drape and fit. Treat maintenance as part of a garment's lifecycle: reproof when water no longer beads, repair delamination and worn reinforcements promptly with adhesive patches or restitching, and store on shaped hangers or folded with tissue to protect collars, shoulders, and creased zones. Regular, compatible upkeep prevents fibres from absorbing moisture and stretching, so the garment retains its intended combination of structure and flexibility.
A meaningful balance between support and freedom comes from matching the fibre and weave to the task, drafting articulated patterns that follow joint arcs, and reinforcing only the zones identified as high-wear. Validate those choices with objective trials, for example abrasion and tensile testing, mock garments (toiles), and task-based prototyping, and record any adjustments so fit, recovery, and longevity are preserved.
This post follows a practical sequence: fabric and weave selection; ergonomic drafting; articulated seams and gussets; targeted interfacings and overlays; and finishes, linings, and care. Prototype with real tasks and conditions, record what you change and why, and make maintenance part of the design lifecycle so the balance achieved endures in use.
FAQ
What fabric and weave should I choose for outdoor workwear?
Match the fibre to the task: high-tenacity synthetic yarns for tensile strength and abrasion resistance, long-staple cotton for comfort and breathability, or blends to combine both. Choose weaves by zone—twill for drape and abrasion resistance, plain weave for dimensional stability, and ripstop where tear propagation must be stopped—and validate choices with abrasion, tensile, and stretch‑recovery tests on physical swatches.
How do you draft patterns so garments follow natural movement?
Draft articulated lines that follow joint arcs, add forward sleeve pitch and extra length through elbow and knee bend lines, then mark the centre of bend and build a toile to observe behaviour when the joint is flexed. Add gussets and stretch or elastomerised inserts at underarm, inner thigh, and behind the knee, and adjust until fabric lies without pulling or excessive bagging during simulated movement.
Why add gussets, articulated seams, and pleats to workwear?
They position seam lines behind pivots so fabric follows the limb, provide multi‑directional reach without bulk, and create controlled expansion where needed. Lock pleat mouths and reinforce gusset corners with bar tacks to prevent flapping and seam failure, and prototype on real tasks to size and place them correctly.
How should I reinforce high‑wear zones without sacrificing flexibility?
Map wear zones, fuse low‑bulk interfacings to internal panels for shape, then top with external abrasion overlays that extend beyond the wear area and have staggered seams to distribute stress. Use stretch‑knit interfacings in articulated zones, favour welded or adhesive bonding where membranes are present, and make overlays modular or replaceable so reinforcement can be repaired or upgraded without adding unnecessary bulk.
What finishes and care routines help preserve shape and function?
Choose thin, durable water‑repellent finishes and breathable membranes, add stretch or mesh linings in high‑movement zones, and stabilise collars and hems with low‑profile interfacings to prevent sagging. Wash gently, avoid fabric softeners, reshape garments while damp, reproof when water no longer beads, repair worn reinforcements early, and store on shaped hangers to maintain drape and fit.