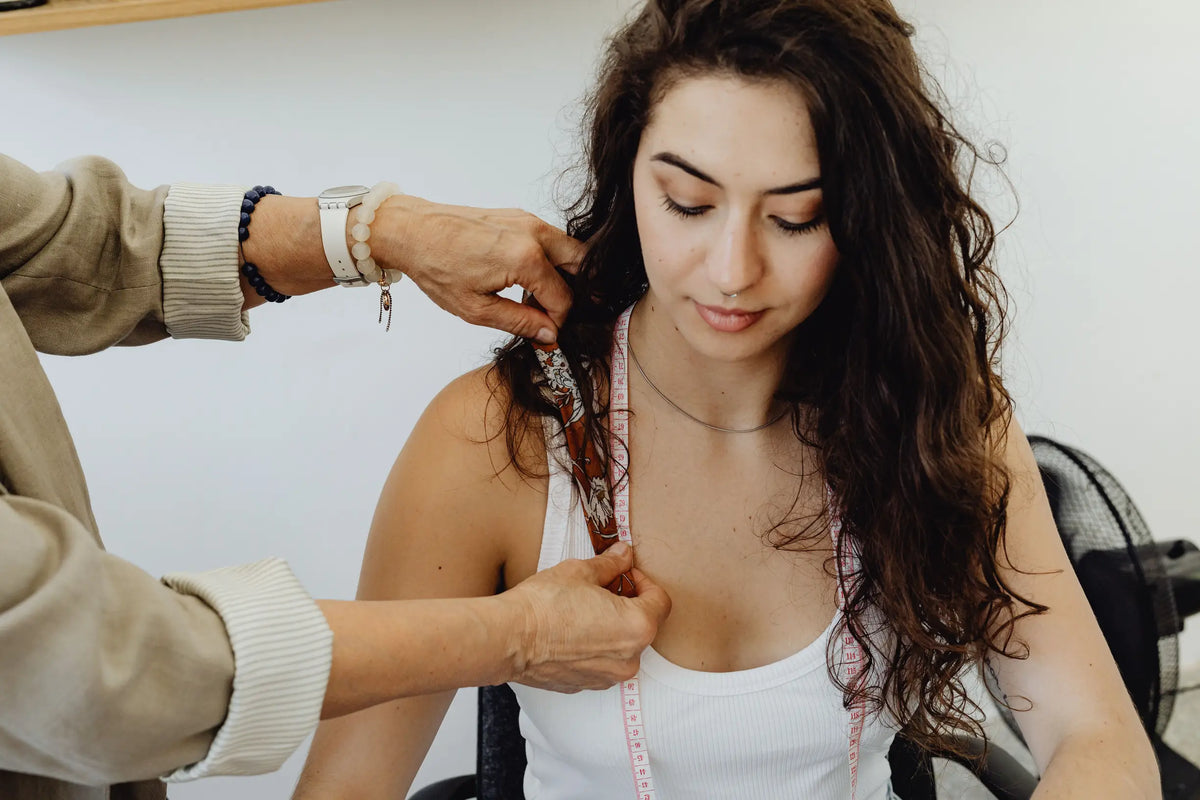
Why do your favourite jumpers and trousers so often wear through in the same places? Small weak points, such as hems, collars, elbows, and pocket bags, account for the bulk of repairs. Simple design and construction choices, however, can make garments far easier to mend.
This guide outlines ten garment components that commonly require attention and offers practical, repair-friendly ways to build, alter, or reinforce each one, from adjustable hems to replaceable linings. Use these techniques when buying, making, or mending clothes to extend a garment's serviceable life, reduce waste, and enjoy more years of wear.

1. Design garments for quick, straightforward repair in the field
Allow generous seam allowances and mark them on the pattern pieces or the care label. An extra 1.5 cm gives a tailor room to take in seams, replace a zip, or let out a hem without altering the garment's shape. Prefer straight-grain, simple panels rather than complex curves or bias cuts; straight pieces simplify patching, panel replacement, and pattern matching because grain alignment matters less. Specify standard, replaceable fastenings and secure them with reinforcing stitches and a backing cloth. Stitched buttons, open-ended zips, and sewn buttonholes permit straightforward replacement, whereas glued or bonded closures make later repairs difficult.
Design garments so linings, collars, cuffs, and trims are removable via simple attachment seams, snaps, or buttons. Concentrating wear on replaceable parts lets components be refreshed without altering the main shell. Tuck a fabric swatch and a loop of matching thread into the care label or hem, and leave a small internal patch of spare fabric for menders to use when matching fibre and colour, making invisible repairs, or recreating small parts. These details speed repairs, help tailors match grain and colour, and increase the likelihood that repairs remain inconspicuous. Together with straight panels and clearly marked seam allowances, they allow repairers to replace panels, swap trims, or shorten and lengthen hems without changing the garment’s original shape.

2. Select hard-wearing fabrics and add subtle reinforcements
Use tight-weave cotton twill, denim, canvas, worsted wool, and high-twist or blended yarns in high-wear areas. Their dense construction resists abrasion and recovers from stretch more effectively than loosely woven, low-twist fabrics. Try a simple hands-on check: rub a small swatch between thumb and forefinger to test for pilling, then stretch another sample gently and note how well it returns to shape and whether any permanent distortion appears. Specify these sturdier materials at trouser seats, knees, pocket openings, and bag straps to delay visible wear. Their tighter construction also stabilises seams and reduces fibre breakage.
Select reinforcements that suit both the fabric and the garment’s purpose. Use fusible interfacing for crisp collars and cuffs, cotton twill sew-in patches for trouser seats and knee areas, silk organza for delicate silks, and narrow bias tape for curved seams. Bear in mind that fusible options add stiffness, whereas sew-in pieces preserve drape and are simpler to replace. Reinforce points of concentrated wear: secure pocket corners and belt loops with bartacks or box-and-bar stitches, add extra rows across shoulder seams and straps, and fit inner patches behind knees and the seat in a matching or neutral colour so they absorb abrasion without altering the garment’s appearance. Design for repairability. Use flat-felled or double-stitched seams on heavier garments, leave generous seam allowances, and choose a stitch length and thread strength that will hold under use yet can be unpicked when repairs are needed. Include small provisions that make later work straightforward, such as sewing a labelled spare-fabric swatch into the care label, tacking spare buttons inside a hem, and stabilising necklines with narrow stay tape.

3. Allow extra fabric at the seams and use durable stitching
Allow slightly larger seam allowances than you would for a finished garment: roughly 1 cm for lightweight fabrics, 1.5 cm for midweights, and 2 cm or more for heavy or outer fabrics. The extra allowance gives you room to trim, let out, or resew without cutting into structural fabric. Grade and press the allowances to control bulk while retaining material for future repairs: trim the thicker side so the layers nest neatly, and press the allowances open or to one side as appropriate. Take care not to over-trim at curves or corners, where additional fabric may later be required. Neat grading and careful pressing reduce visible lumps and make any subsequent restitching quicker and less conspicuous.
Match the stitch type to the fabric's behaviour and the seam's load. Use a straight lockstitch for stable woven cloth; for knitted fabrics, choose a narrow zigzag or a dedicated stretch stitch so the seam retains give and recovery; and for high-load seams such as the crotch, seat, and underarm, specify a reinforced or triple stitch. Always test settings on a scrap of the actual fabric to check recovery, drape, and appearance. Increase stitch density and add local reinforcements where failure is likely. Shorten stitch length where loads concentrate, since more stitches per centimetre distributes strain and raises tensile strength. Backstitch or tie off thread ends to prevent slippage. Add bar tacks, box stitches, or small reinforcing rectangles at pocket corners, buttonholes, and belt loops; these concentrate stitching into a tiny area to resist pull. Design seams so they remain accessible for later mending. Leave a short section of the allowance unstitched or hand-tack a temporary opening, and mark seam lines on the allowance to speed future repairs. Avoid serging, or overlocking, too deeply into the allowance, which can remove useful fabric for repair. Taken together, these targeted choices increase tensile strength, delay fabric breakdown, and make future repairs faster and harder to spot.

4. Make trouser hems and cuffs adjustable for straightforward re-hemming
Leave a generous seam allowance, and mark the original hem line with tailor's tacks or a thread marker. Baste the finished length so wear trials preserve the garment's proportions and pattern matching. Use removable, discreet temporary finishes, such as long basting stitches or a blind hem, which unpick without leaving visible holes. Avoid permanent topstitching across the hem line, because dense stitching anchors the fabric and makes shortening or lengthening far harder. These steps ensure future re-hemming remains straightforward while preserving the garment's visual integrity.
Choose hem constructions that withstand repeated reworking. For example, use single-fold hems with overlocked or pinked raw edges, hem facings, or stitched-in bias tape; these protect the raw edge and allow trimming and resewing without altering the silhouette. Build adjustability into cuffs and trouser hems by installing concealed buttons, tabs, or a small internal buttonhole so the hem may be temporarily turned up and secured as required. Reinforce high-wear points with bartacks or stay-stitching at side seams and pocket edges, and avoid bulky, glued components that complicate unpicking. Record the original length with a small interior label or a discreet thread at the hemline to speed future alterations and ensure consistent results.

5. Reinforce collars and necklines to minimise fabric wear
Reinforce neckline seams with a close second row of topstitching, or use a narrow zigzag or other stretch stitch, and add bar tacks or backstitching at the shoulder points to prevent blowouts from repeated strain. Press a narrow strip of stay tape or lightweight interfacing into the seam allowance, or beneath the facing, before stitching to stabilise the curve, then understitch to keep the facing flat so the opening retains its shape through many washes. Clip and grade the seam allowances on curved necklines, trim excess fabric, and smooth the facing as you turn; reducing bulk helps collars lie flat, which lowers friction at the seam and reduces wear over time.
Cut a knitted neckband slightly shorter than the neckline so it sits snugly once attached. Join the band using a stretch stitch, and ease the neckline evenly as you sew so the band contracts without puckering; this helps the collar resist sagging after laundering. Understitch or topstitch facings to control bulk and keep edges neat, which also prevents rubbing where the collar meets the skin or other layers. Adopt a few simple care habits to prolong necklines: fold heavy jumpers rather than hanging them, fasten buttons before pulling garments over the head, and mend small snags promptly. When a garment is damp, gently reshape the neckline and allow it to dry flat; restoring the shape while damp reduces distortion and delays the need for repairs.

6. Reinforce cuffs and sleeve hems for enduring wear
Inspect cuffs at the points they contact watches, bag straps, or the seam where cuff meets sleeve; abrasion, oil, sweat, and seam strain create predictable failure points and indicate the appropriate repairs. For woven cuffs, favour finishes that enclose raw edges. Double-fold hems, bias binding, and flat-felled seams distribute tension and prevent fraying, so the cuff wears rather than disintegrates. For knit cuffs, use stretch-friendly stitching and trims: a stretch or zigzag stitch, a narrow knit or a strip of clear elastic inside the hem, or re-ribbing by picking up stitches to restore shape.
Add discrete reinforcements at stress points to make future repairs straightforward. Leave extra seam allowance, sew bartacks (short, dense bars of stitching) where the cuff meets the sleeve placket, and insert small internal patches of matching fabric that can be exposed and re-stitched when required. Adopt simple care habits that prolong the garment's life, such as turning cuffs and hems inside out when laundering, trimming snags before they run and securing them with a few small stitches, and keeping a small scrap of the original fabric for exact colour and fibre matching when patching. These measures localise wear and make component replacement straightforward, so a tailor or a confident home stitcher can open a patch or restitch a bartack instead of rebuilding the whole cuff. Together, targeted construction, discreet internal reinforcements, and modest care habits extend a garment's usable life and make repairs quicker and neater.

7. Construct pockets with durable linings and reinforcement at stress points
Choose a tightly woven, low-fray lining such as cotton twill, canvas, or woven nylon. These fabrics resist abrasion from keys and coins, retain stitch integrity, and preserve pocket shape far better than lightweight linings. Reinforce pocket openings and top corners with dense bar tacks or a box and bar stitch that extends into the main seam so the anchoring spreads the load and prevents seam slippage. Fuse or sew a strip of medium-weight interfacing along the pocket mouth and add stay tape to the seam allowance. These measures reduce stretching, curb fraying, and make later restitching more straightforward.
Make the pocket bag a replaceable unit by leaving accessible seam allowances, avoiding permanent bonding to hard-to-reach linings, and securing the bag with a visible row of topstitching so it can be unpicked and replaced without altering the garment shell. Small details, such as a gusset at the base, a box pleat, or an angled opening, spread items over a larger area and so reduce point loads. Align pocket stress points with existing structural seams to channel forces into stronger parts of the garment and lower the likelihood of tearing. Together, these choices improve day-to-day durability and make any necessary repairs far simpler.

8. Ensure buttons, buttonholes, and zips are easily replaceable
Stitch a small fabric tag inside a seam, or photograph the garment clearly, showing button diameter, buttonhole length, and zip tooth style. Note whether a button is a shank or a sew-through type so any replacement matches first time. Fuse a lightweight interfacing behind button plackets and zip tapes, and bartack or backstitch the ends of buttonholes and zip stops to reinforce the area before it fails. Even a small patch of reinforcement spreads stress and reduces the chance of fabric tearing under load. Keep spare buttons tucked into a care-label fold, or stitch one inside a pocket with long thread tails, and leave an extra couple of centimetres of thread after attaching each button to allow quick reattachment.
When attaching buttons, make a small thread shank or fit a washer to leave a little space between the button and the fabric. When inserting a zip, leave the seam allowance untrimmed and baste the zip tape in place to make removal or replacement easier later. Use standard-size buttons and conventional zip types where possible, and topstitch or mark the fastener position with contrasting thread so a later replacement follows the original line. Avoid completely concealing finishing details; a visible line of stitching, or a small access panel, preserves the tailoring and eases future swaps while reducing disruption.

9. Reinforce elbows and knees with patches or by doubling the fabric
Choose a patch material that matches the garment's structure and stretch. For trousers, opt for a durable woven such as twill or denim; for jumpers, use a knitted patch. Test a scrap under tension to confirm the patch moves with the fabric. Cut patches noticeably larger than the worn area, round the corners, and overlap the high-wear zone by about 3 to 5 centimetres. Align the patch's grain with the direction of movement so the load disperses rather than concentrates. Use an attachment suited to the base fabric: machine topstitching or a narrow zigzag for wovens, and a stretch stitch or a secure hand backstitch for knits, and reinforce seam ends with bartacks or closely spaced backstitches.
Use internal reinforcement and modest construction changes to prolong a garment's life. Insert an inside patch, or add a double cuff or knee panel to protect the exterior, conceal future repairs, and spread abrasion across layers. Design with repair in mind by leaving extra seam allowance or an access seam so later patching is straightforward. Prewash both patch material and the base fabric to avoid differing shrinkage, and check elbows and knees regularly so you can reinforce thinning areas before holes appear. These small measures distribute stress, make repairs neater, and keep garments serviceable for longer.

10. Design linings to include access panels and replaceable sections
Divide the lining into modular panels for the body, sleeves, hem, and collar. Create a paper template for each panel, marking grain lines, notches, and a pattern code to enable reproduction of the original fit and drape. Add discreet access panels at high-wear points such as the hem, underarm, inside pocket bags, inner sleeve seams, and waist. Fit concealed zips, press studs, or button-and-loop closures and position them so a repairer can reach underlying seams, padding, or interfacing without unpicking permanent joins. These measures confine most repairs to a single panel, preserve the remainder of the garment, and shorten refitting time.
Fasten replaceable panels with one permanent edge and one removable edge, using a concealed zip, press-stud tape, or a stitched-on hook-and-loop strip. Reinforce the fastener lines with twill tape or by stay-stitching to prevent distortion and to reduce strain over time. Allow slightly larger seam allowances at panel joins, finish raw edges with binding or by turning and topstitching, and mark orientation and stitch guides on the lining pattern. Use a contrasting basting thread in complex areas so removal and refitting proceed quickly and accurately. Choose stable, low-fray lining fabrics, or introduce small removable pads or quilted insulation held in channels or by poppers. Strengthen high-stress points with interfacing or bartacks. Finally, sew on a removable fabric tag showing the panel code and a simple stitch map so any repairer can reproduce the original construction with confidence.
Small, considered decisions in construction and material selection concentrate wear on replaceable areas, helping garments last longer and making repairs simpler. Practical measures — generous seam allowances, discreet reinforcement, and modular linings — convert common points of failure into straightforward repairs, reducing waste while preserving fit.
From hems and cuffs to pockets, zips, elbows, knees, and linings, each section sets out practical techniques for buying, making, and mending. Apply a few of these methods and you can save time, extend a garment's life, keep favourites wearable, and reduce the effort while improving the finish of subsequent repairs.